


32
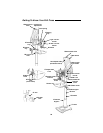
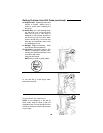
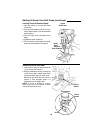
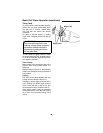
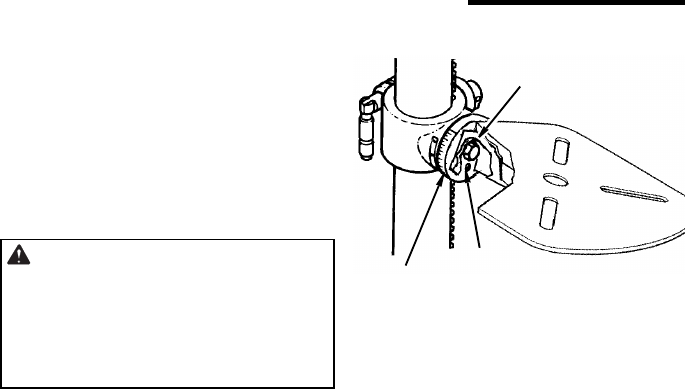
Tilting Table
To use the table in a bevel (tilted) position,
loosen the set screw under table bevel
lock with hex “L” wrench. Loosen bevel
lock bolt with the 24mm flat wrench
(included).
Tilt table to desired angle by reading
bevel scale. Retighten bevel lock and set
screw.
WARNING: To reduce the risk of
injury from spinning work or tool
breakage, always clamp workpiece
and backup material securely to
table before operating drill press
with the table tilted.
To return table to original position: Loosen
set screw and bevel lock, tilt table back to
0° on bevel scale and retighten set screw,
then tighten bevel lock.
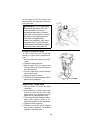
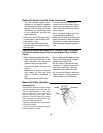
Hole Location
Make a dent in the workpiece where you
want the hole, using a center punch or a
sharp nail.
Before turning the switch on, bring the drill
down to the workpiece lining it up with the
hole location.
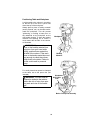
Feeding
Pull down on the feed handles with only
enough effort to allow the drill to cut.
Feeding too slowly might cause the drill to
burn. Feeding too rapidly might stop the
motor, cause the belt or drill to slip, tear
the workpiece loose or break the drill bit.
When drilling metal, it may be necessary
to lubricate the tip of the drill with cutting
oil or motor oil to prevent burning of the
drill tip.
Bevel Lock
Set Screw
Bevel Scale
Basic Drill Press Operation (continued)