


-10-
W1668 13
1
⁄4" Oscillating Drill Press
SETUP
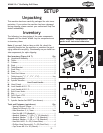
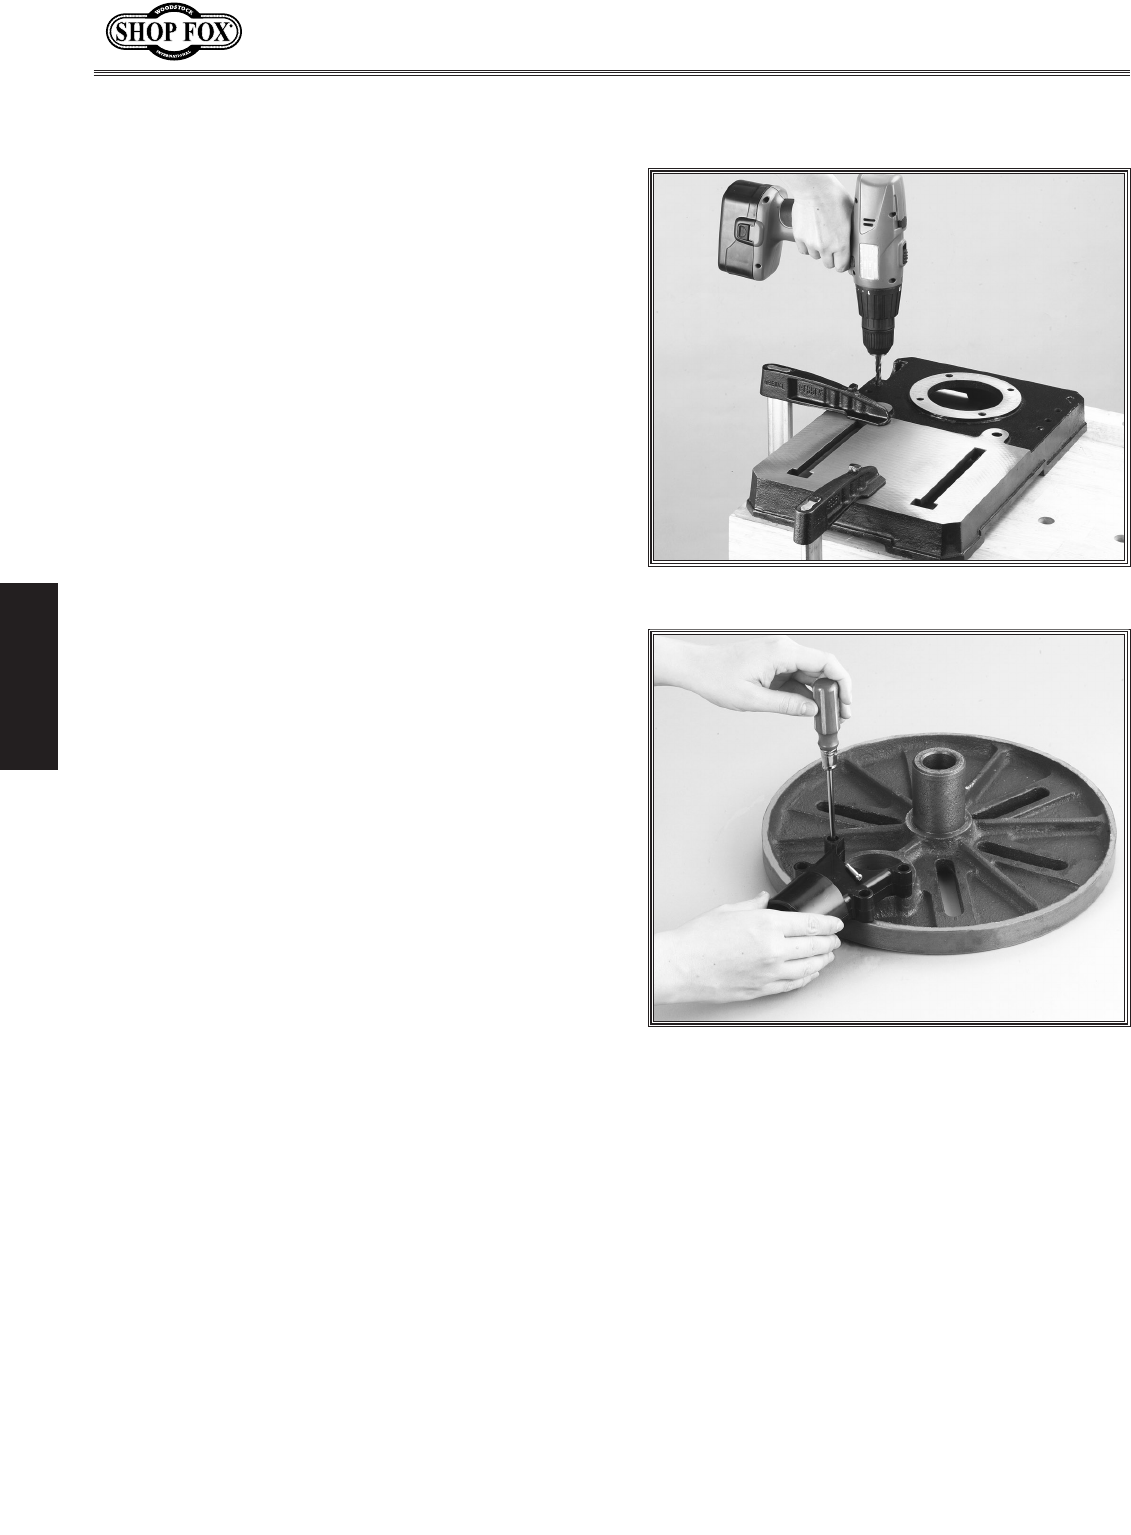
Figure 8. Using holes as a drill guide.
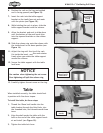
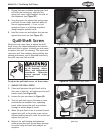
Figure 9. Installing the dust port.
The dust port directs suction to the sanding
sleeve, removing hazardous dust and increasing
abrasive life.
To install the dust port, do these steps:
1. Bring the dust port halves together, align
the mounting holes on the dust port and
table, then secure with the four M4-.7 x 22
Philips head screws, as shown in Figure 9.
Dust Port
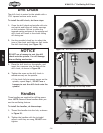
The base and column must be securely mount-
ed, so the machine will not fall over.
To install the base and column, do these
steps:
1. Position the drill press base on a flat and
stable surface.
2. Using two clamps, clamp the base to the
mounting surface.
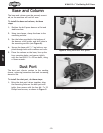
3. Use the holes provided in the bottom of
the base as a drill guide, and drill holes in
the mounting surface (see Figure 8).
4. Secure the base with
5
⁄16" lag bolts or sup-
plied through-bolts with washers and nuts.
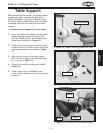
5. Place the column on the base, line up the
four mounting holes, and secure tightly
with the four M10-1.5 x 25 hex bolts, using
a 16mm wrench.
Base and Column