


-18-
W1668 13
1
⁄4" Oscillating Drill Press
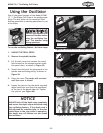
ADJUSTMENTS
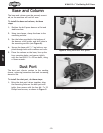
To adjust the table, do these steps:
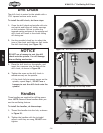
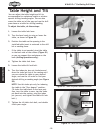
1. Loosen the table lock lever.
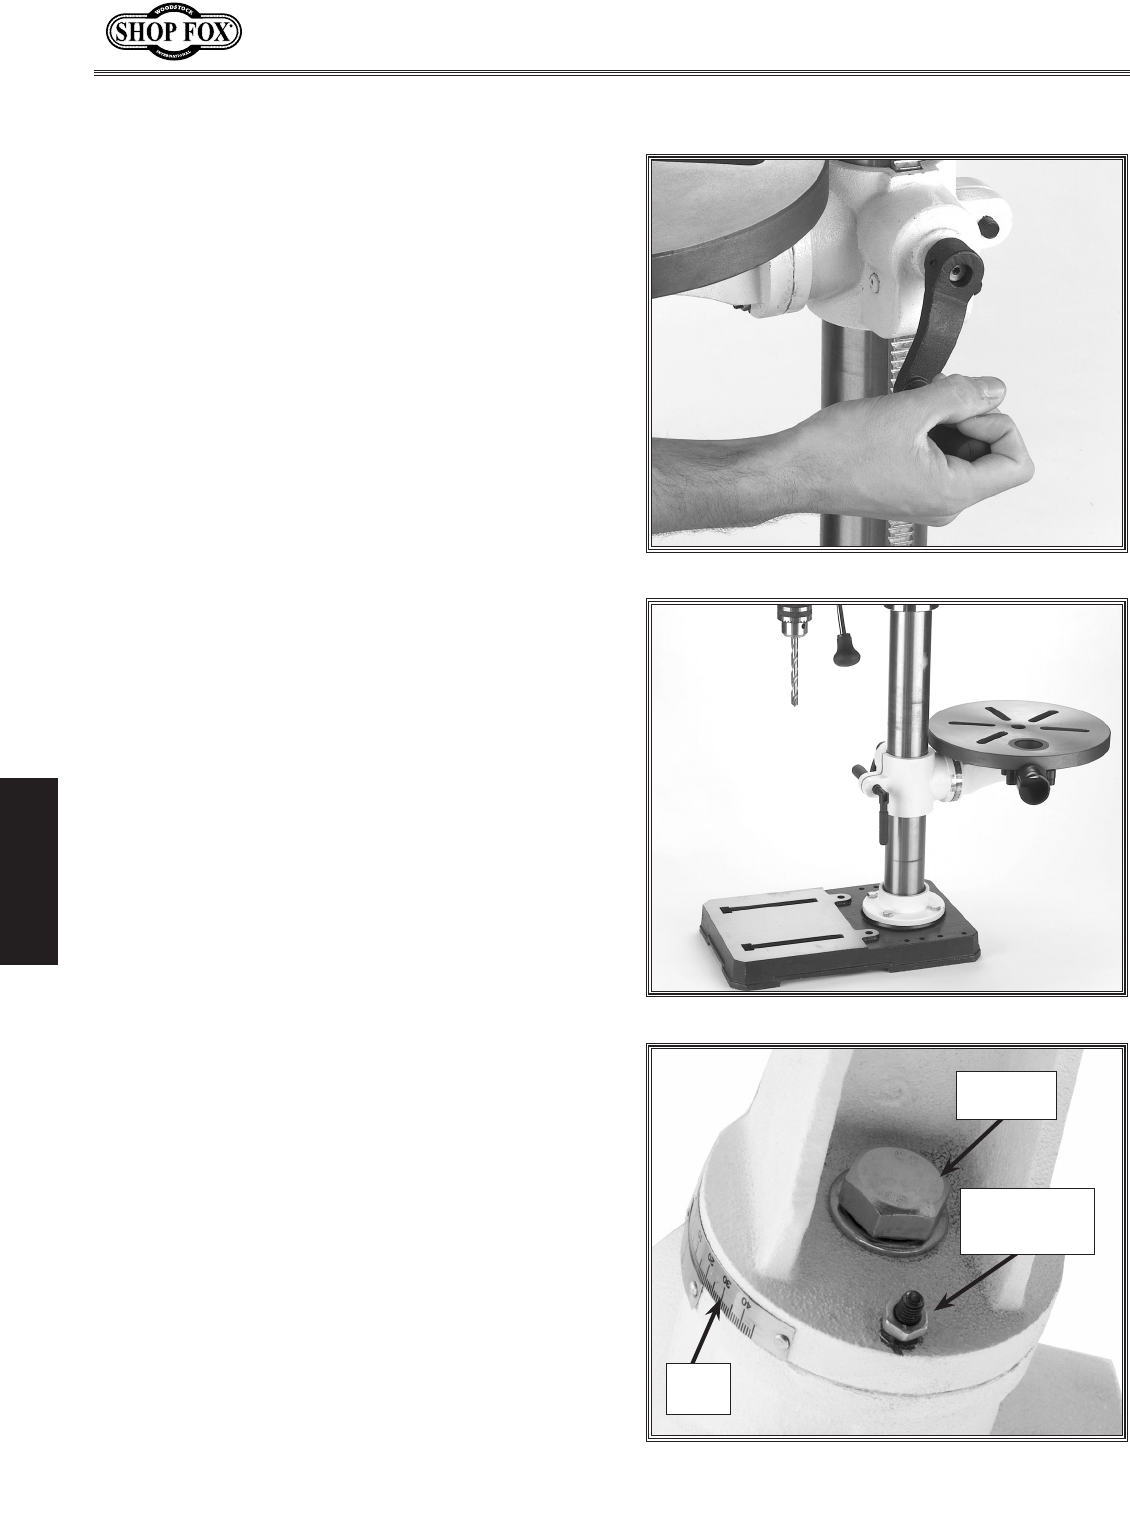
2. Turn the hand crank to raise or lower the
table, as shown in Figure 30.
3. Position the table so the opening in the
installed table insert is centered to the drill
bit or sanding drum.
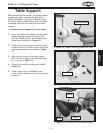
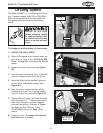
• If the table is not needed, pivot the table
to the back side of the column (Figure 31)
so you can support the workpiece on the
base (drilling operations only).
4. Tighten the table lock lever.
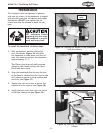
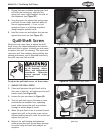
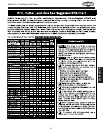
5. Loosen the table tilt lock bolt.
6. Turn the index pin jam nut clockwise and
draw the index pin out of the casting until
you can rotate the table to your desired
angle, and use the tilt scale to find your
desired drilling or sanding angle (see Figure
32).
NOTE: Use this index pin only for indexing
the table in the “Zero degree” position.
(To index the table back to the zero posi-
tion, turn the table to zero, tap the index
pin back into the casting, snug the index
pin jam nut, and tighten the table tilt lock
bolt.)
7. Tighten the tilt table lock bolt, and double
check your angle.
Figure 30. Raise or lower the table.
Figure 31. Table adjusted behind column.
You can adjust the table height and tilt to
accommodate for workpiece height or achieve
special drilling/sanding angles. You can also
move the table out of the way and use the drill
press base as a table for drilling/sanding.
Table Height and Tilt
Figure 32. Table tilt lock bolt.
Table Tilt
Lock Bolt
Index Pin and
Index Pin Jam
Nut
Tilt
Scale