


-14-
W1668 13
1
⁄4" Oscillating Drill Press
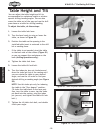
SETUP
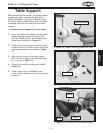
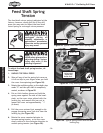
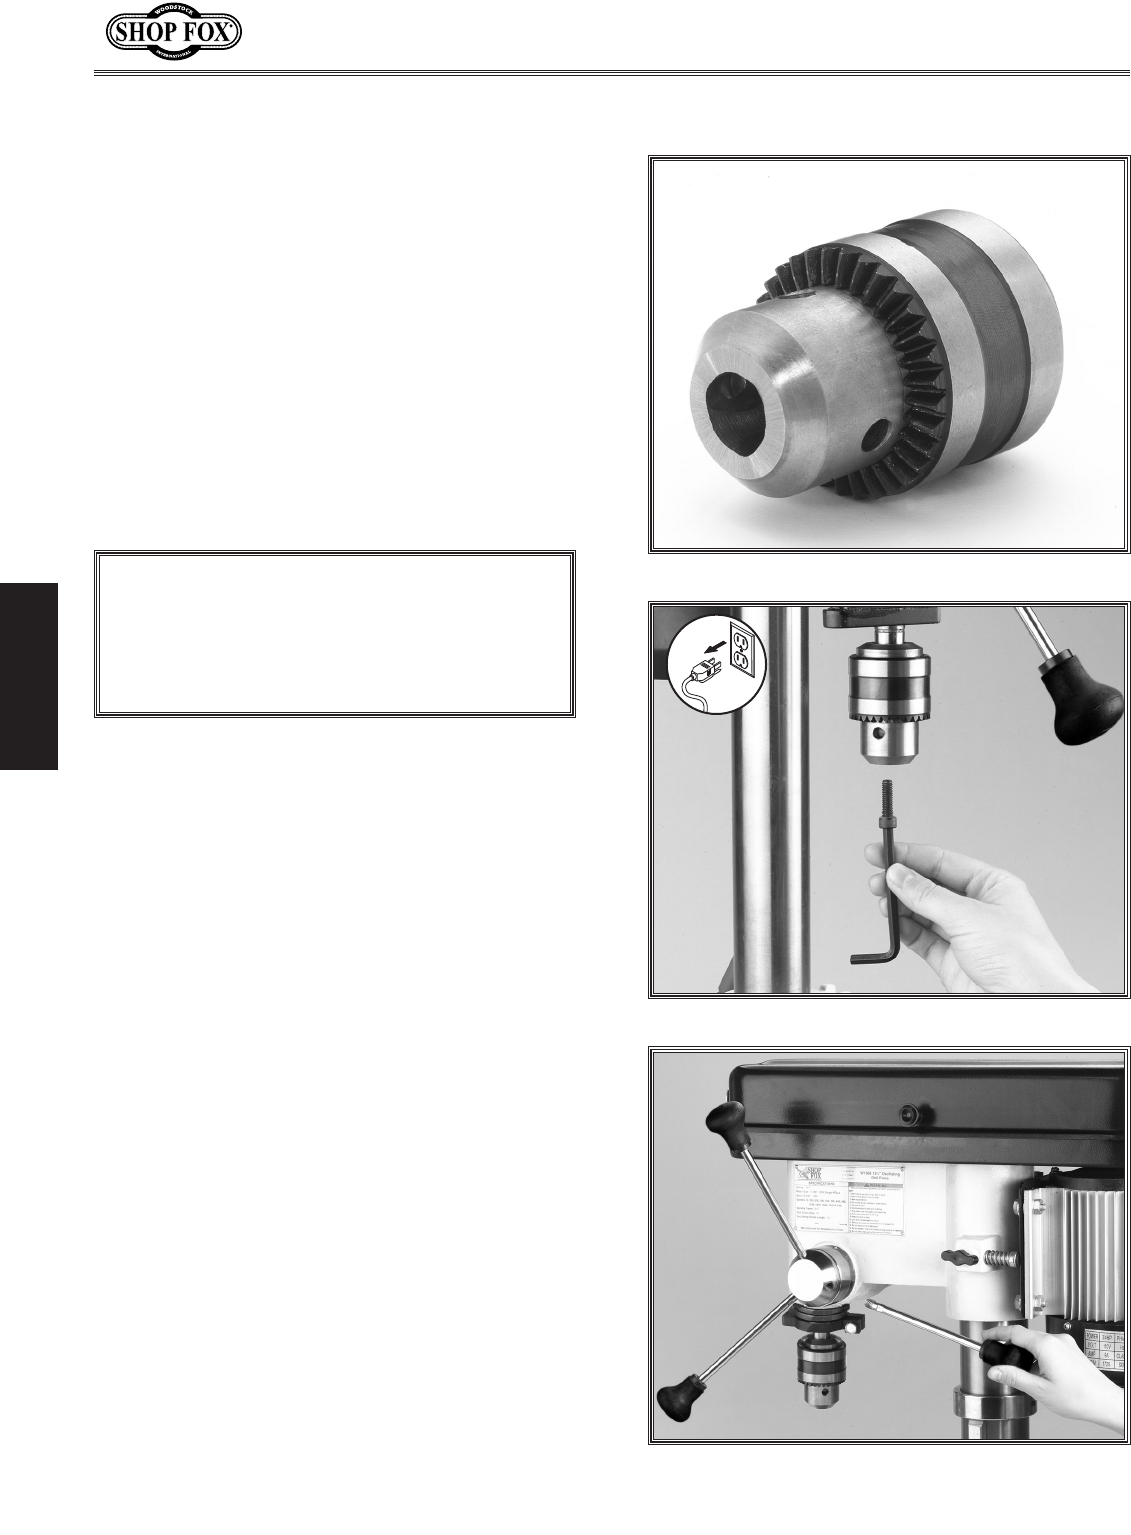
Figure 21. Installing spindle handles.
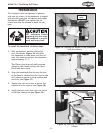
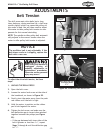
Figure 20. Inserting the hex
cap screw.
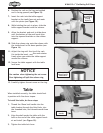
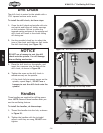
Figure 19. Jaws adjusted inside chuck body.
The drill chuck is seated to the spindle with a
JT-33 tapered surface and a screw.
To install the drill chuck, do these steps:
1. Clean the drill chuck and spindle with min-
eral spirits and follow all safety warnings
on the container. Failure to clean the
tapered-mating surfaces of the spindle and
drill chuck will result in the chuck falling
off during use.
2. Use the provided chuck key to adjust the
jaws of the chuck until they are well inside
the drill chuck body (see Figure 19).
3. Place the drill chuck on the spindle, and
insert the
capscrew into the hole of the
drill chuck, as shown in Figure 20.
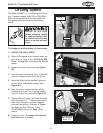
4. Tighten the screw so the drill chuck is
seated securely on the spindle.
• If the chuck fails to remain secure on the
spindle, repeat Step 1, DO NOT use a
hammer to seat the drill chuck onto the
spindle!
NOTICE
DO NOT use a hammer to seat the drill
chuck onto the spindle. You will damage
the oscillating mechanism.
Three handles are supplied for drilling opera-
tions. NOTE: Remove these handles when you
use the oscillating feature.
To install the handles, do these steps:
1. Thread the handles into the hub, as shown
in Figure 21.
2. Tighten the handles with the included
wrench until they are snug, DO NOT over-
tighten.
Handles
Drill Chuck