-22-
For Machines Mfg. Since 8/11
Model SB1001 8K
™
Lathe
PREPARATION
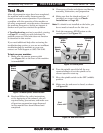
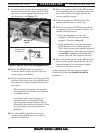
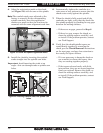
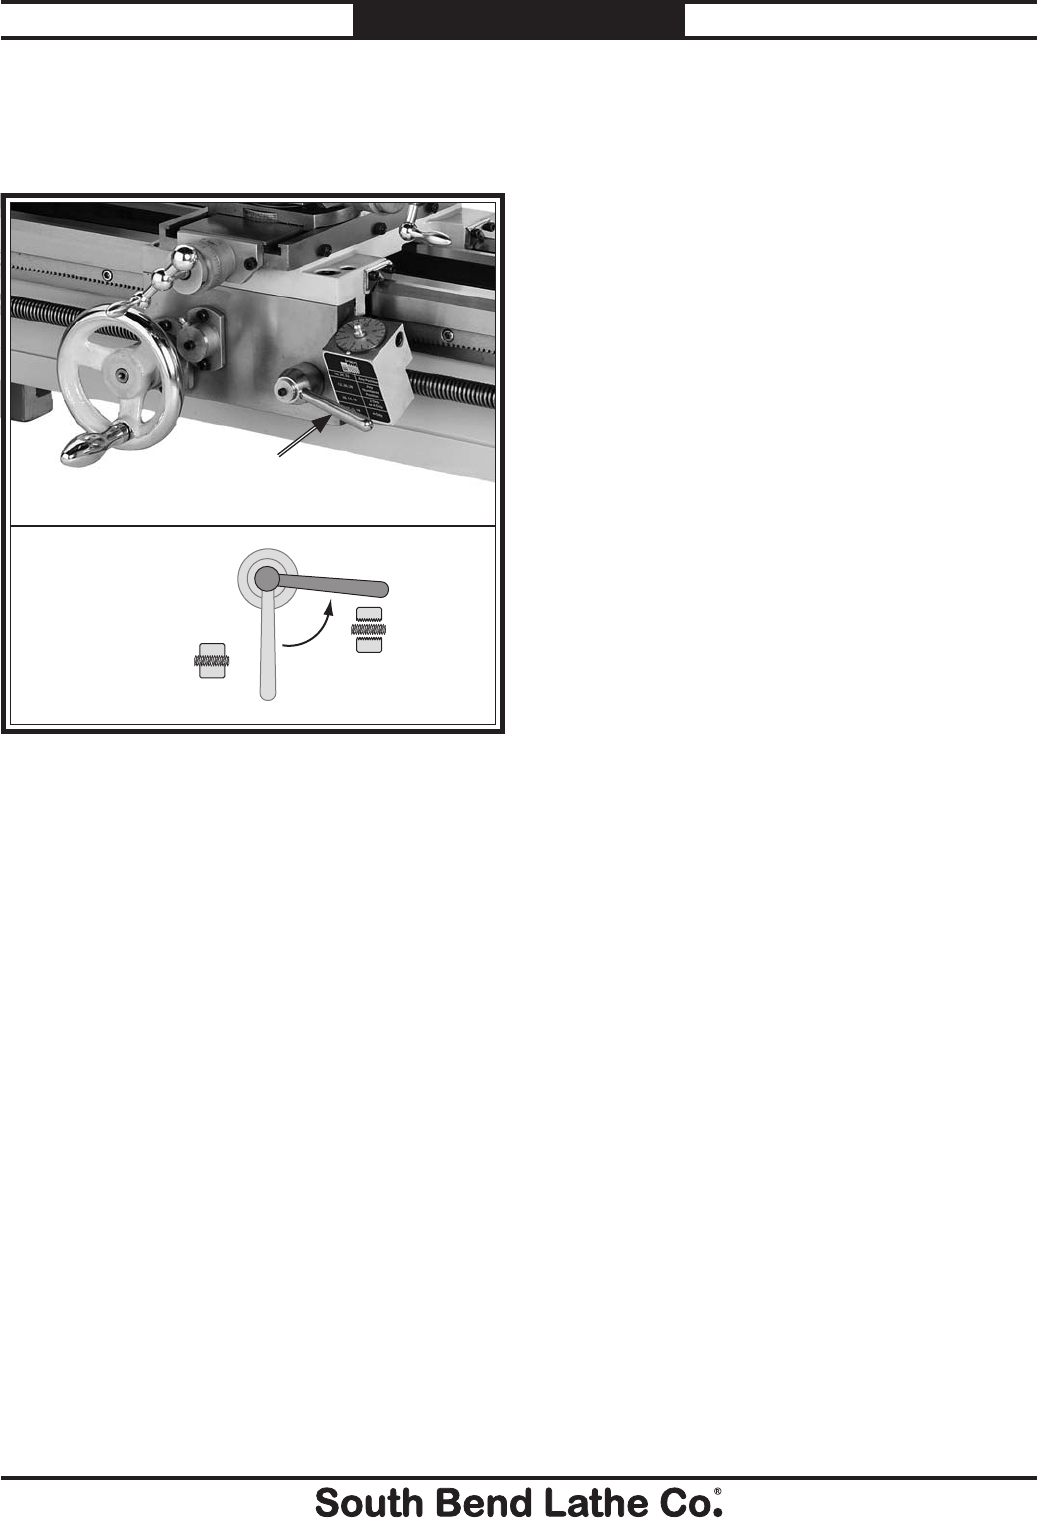
9. To prevent the carriage from unexpectedly
moving during further steps, move the half
nut lever up to disengage the carriage from
the leadscrew (see Figure 17).
Figure 17. Half nut lever in the disengaged position.
Half Nut
Lever
Half Nut Lever
and Half Nut
Engaged
Disengaged
10. Reset the STOP button by twisting it
clockwise until it pops out, then turn the
master power switch ON.
11. Move the spindle switch to the forward (left)
position, then slowly turn the spindle speed
dial clockwise to begin spindle rotation at a
low speed.
— When operating correctly, the machine
runs smoothly with little or no vibration
or rubbing noises.
— Investigate and correct strange or
unusual noises or vibrations before
operating the machine further. Always
disconnect the machine from power when
investigating or correcting potential
problems.
12. Use the spindle speed dial to increase
and decrease spindle speed to verify the
operation of the dial.
13. Move the spindle switch to the OFF position,
let the spindle come to a complete stop, then
move the switch to the right position to
reverse spindle rotation.
14. Push the emergency STOP button. The
spindle should come to a slow stop.
15. With the emergency STOP button pushed
in, attempt to re-start spindle rotation—the
spindle should not start.
— If the spindle does not start, the
emergency STOP button is working
properly. Proceed to Step 16.
— If the spindle does start, the emergency
STOP button is not working properly.
This safety feature must operate properly
before continuing. Turn the master power
switch OFF, disconnect the lathe from
power, then call Tech Support for help.
16. Move the spindle switch to the OFF position
and turn the spindle speed dial all the way
counterclockwise for a minimum spindle
rotation on the next start-up.
Congratulations! The test run is complete.
Perform the following Spindle Break-In
procedure.


