


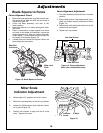
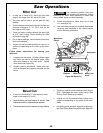

24.
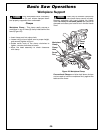
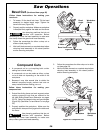
Slide Cut
•
During a slide cut, the slide rail lock knob is loose,
the head assembly is pulled towards the operator,
the head assembly is lowered to the workpiece
and then pushed to the rear of the saw to make
the cut.
•
This type of cut is used mainly for wide pieces.
•
A positive blade hook of 10 degrees or more is
recommended for best performance when mak-
ing aggressive cuts or cutting thicker materials.
See page 36 for accessory blade listing.
NEVER pull the saw toward you during
a cut. The blade can suddenly climb
up on top of the workpiece and force itself toward you.
Follow these instructions for making your
slide cut:
1.
Pr
operly position workpiece. Make sur
e work-
piece is clamped firmly against the table and
the fence.
Use clamping position that does not
interfere with operation. Before
switching on, lower head assembly to make sure clamp
clears guar
d and head assembly
.
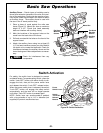
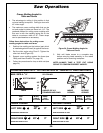
2. Loosen the slide rail lock knob (figure 27).
3. Grasp the switch handle and pull the head
assembly away fr
om the fence, until the blade
clears the workpiece or to its maximum exten-
sion if blade cannot clear the workpiece
(Figure 27).
4. Activate the switch. Lower the assembly all the
way down and cut through the edge of the work-
piece.
5. Push (but do not force) the head assembly
towards the fence to the full rear position to
complete the cut.
6. Wait until blade comes to a complete stop before
returning head assembly to the raised position
and/or removing workpiece.
Figur
e 27. Slide Cut
WARNING
!
WARNING
!
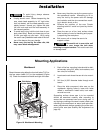
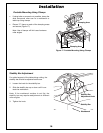
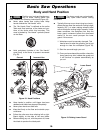
Saw Operations
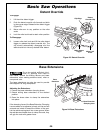
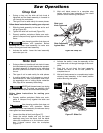
Chop Cut
•
During a chop cut, the slide rail lock knob is
tightened and the head assembly is lowered to
cut through the workpiece.
•
This type of cut is used mainly for narr
ow pieces.
Follow these instructions for making your chop cut:
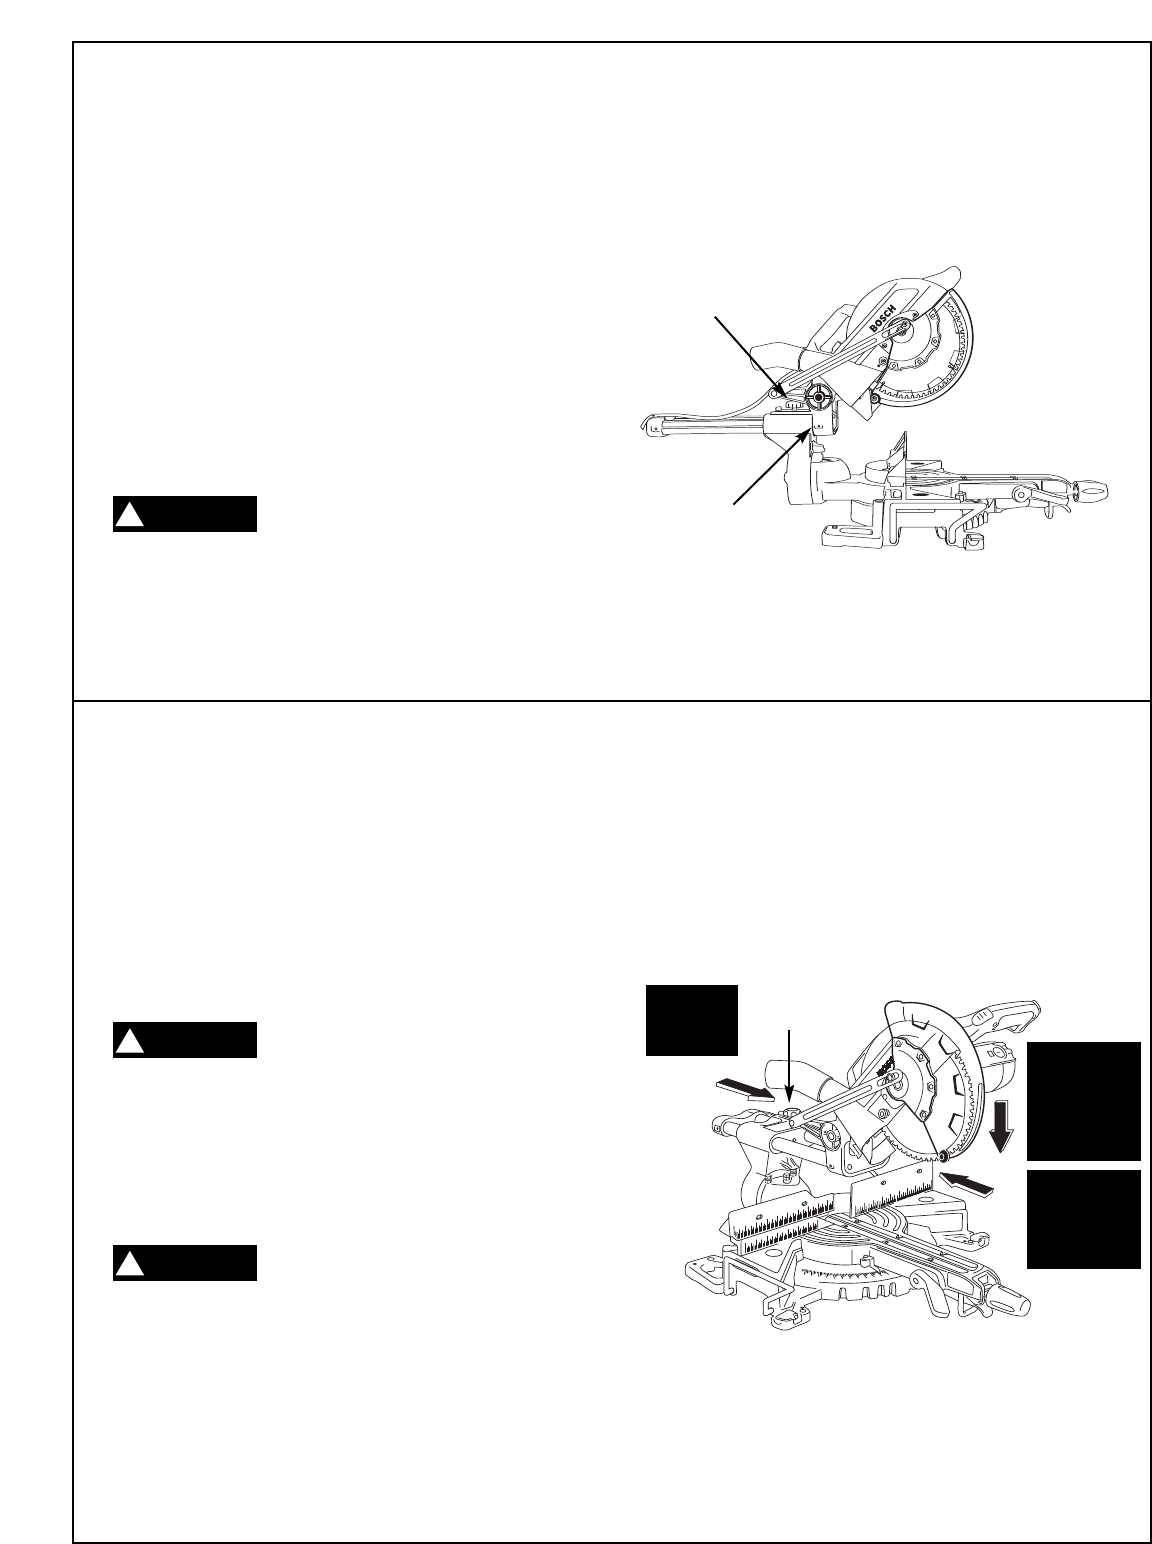
1. Slide the head assembly to the rear as far as it
will go (Figure 26).
2. Tighten the slide rail lock knob (Figure 26).
3. Properly position workpiece. Make sure work-
piece is clamped firmly against the table and the
fence.
Use clamping position that does not
interfere with operation. Before
switching on, lower head assembly to make sure
clamp clears guard and head assembly.
4. Activate the switch. Lower the head assembly
and make your cut.
5.
Wait until blade comes to a complete stop
before returning head assembly to the raised
position and/or removing workpiece.
Figure 26. Chop Cut
WARNING
!
Slide Rail
Lock Knob
Slide Lock
Knob Tightened
Slide Completely
Against Rest
First:
Pull
Forward
Second:
Turn Saw
On, Lower
Head
Assembly
Thir
d:
Push
Blade Into
Workpiece