WARNING:Beforeperforminganyadjustment, ARBOR BLADE
make sure the tool is unplugged from the power SHAFT
supply and the switch is in the OFF position. Failure
to heed this warning could result in serious personal
injury.
The table saw has been adjusted at the factory for mak-
ing very accurate cuts. However, some of the components
might have been jarred out of alignment during shipping.
Also, over a period of time, readjustment will probably be-
come necessary due to wear.
To avoid unnecessary set-ups and adjustments, a good
practice is to check your setups carefully with a framing
square and make practice cuts in scrap wood before mak-
ing finish cuts in good workpieces. Do not start any ad-
justments until you have checked with a square and made
test cuts to be sure adjustments are needed.
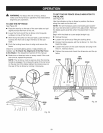
TO REPLACE THE BLADE
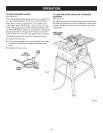
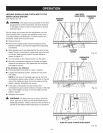
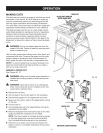
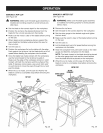
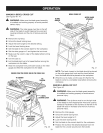
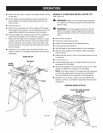
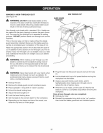
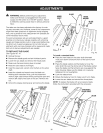
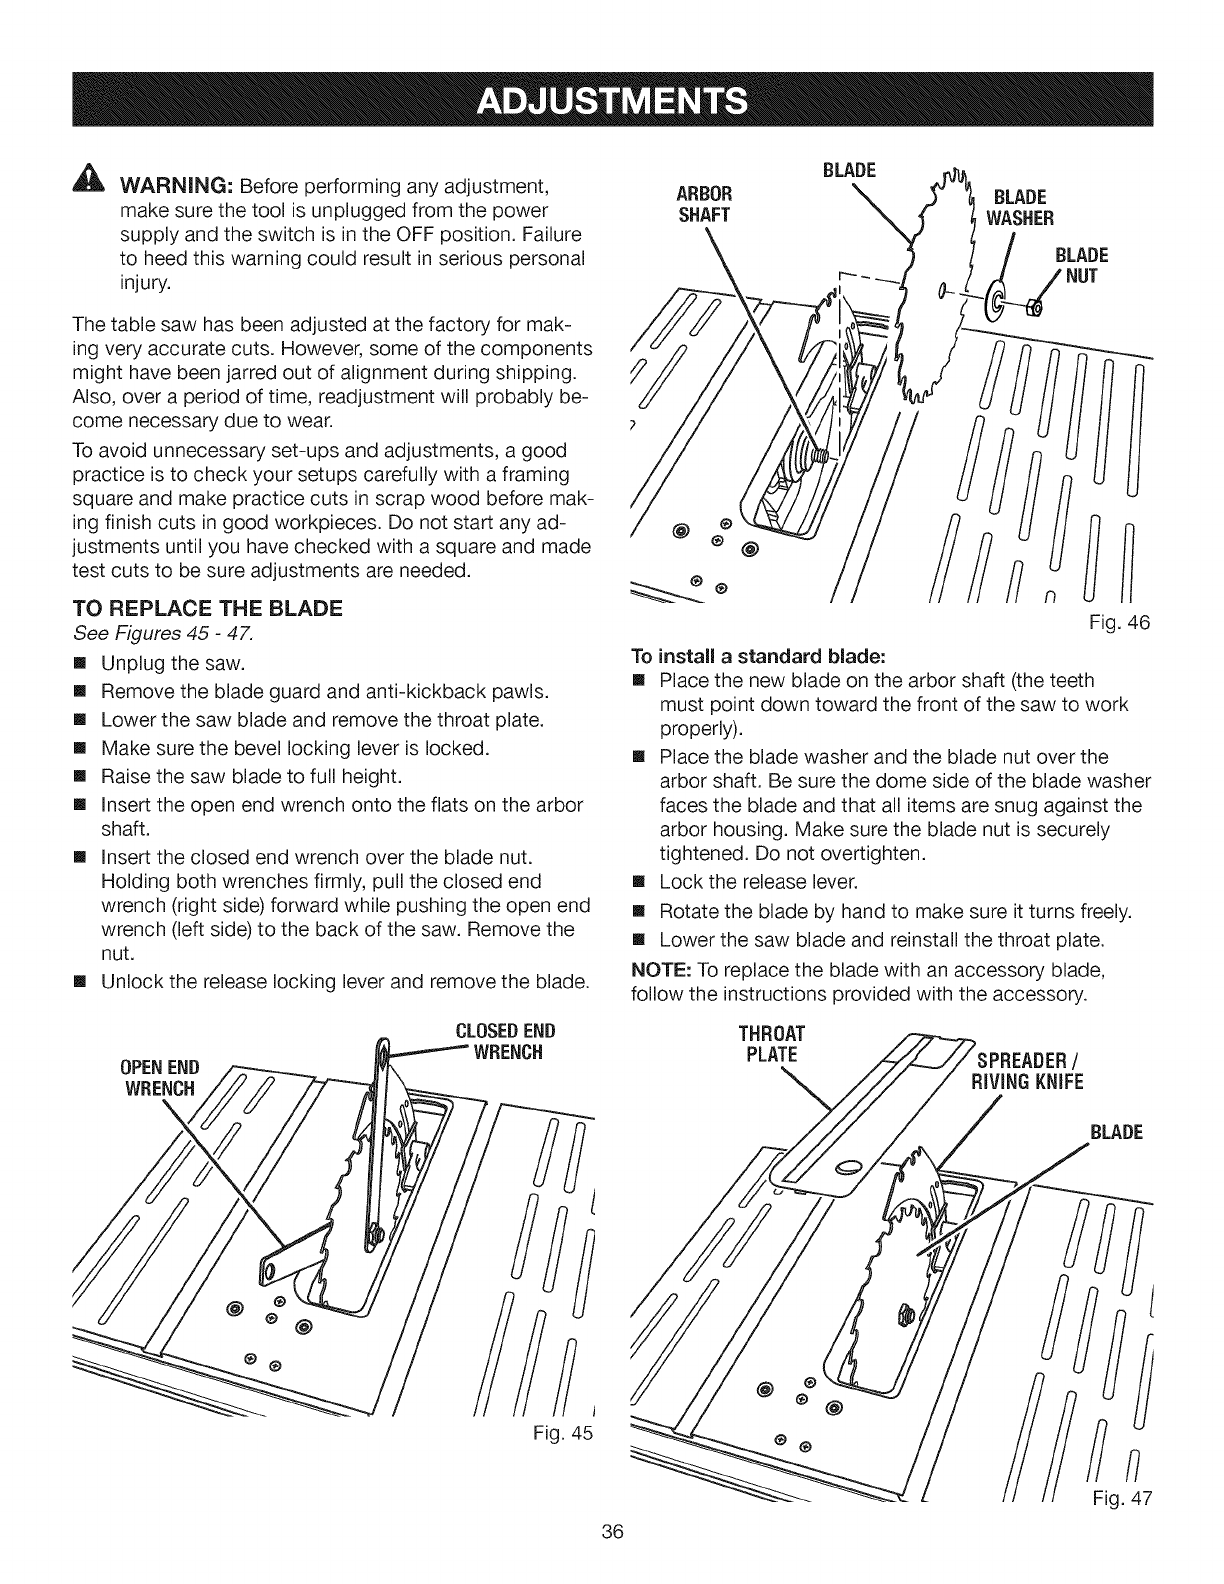
See Figures 45 - 47.
[] Unplug the saw.
[] Remove the blade guard and anti-kickback pawls.
[] Lower the saw blade and remove the throat plate.
[] Make sure the bevel locking lever is locked.
[] Raise the saw blade to full height.
[] Insert the open end wrench onto the flats on the arbor
shaft.
[] Insert the closed end wrench over the blade nut.
Holding both wrenches firmly, pull the closed end
wrench (right side) forward while pushing the open end
wrench (left side) to the back of the saw. Remove the
nut.
[] Unlock the release locking lever and remove the blade.
CLOSEDEND
WRENCH
® @
Fig. 45
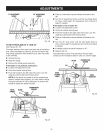
BLADE
WASHER
BLADE
@ ® @
Fig. 46
To install a standard blade:
[] Place the new blade on the arbor shaft (the teeth
must point down toward the front of the saw to work
properly).
[] Place the blade washer and the blade nut over the
arbor shaft. Be sure the dome side of the blade washer
faces the blade and that all items are snug against the
arbor housing. Make sure the blade nut is securely
tightened. Do not overtighten.
[] Lock the release lever.
[] Rotate the blade by hand to make sure it turns freely.
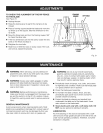
[] Lower the saw blade and reinstall the throat plate.
NOTE: To replace the blade with an accessory blade,
follow the instructions provided with the accessory.
THROAT
PLATE
36
@
Fig. 47


