Repair
Fluid Tube Removal and Replacement
1. See Prepare th
e Gun for Service, page 39.
2. Disconnect th
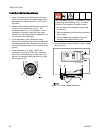
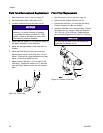
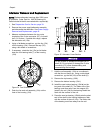
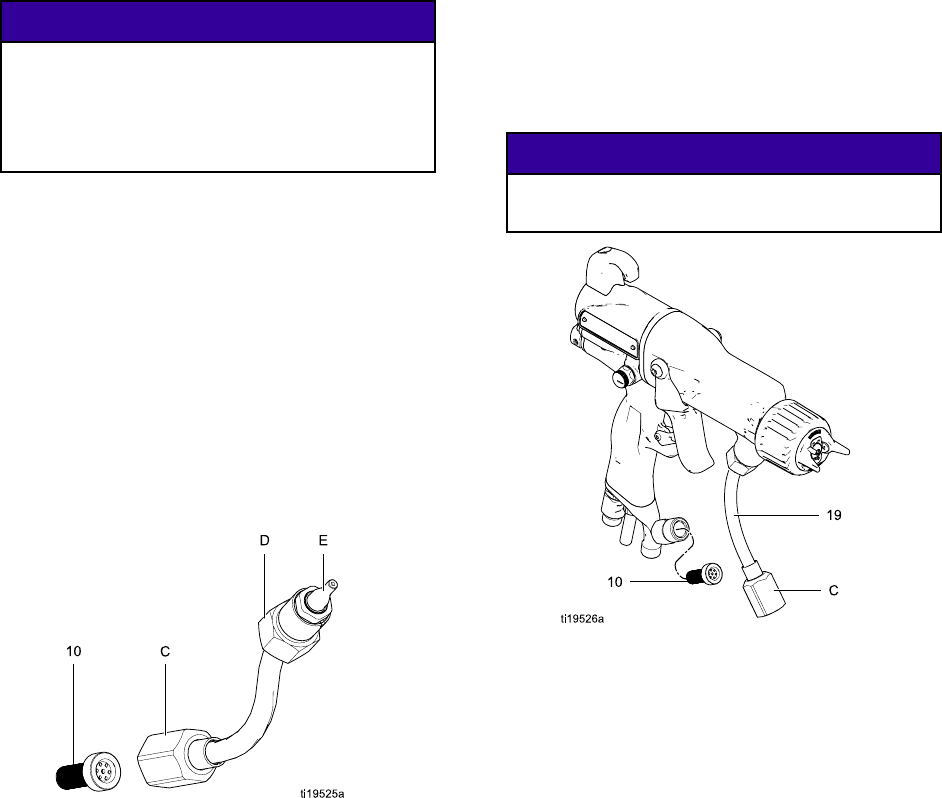
e bottom fluid tube nut (C).
3. Carefully uns
crew the top fluid tube nut (D).
NOTICE
Be careful not to damage the fluid tube
assembly (19) when cleaning or installing
it, especially the sealing surface (E). If the
sealing surface is damaged, the entire fluid
tube assembly must be replaced.
4. Apply diel
ectric grease (57) to the entire length of
the plasti
c extension on the fluid tube.
5. Apply low s
trength sealant to the fluid tube nut
threads.
6. Install t
he fluid tube into the gun barrel and
tighten t
he top nut (D) until snug, then 1/2 turn
tighter.
There will be a gap between the nut and
barrel.
Do not over-tighten the nut.
7. Make sur
e the fluid filter (10) is in place in the
fluid fitt
ing. Tighten the bottom nut (C) securely
onto the
fitting. Make sure the top nut remains
tight.
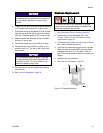
Figure 25 Fluid Tube
Fluid Filter Replacement
1. See Prepare th
e Gun for Service, page 39.
2. Disconnect th
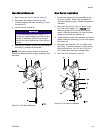
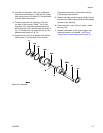
e bottom fluid tube nut (C).
3. Remove the flui
d filter (10) from the fluid fitting.
Clean or repl
ace the filter, as needed.
4. Install the fl
uid filter (10) in the fluid fitting. Tighten
the bottom nu
t (C) onto the fitting and torque to
140–150 in-l
b (15.8–16.9 N•m). Make sure the
top nut rema
ins tight at 20–30 in-lb (2.3–3.4 N•m).
NOTICE
Be sure the fluid tube (19) is not twisted after
tightening the bottom nut (C).
Figure 26 Replace Fluid Filter
4
2
3A2495C


