G1021 15" Planer -17-
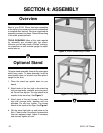
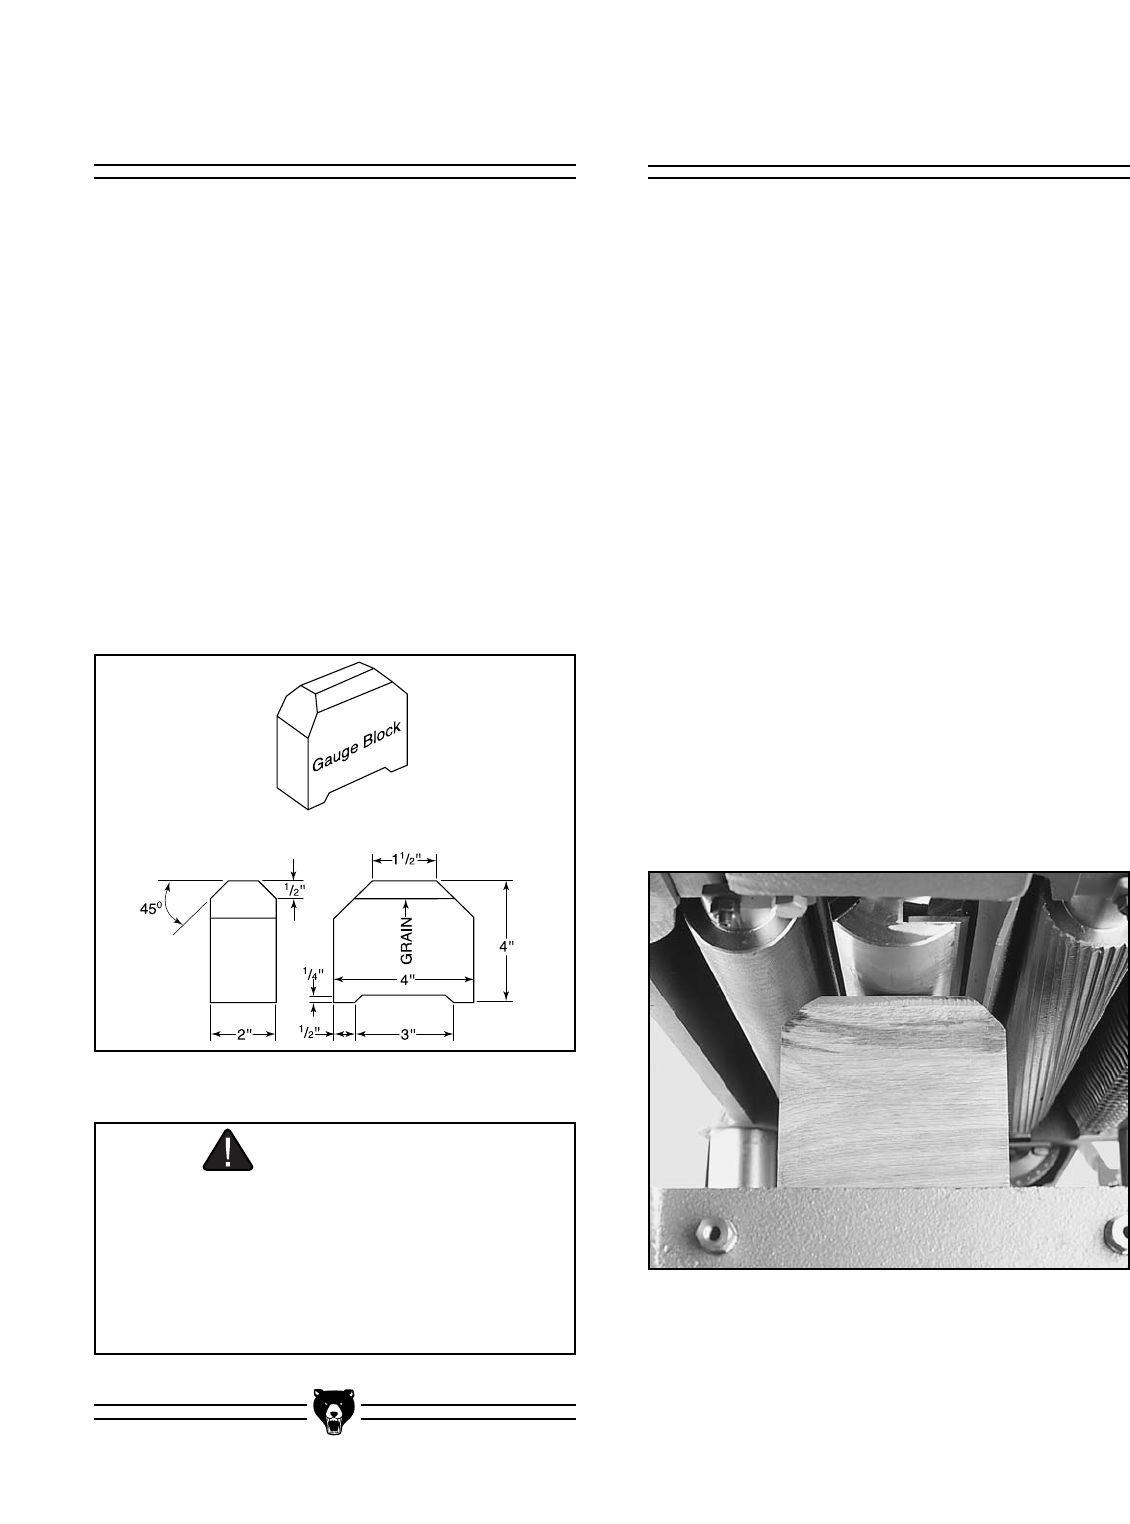
Gauge Block
Before attempting any table adjustments, you will
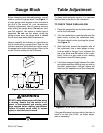
need to construct a gauge block. See Figure 11.
A larger gauge block diagram is also included at
the end of the manual for your convenience.
Precision adjustments later on require accuracy
when milling the gauge block. Do not use com-
mon 2x4 material. Use maple or similar type of
hardwood. Do not use the planer during the
milling process since the gauge block is needed
first to check and make planer adjustments.
Using a magnetic dial indicator is a good alterna-
tive to constructing a gauge block. Use the dial
indicator whenever the instructions call for use of
the gauge block and/or feeler gauge. Refer to the
current Grizzly catalog for dial indicators.
Table Adjustment
To plane stock perfectly square, it is important
that the table is parallel to the cutterhead.
TO CHECK TABLE PARALLELISM:
1. Place the gauge block on the table under one
end of the cutterhead.
2. Turn the handwheel to raise the table until the
block barely touches the cutterhead body.
The block should not be touching the knives.
See Figure 12.
3. Slide the block toward the opposite side of
the cutterhead. Use a feeler gauge to mea-
sure the width of the gap, if any, between the
top of the block and the bottom of the cutter-
head. If there is a gap, make a note, reading
the distance from the feeler gauge.
4. If the block wedges tightly between the table
and cutterhead when shifting from one side to
the other, repeat steps 1 through 3 above, but
start from the opposite end of the cutterhead.
Figure 11. Guide block specifications.
WARNING
DO NOT make adjustments while the planer
is running. Ensure that the switch is off,
power is disconnected and moving parts
have stopped before making adjustments.
Failure to comply could result in serious
injury or electrical shock hazard.
Figure 12. Guide block indicates parallelism.
If the gap difference from one side to the other is
equal to or less than 0.004", no further adjust-
ment is necessary.


