


-22- G1021 15" Planer
6. Repeat steps 1-5 for the opposite side of the
roller. Repeat all steps for the outfeed roller.
Feeler gauge measurement should equal 0.040".
TO ADJUST ROLLER HEIGHT:
1. Remove the drive chain cover to access the
roller adjustments on the drive chain side of
the planer. A single socket head cap screw
holds the drive chain cover on. Belt side
adjustments are already accessible.
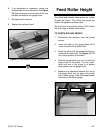
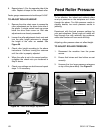
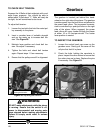
2. Loosen the roller adjustment check nuts and
turn the roller height setscrews to change
the height of the roller as needed. See
Figure 20.
3. Check roller height according to the above
instructions. Continue turning the setscrew
until the roller is properly adjusted.
4. When the roller is set in the correct position,
re-tighten the check nuts you loosened in
Step 2 above.
5. Check your settings one last time and repeat
steps 1-4 if necessary.
Figure 20. Feed roller height adjustment.
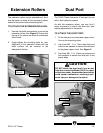
To be effective, the infeed and outfeed rollers
must put pressure on the workpiece as it feeds
through the planer. Too little pressure results in
slipping boards, too much pressure results in
jamming.
Experiment with the best pressure settings for
your work situations. Some rough cut lumber will
feed through fine with relatively few problems,
while other lumber will have more difficulty.
Adjusting roller pressure does not affect height.
TO ADJUST ROLLER PRESSURE:
1. Disconnect the machine from the power
source.
2. Ensure that knives and feed rollers are set
correctly.
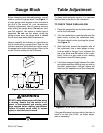
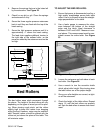
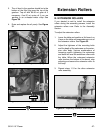
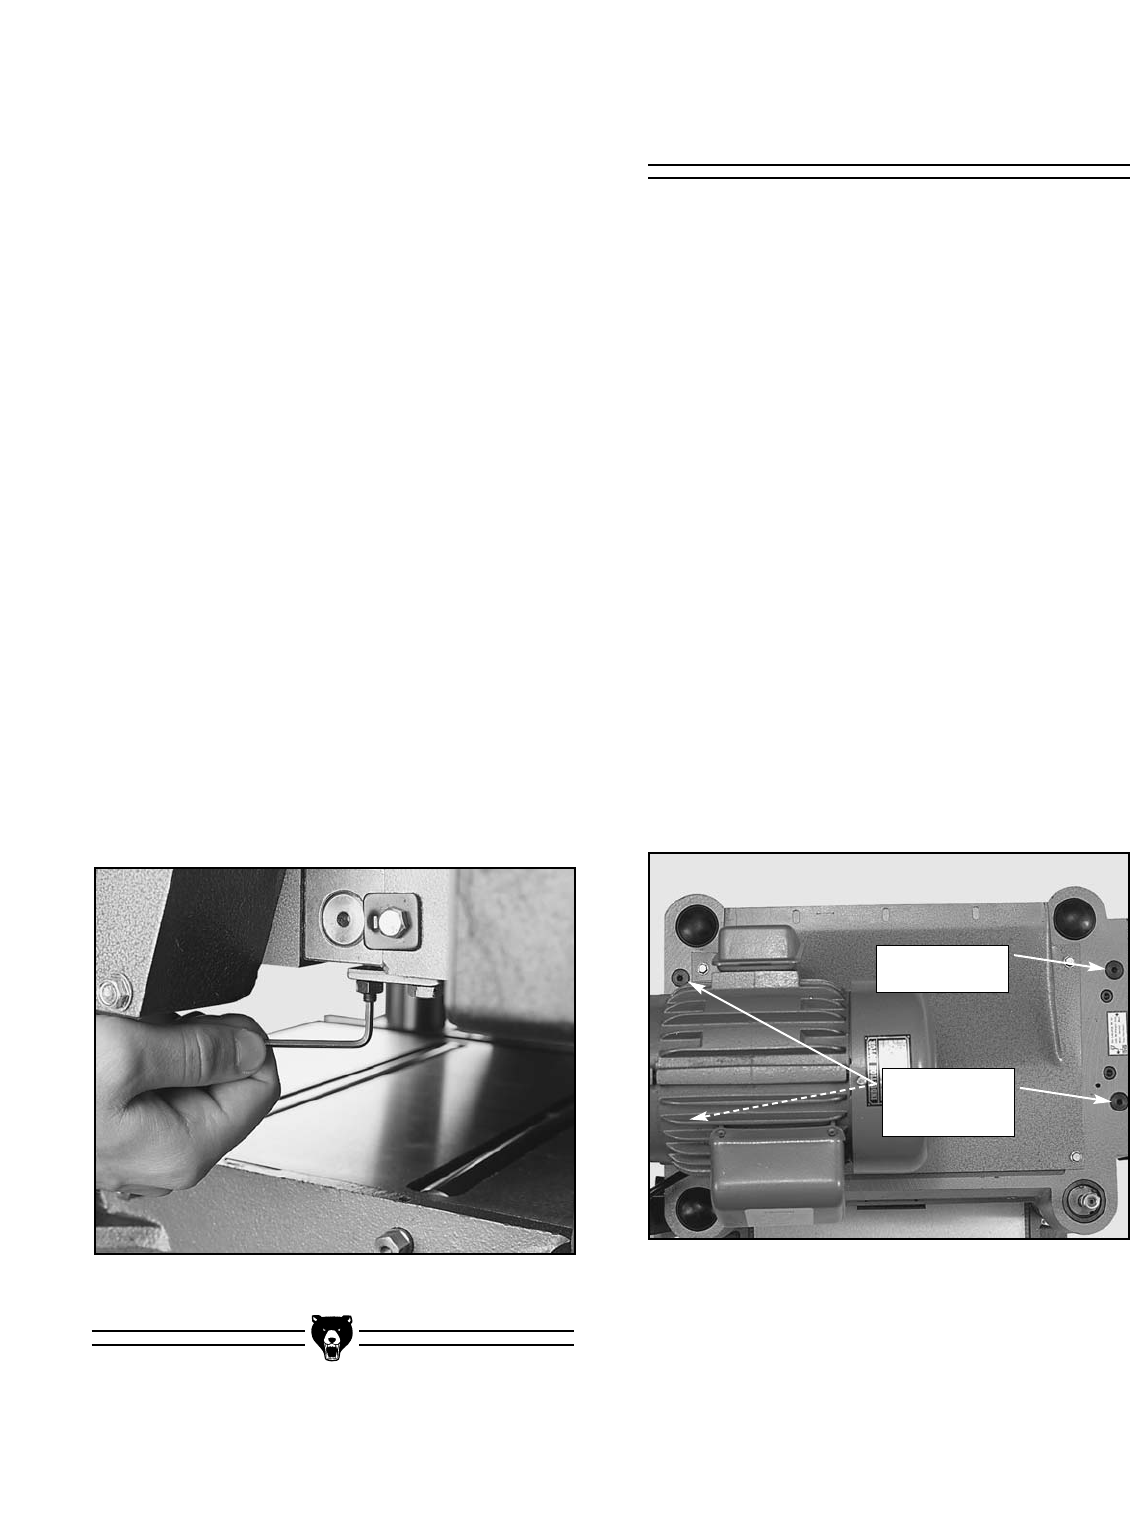
3. Unscrew the four large pressure setscrews
on top of the planer body. See Figure 21.
Feed Roller Pressure
Figure 21. Roller pressure adjustment.
Light Pressure
Setscrew
Regular
Pressure
Setscrews