


-30-
G0460/G0461 12" Sliding Table Saw
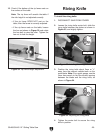
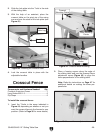
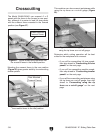
3. Thread the knobs onto the T-bolts to secure
the crosscut fence.
4. Unlock the fence extension and slide the flip
stops into the fence as shown in
Figure 46.
Figure 46. Stop block installation.
Fence Scale
Alignment
Before operation, align the 0" mark on the rip
fence scale with the right side of the blade to
ensure accurate measurements.
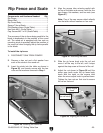
To align the rip fence scale with the blade:
1. Move the blade tilt to 0° (blade 90° to table),
and raise the main blade all the way up.
2. Remove the stop screw from the round rail
and move the rip fence against the blade.
3. Loosen the cap screws securing the scale.
4. Slide the fence scale to line up the first mark
on the scale with the left edge of the rip fence
and tighten the cap screws.
5. Slide the fence away from the blade and
replace the stop screw.
Dust Collection
Components and Hardware Needed: Qty
Blade Guard Dust Hood .....................................
1
Flat Washer 8mm ...............................................
1
Adjustable Handle M8-1.25 x 28 ........................
1
5" Dust Hose (not included) ...............................
1
5" Hose Clamp (not included) ............................
2
2½" Dust Hose (not included) ............................
1
2½" Hose Clamp (not included) .........................
2
Dust Collection System (not included) ...............
1
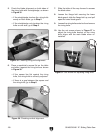
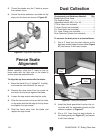
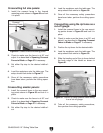
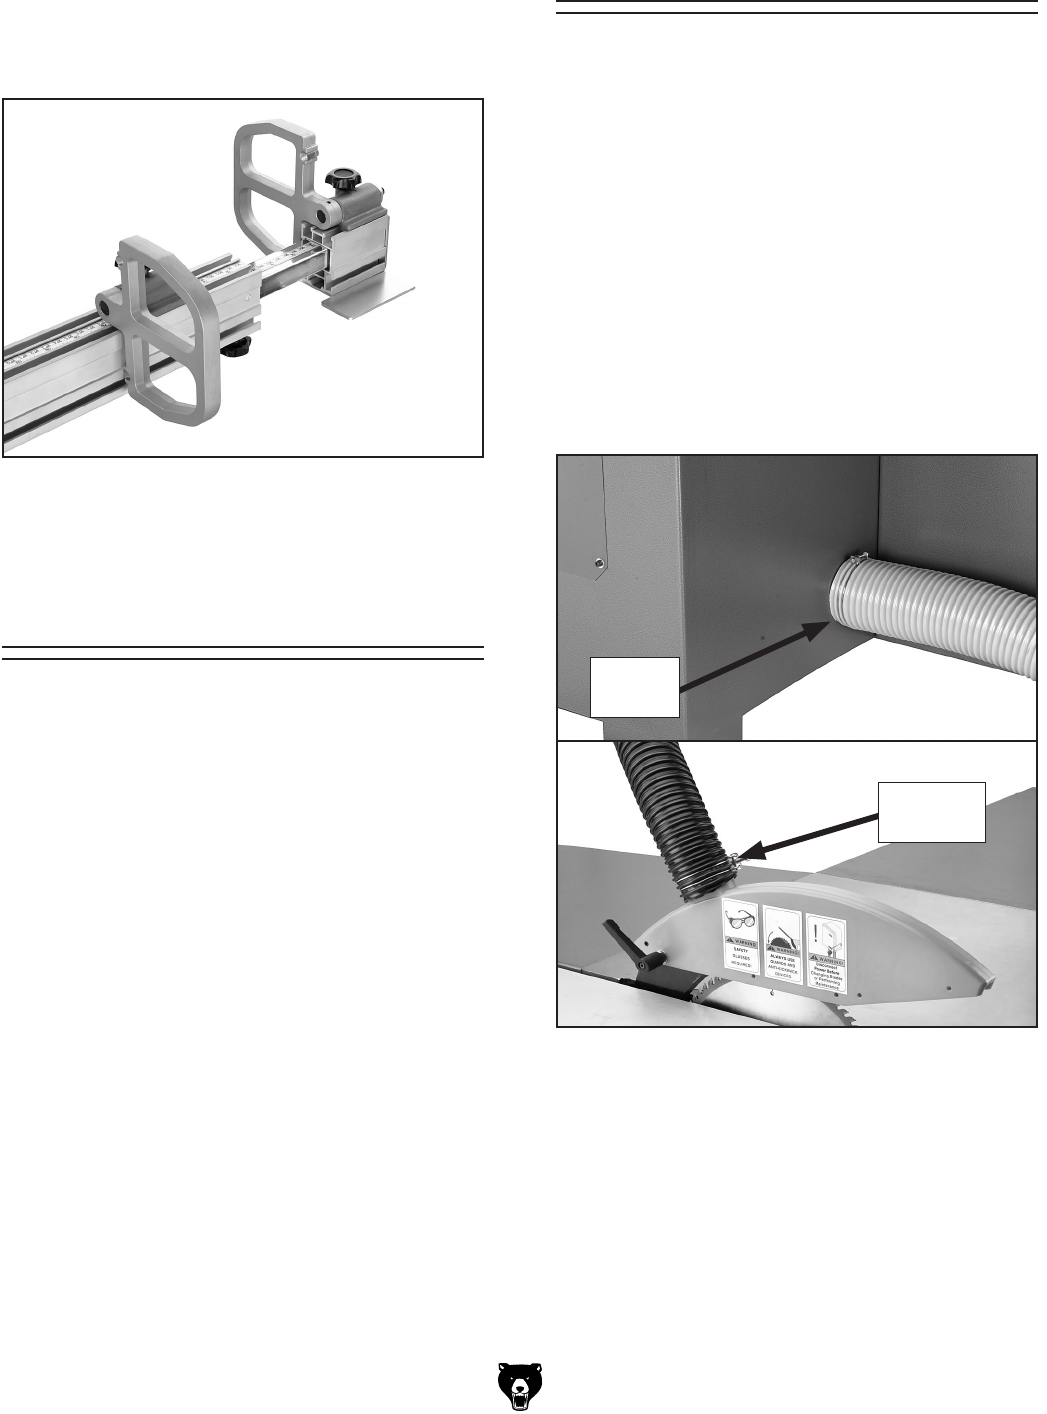
To connect the dust ports to a dust collector:
1. Run a 5" hose from the dust collector to the
dust port located under the saw table (
Figure
47) and secure it with hose clamps.
2. Install the blade guard/dust hood on the riv-
ing knife with the adjustable handle and flat
washer as shown in
Figure 47.
3. Run a 2½" hose from the dust collector to
the blade guard port (
Figure 47) and secure
it with hose clamps.
Figure 47. Dust port locations.
5" Dust
Port
2½" Dust
Port