-14- G0560 Meat-Cutting Bandsaw
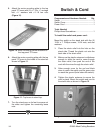
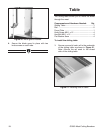
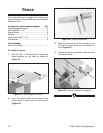
Figure 12. Switch & cord installed on stand.
Components and Hardware Needed: Qty
Switch ................................................................1
Switch Cover ......................................................1
Power Cord ........................................................1
Tools Needed:
Phillips Head Screwdriver ..................................1
To install the switch and power cord:
Mount the switch on the stand side with the (2)
10-24 x 1" Phillips screws, 10-24 nuts, and star
washers.
1. Place the strain relief into the hole on the
stand side. Thread the plastic nut onto the
back side of the strain relief.
2. Make sure the plastic setscrew is withdrawn
enough to allow the cord to come through
the strain relief, then push the end of the
cord with the wires through the strain relief.
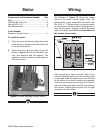
3. Allow enough room for the red and black
wires to reach the switch and the green wire
to reach the ground (hole below the switch).
4. Tighten the plastic setscrew to secure the
cord in place. Mount the switch and cord to
the stand side as shown in Figure 12.
Switch & Cord
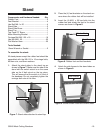
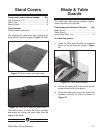
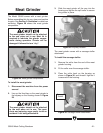
6. Attach the motor mounting plate with the top
panel “S” brace to the inside of the stand as
shown in Figure 11.
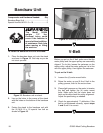
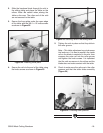
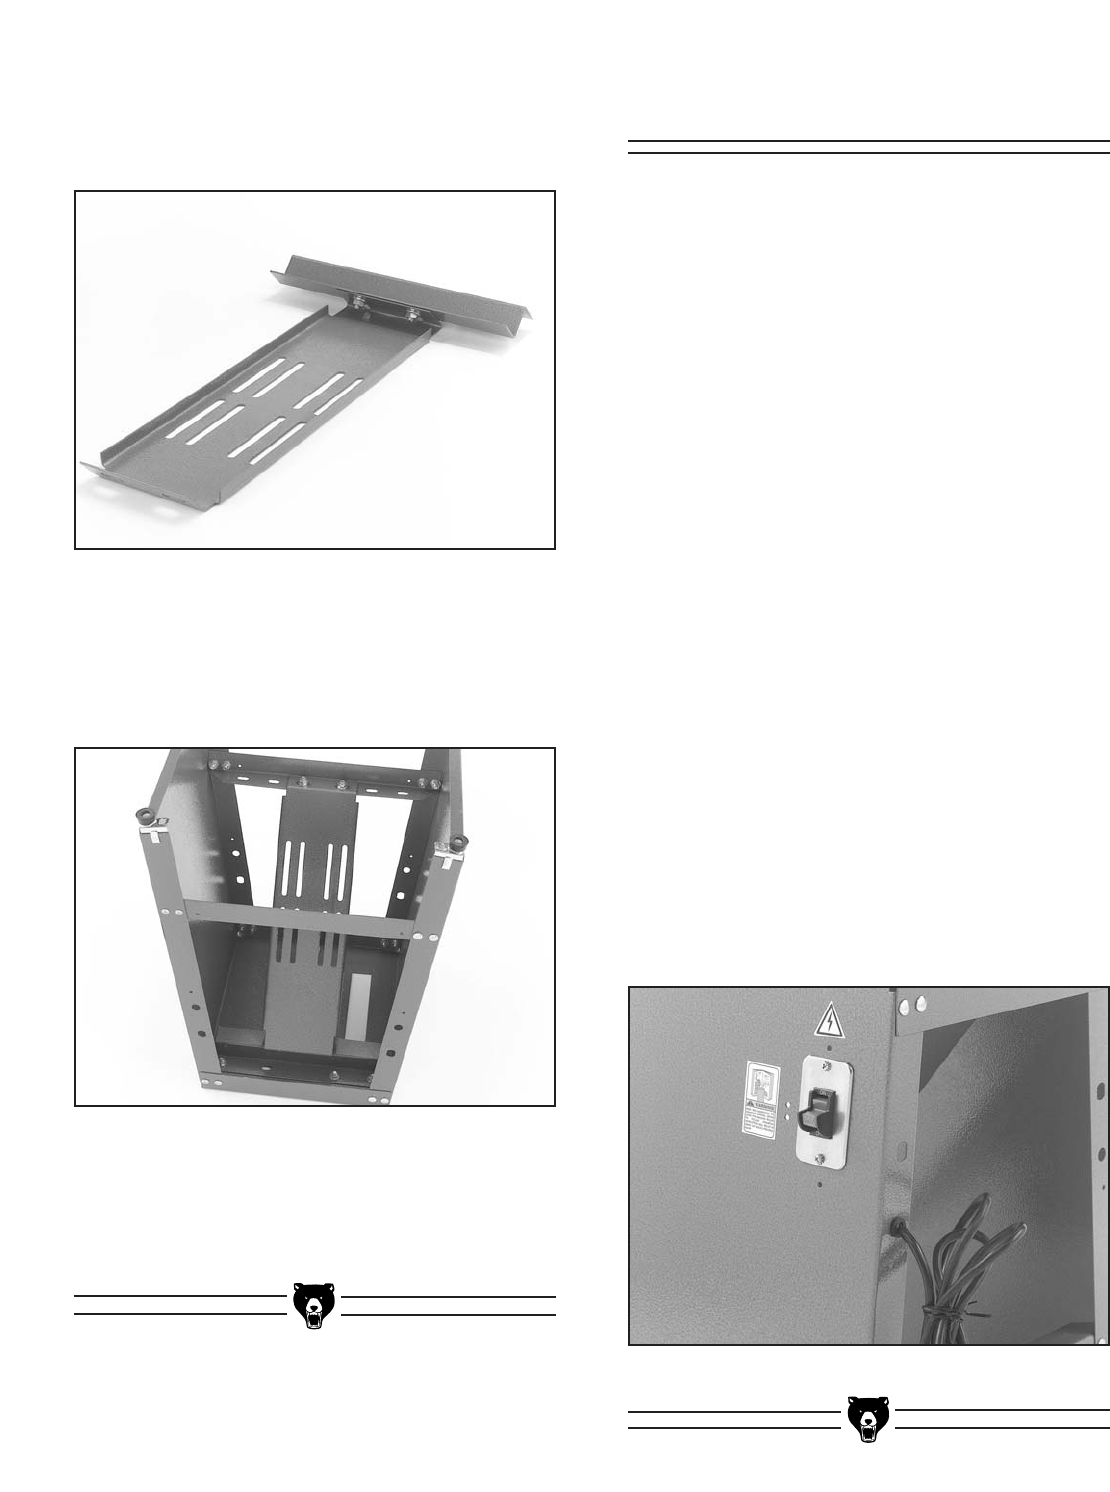
Figure 10. Motor mounting bracket attached to
the top panel “S” brace.
5. Attach the motor mounting plate to the top
panel “S” brace with (2)
5
⁄16"-18 x
1
⁄2" carriage
bolt,
5
⁄16" washers and
5
⁄16"-18 hex nuts
(Figure 10).
7. Turn the stand over on its feet to square out
the sides and tighten the remaining loose
nuts.
Figure 11. Top brace to stand top.


