G0605X/G0606X Extreme Series 12" Table Saw
-25-
Riving Knife
Review this section, even if your saw riving knife
came pre-installed. You must install the riving
knife or the splitter and blade guard before operat
-
ing the table saw.
Components and Hardware Needed: Qty
Riving Knife .......................................................
1
To install the riving knife:
1. Remove the table insert, blade guard, and
splitter—if previously installed.
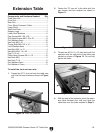
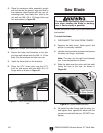
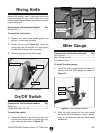
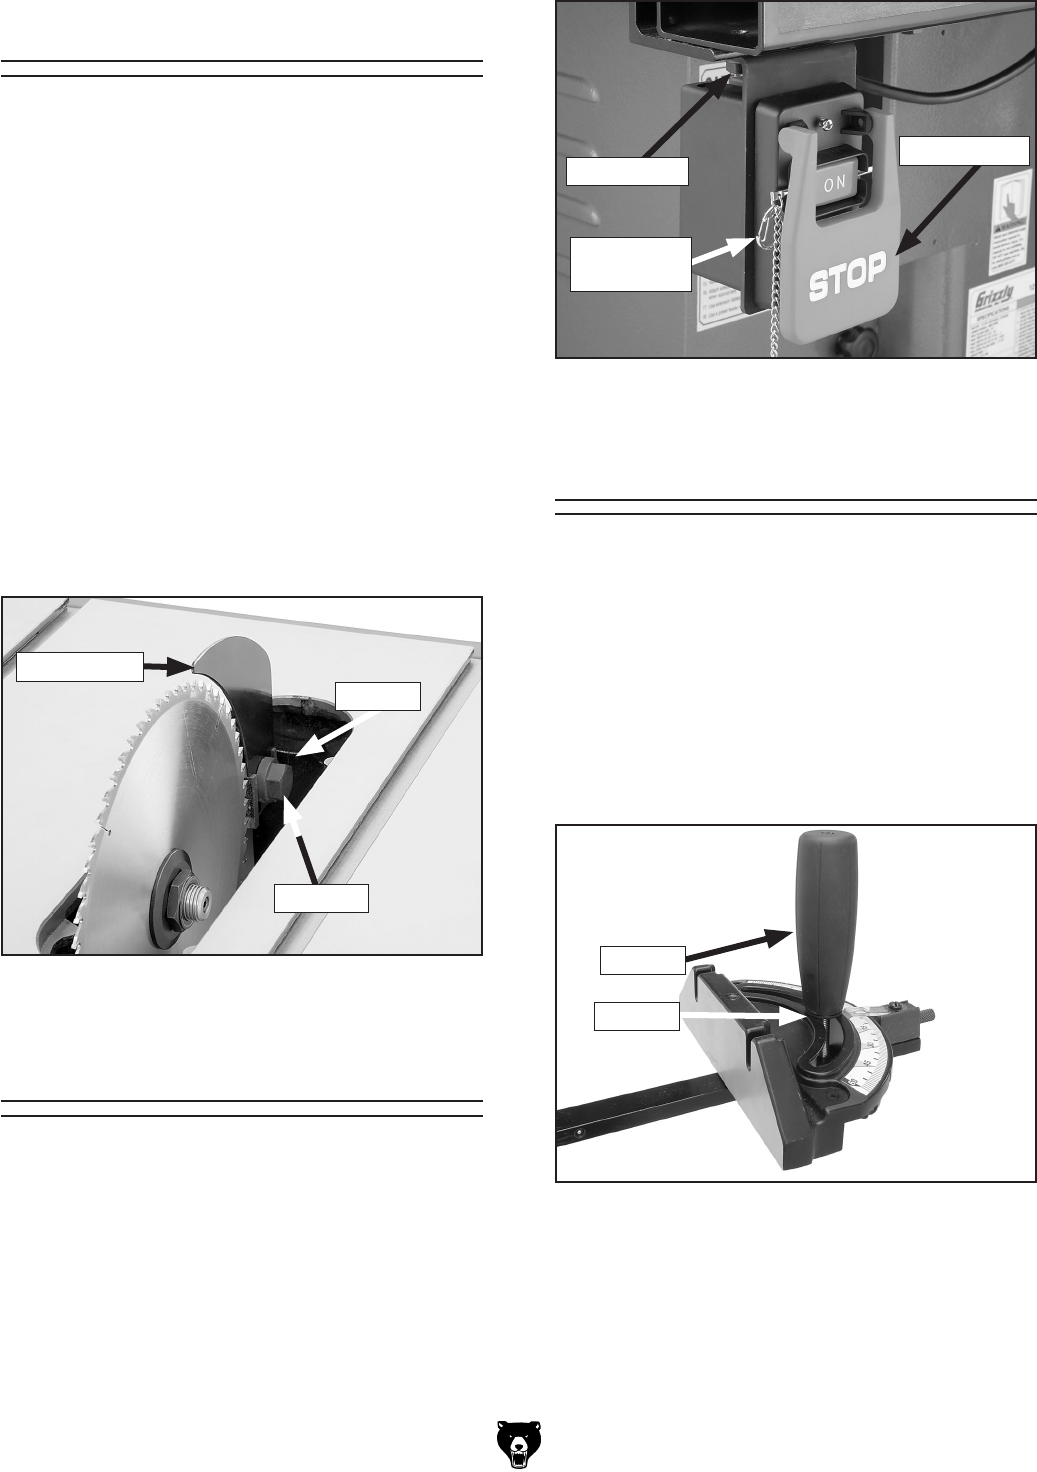
2. Loosen the hex bolt (Figure 29), insert the
riving knife into the bracket slot
, and tighten
the hex bolt to secure the riving knife.
3. Reinstall and secure the table insert.
Figure 29. Riving knife installed.
Components and Hardware Needed: Qty
Safety Pin ..........................................................
1
Flange Bolts M8-1.25 x 25 ................................
2
To install the switch:
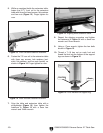
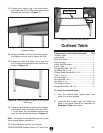
1. Fasten the switch to the left end of the front
rail with two flange bolts, and install the anti-
start safety pin as shown in
Figure 30.
On/Off Switch
Bracket
Riving Knife
Hex Bolt
Figure 30. Switch installed.
Stop Paddle
Flange Bolt
Anti-Start
Safety Pin
Figure 31. Miter gauge installed.
Washer
Handle
2. Slide the miter gauge into the miter gauge
slot to the left of the blade; or store it tempo
-
rarily on the brackets near the blade angle
handwheel.
Components and Hardware Needed: Qty
Miter Gauge
....................................................... 1
Miter Gauge Handle ..........................................
1
Flat Washer 8mm ..............................................
1
To install the miter gauge:
1. Install the miter gauge handle and 8mm flat
washer onto the miter gauge as shown in
Figure 31.
Miter Gauge


