


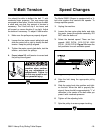
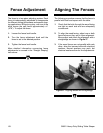
G8621 Heavy-Duty Sliding Table Shaper -21-
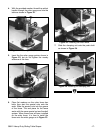
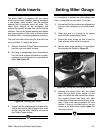
Table Inserts
The Model G8621 is supplied with two inserts
which provide three possible opening diameters
in the shaper table surface. Use the smallest
opening that a particular cutter will allow. This
offers more support for the workpiece and
reduces the amount of chips that can fall into the
machine. The correct spindle opening also allows
any unused portion of the cutter to remain below
the table surface—increasing operator protection.
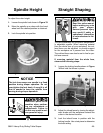
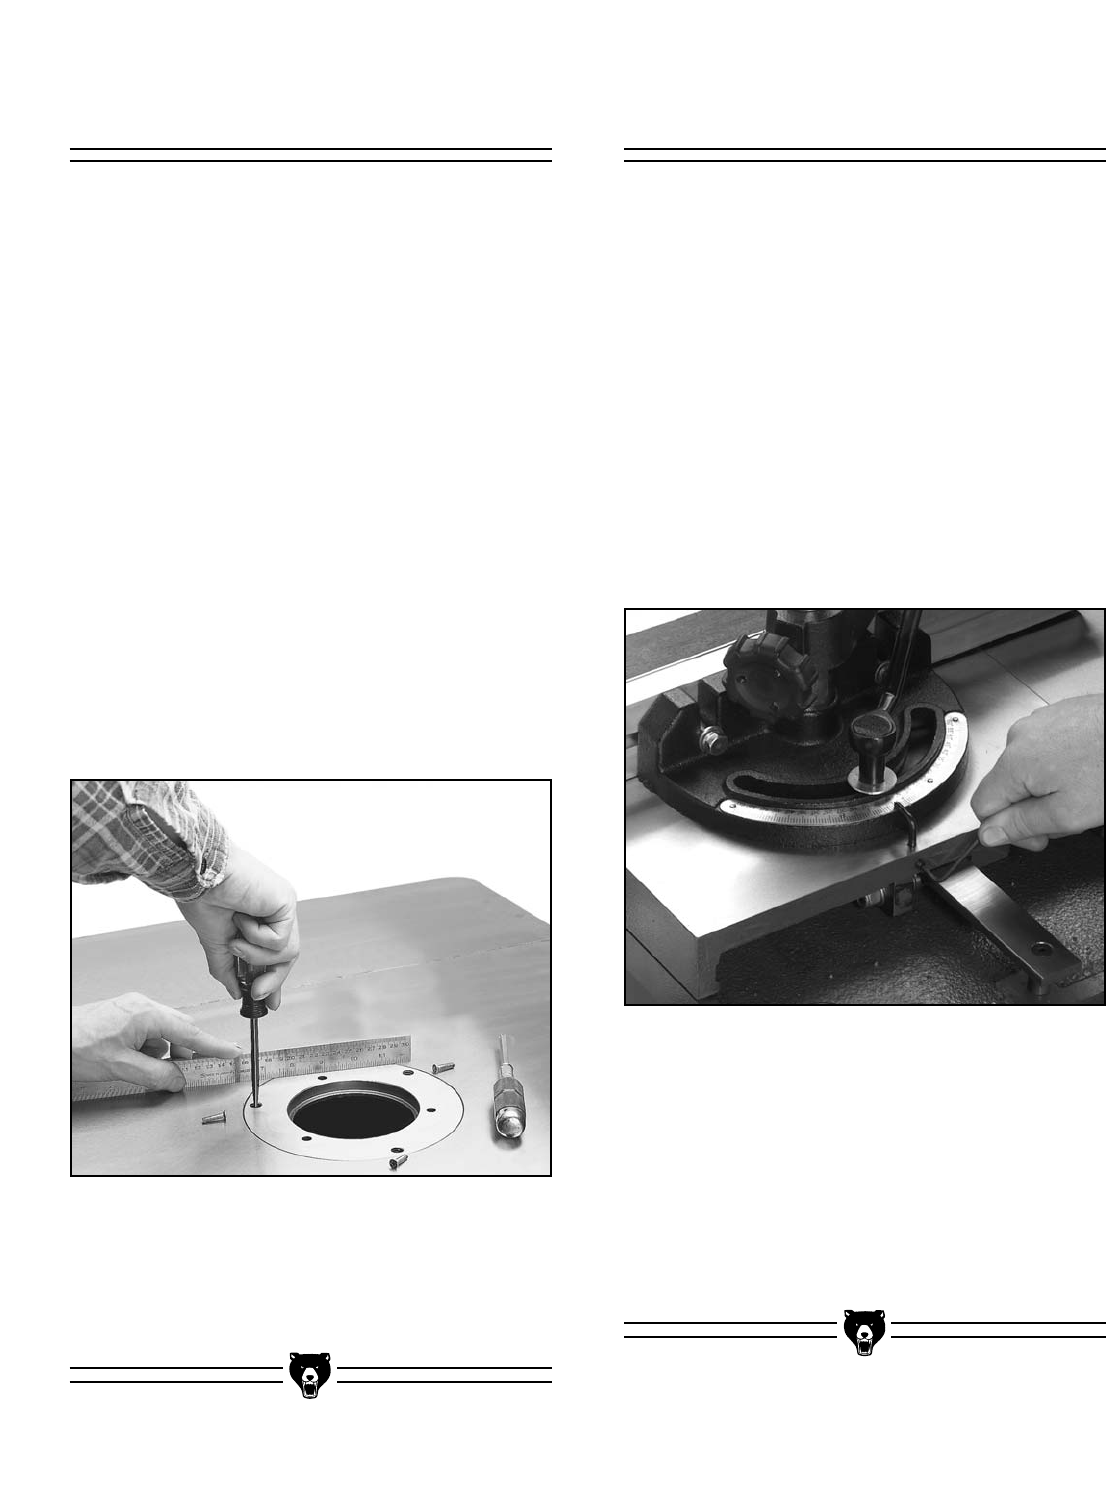
The cast iron table insert must be flush with the
top of the table. To adjust the insert:
1. Remove the three Phillips
®
head screws that
hold the cast iron insert in place.
2. By using a straightedge and a screwdriver,
turn the barrel screws clockwise or counter-
clockwise to level the cast iron insert with the
table. See Figure 28.
3. Inspect with the straightedge from both side-
to-side and front-to-back to ensure the insert
is flush with the table. Replace and secure
the Phillips
®
head screws.
Figure 28. Leveling table insert.
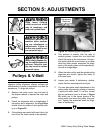
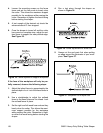
Figure 29. Setting the miter gauge pointer.
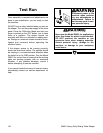
Setting Miter Gauge
It is necessary to square the miter gauge each
time it is removed from the table. To do this:
1. Ensure that the fence halves are aligned and
that the miter assembly is correctly assem-
bled.
2. Place one end of a framing or try square
flush with the infeed shaper fence.
3. Rotate the miter gauge so that it lines up
flush with the other end of the square.
4. Set the miter gauge pointer to 0° and tighten
the setscrew as shown in Figure 29.
5. Keeping the square flush with the infeed
fence and the miter fence, clamp it to the
table, and slide the table across the shaper.
The square should stay flush with both
infeed and outfeed fences during this move-
ment. If this is the case, proceed to the next
section. If they do not stay flush or are not
square to the miter fence, repeat steps 1-4
until they are true.