


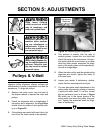
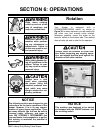
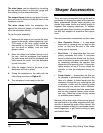
-26- G8621 Heavy-Duty Sliding Table Shaper
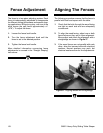
4. Loosen the mounting screws on the fence
faces and set the face ends to barely clear
the cutter. This allows the maximum support
possible for the workpiece while passing the
cutter. Remember to tighten the wood facing
before starting the shaper.
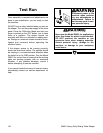
5. A test sample of the desired cut should be
advanced about 8'' then stopped.
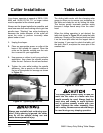
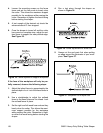
6. Once the shaper is turned off and the cutter
has come to a complete stop, adjust the out-
feed fence to support the new profiled edge.
See Figure 35.
Figure 35. Fence adjusted to support workpiece.
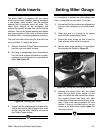
If the face of the workpiece will only be par-
tially removed, observe the following steps:
1. Adjust the infeed fence to approximately the
desired depth of cut. Lock the infeed fence in
place.
2. Use a straightedge to adjust the outfeed
fence to the same plane as the infeed. Lock
the outfeed fence in place.
3. Set the right and left wood face ends so they
barely clear the cutter. This allows the maxi-
mum support possible for the workpiece
while passing the cutter. Remember to tight-
en down the wood facing before starting the
shaper.
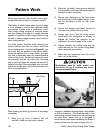
4. Run a test piece through the shaper as
shown in Figure 36.
Figure 36. Fence adjustment for blind cuts.
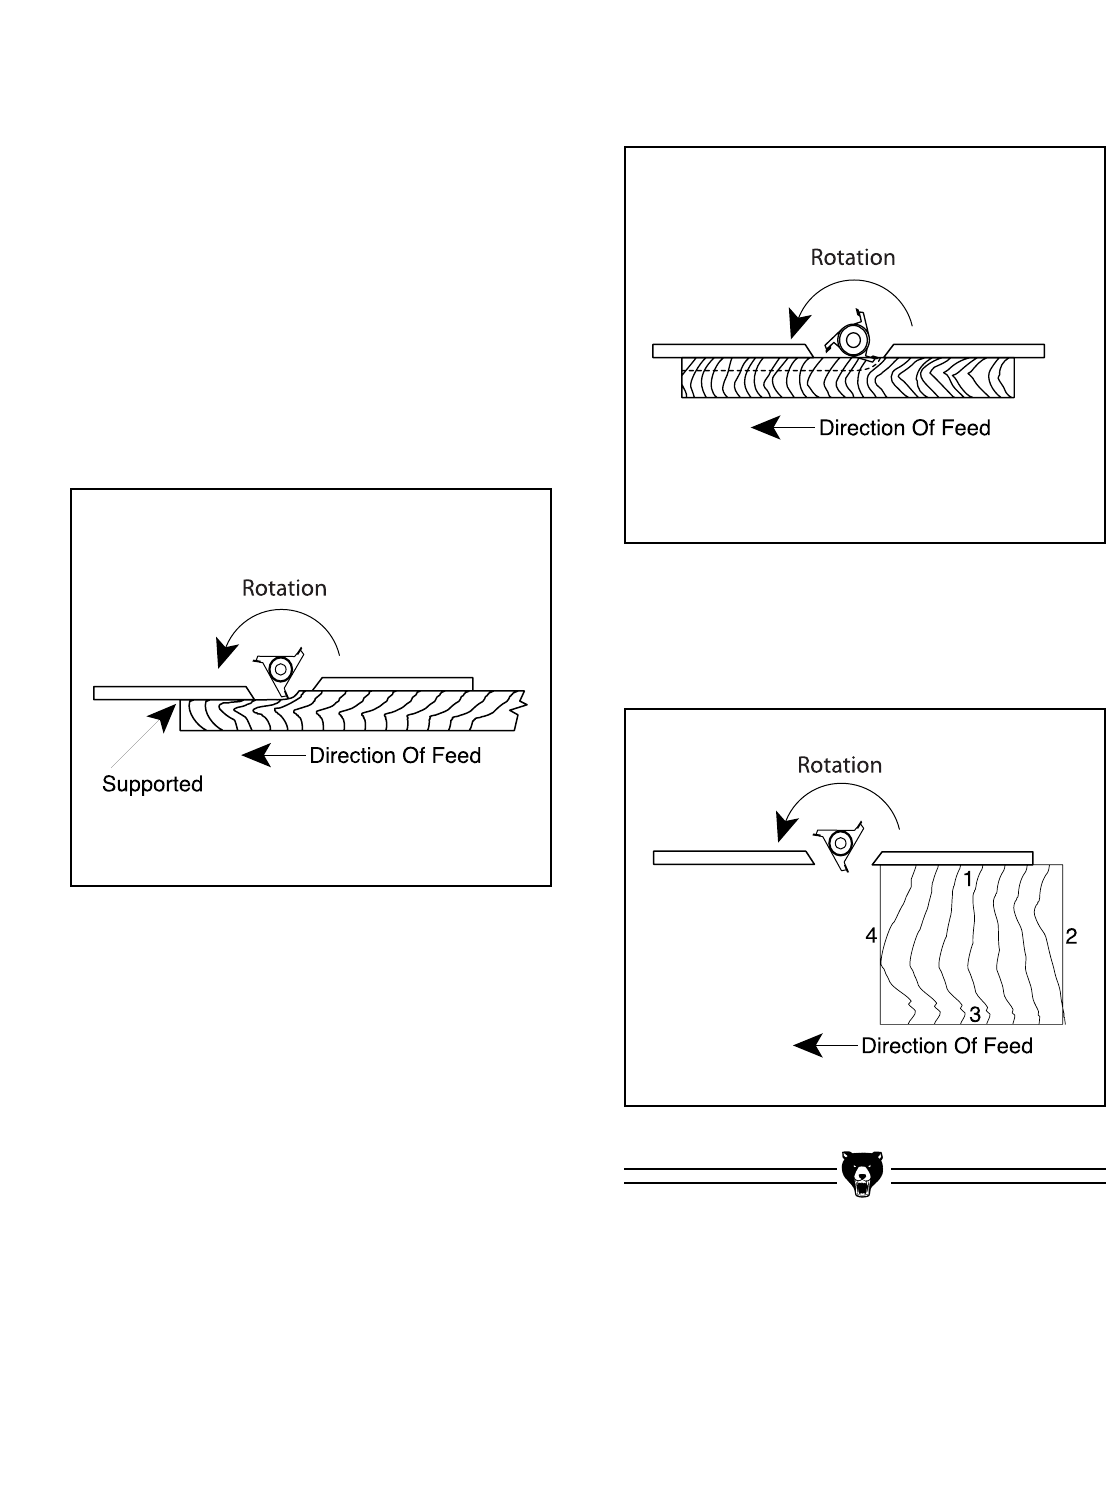
5. Always cut the end grain first when putting
an edge around the perimeter of your work-
piece. See Figure 37.
Figure 37. Sequence for multiple cuts.