


PAGE 34 — PS7060 MULTIQUIP SAW • OPERATION MANUAL — REV. #2 (06/02/08)
1
4
2
3
5
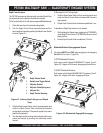
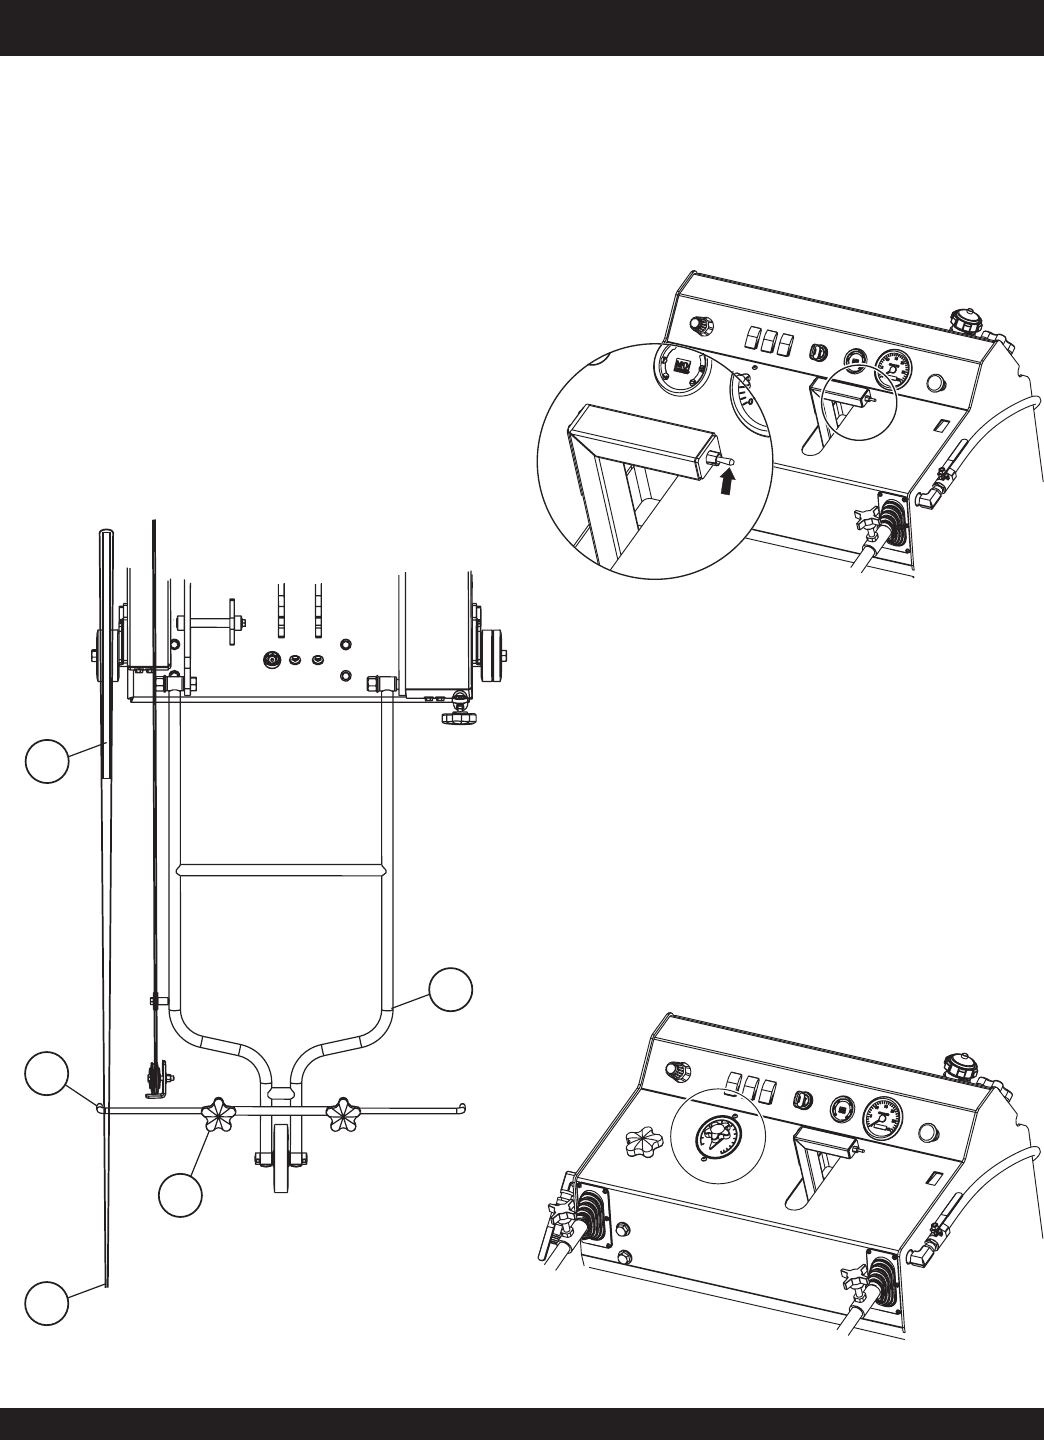
PS7060 MULTIQUIP SAW — RAISE-LOWER CONTROLS
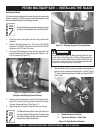
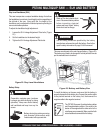
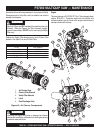
Raise - Lower Controls
The PS7060 saw uses a 12-volt hydraulic pump and cylinder to
raise and lower the saw. The raise-lower function is controlled
by the operator through a 3-position toggle switch on the raise-
lower control handle located on the operators control panel.
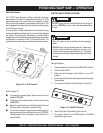
Figure 29. Raise-Lower Control Toggle Switch
1. To Lower the blade, push the toggle switch located on the
end of the Control Handle FORWARD, ( Figure 29).
2. To Raise the blade, pull the toggle switch located on the
end of the Control Handle BACKWARD.
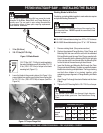
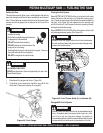
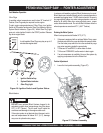
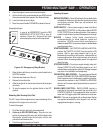
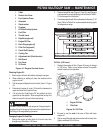
Setting the Depth Indicator
1. Lower the blade until it just touches the cutting surface.
2. Set the Depth Indicator dial to zero. (The Depth Indicator
now accurately indicates how deep the blade is cutting.)
(Figure 30)
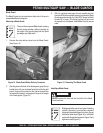
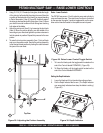
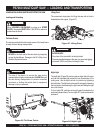
4. To raise the front pointer assembly, (Item 1) first pull back
and up on the pointer cable. Secure the pointer assembly
in the desired raised position by locking the cable between
the jaws of the cam cleat.
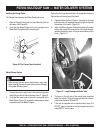
2. Using 10-12 ft. (3-3.7 meters) of stringline, divide the length
of the string in half and slide the string into one of the slots
or gullets on the backside of the blade, (as viewed standing
in front of the pointer). (Item 2, Figure 28) Hold both ends of
the string in one hand and pull the string taut. (Item 3) Move
your hand from side to side until both strings are touching
both sides of the blade.
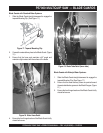
3. Adjust the pointer rod (Item 5), by loosening the lock knob
(Item 4). Move the pointer directly over the middle of the
two strings in your hand and tighten the pointer setscrew to
lock the pointer in position. Repeat this process for the rear
pointer.
Figure 28. Adjusting the Pointer Assembly
Top View
I
N
C
H
INCH
M
M
MM
0
2
5
25
5
0
50
0
1
2
3
7
5
75
1
0
0
100
1
2
5
125
1
5
0
150
1
7
5
175
2
0
0
200
2
3
0
230
2
5
5
255
2
8
0
280
3
0
5
305
3
3
0
330
3
5
5
355
3
8
0
380
1
5
15
9
1
0
10
1
1
11
1
2
12
1
3
13
1
4
14
4
5
6
7
8
Figure 30. Depth Indicator