


-22-
Df[\cN(/(0&N(/)'D]^%J`eZ\()&('
J<KLG
Assembly steps are the same for the Model W1819 and
W1820 except where noted. Assembly consists of install-
ing minor components, the extension wings, front and rear
rails, extension table, and the legs (Model W1820 only).
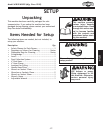
KfXjj\dYc\k_\kXYc\jXn#[fk_\j\jk\gj1
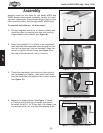
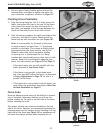
(% Pull the magnetic switch out of the saw cabinet and
install the door by inserting the door pins into the
hinge sockets on the cabinet (see =`^li\ /).
8jj\dYcp
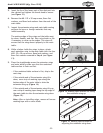
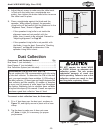
=`^li\('% Handwheel installed.
=`^li\/% Door installed.
Hinge
Socket
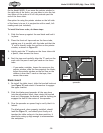
=`^li\0% Handwheel set screw.
Lock Knob
Handle
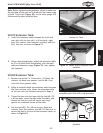
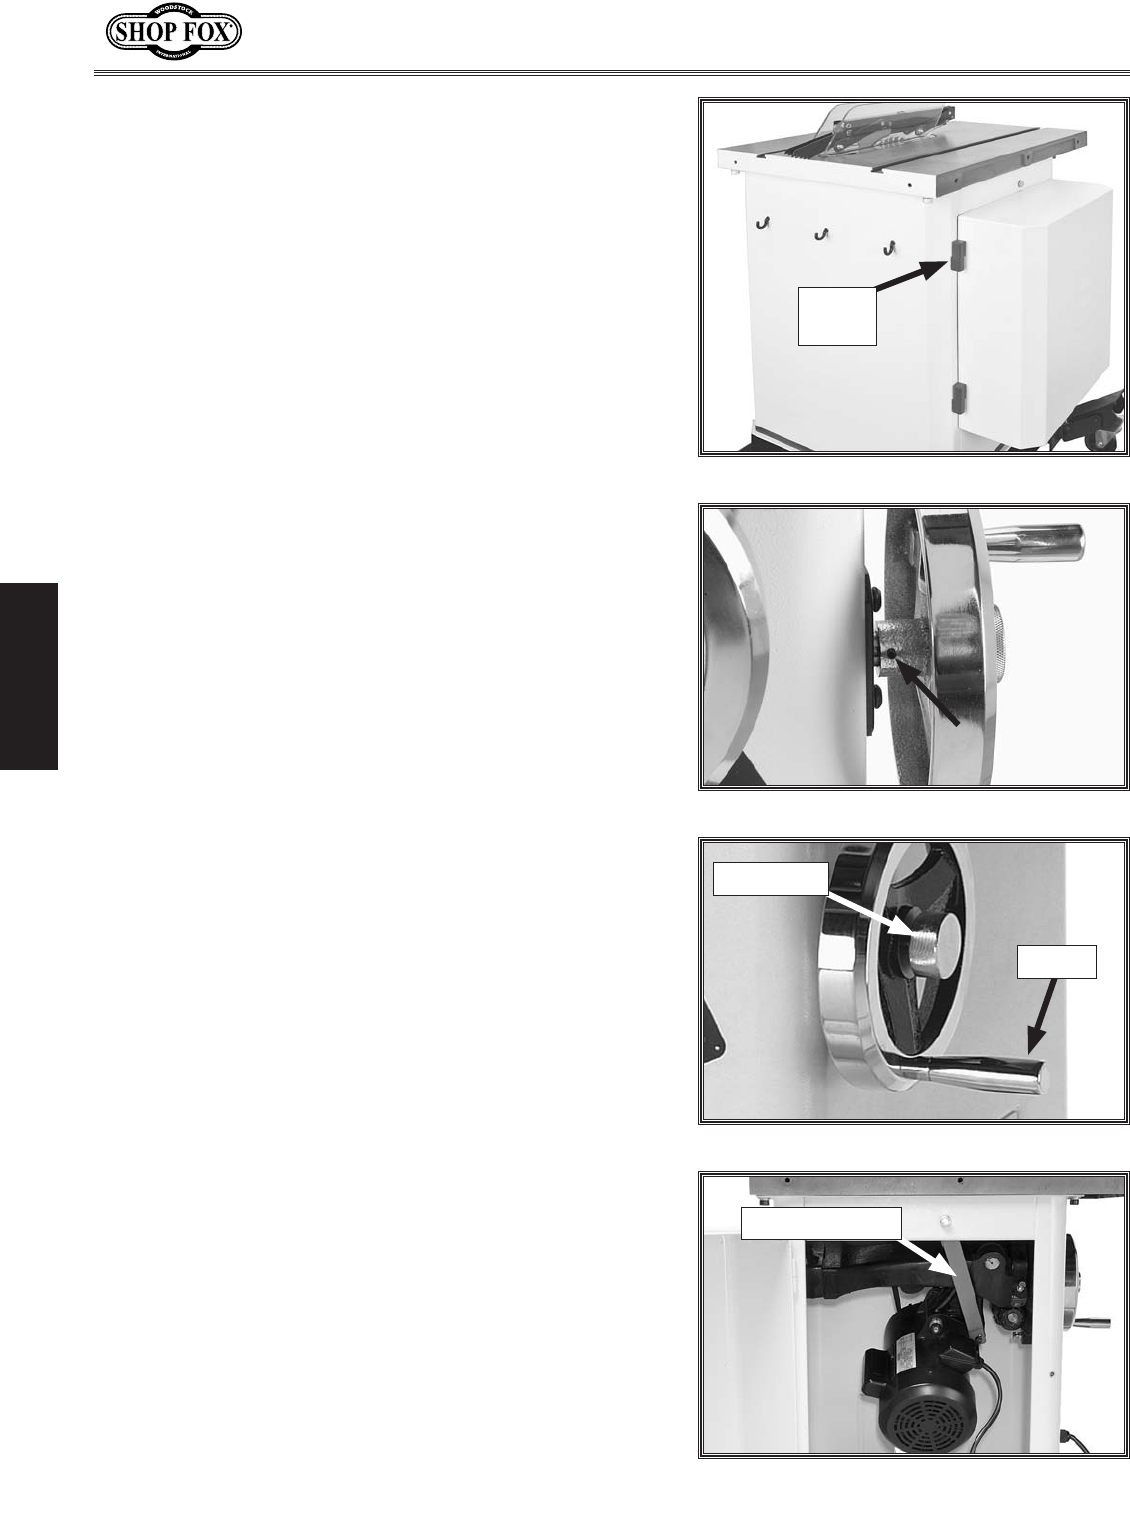
=`^li\((% Shipping brace location.
Shipping Brace
)% Place the included 5 x 5 x 40 key in the handwheel
shaft and slide the handwheel onto the shaft on the
front of the table saw. Use the included 2.5mm hex
wrench to tighten the set screw (see =`^li\0) on
the side of the handwheel until it is secure.
*% Thread the handwheel lock knob into the center of
the handwheel and tighten, then install the handle
into the handwheel and tighten with a 14mm wrench
(see =`^li\(').
+% Remove the shipping brace (see =`^li\(() using
a 17mm wrench and a pair of needle nose pliers.
Re-install the M10-1.5 x 25 hex bolt, flat washer, hex
nut and the cotter pin, and save the shipping brace.