


-23-
Df[\cN(/(0&N(/)'D]^%J`eZ\('&('
J<KLG
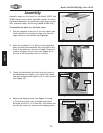
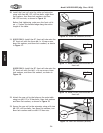
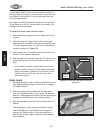
,% Insert the lip of the lower part of the dust port into
the cabinet and tighten the thumb knob to secure
(see =`^li\()).
-% Remove the M8-1.25 x 30 cap screws, 8mm flat
washers, and 8mm lock washers from the ends of the
main table.
.% Inspect the extension wings and main table mating
surfaces for burrs or foreign materials that may
inhibit assembly.
The mating edges of the wings and the table must
be clean, smooth, and flat. Use a wire brush or file
if necessary to clean up the edges. This step will
ensure that the wings mount properly to the main
table.
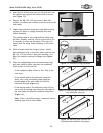
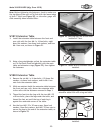
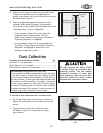
/% While a helper holds the wings in place, attach
each extension wing to the main table with the four
M8-1.25 x 30 cap screws, 8mm lock washers, and
8mm flat washers removed in Jk\g- (see =`^li\
(*).
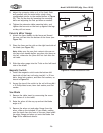
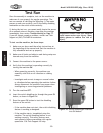
0% Place the straightedge across the extension wings
and main table to make sure that the combined
table surface is flush and flat.
— If the combined table surface is flat, skip to the
next step.
— If the outside end of the extension wing tilts
down, use a strip of masking tape along the
bottom edge of the main table to shim the
extension wing up (=`^li\(+).
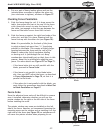
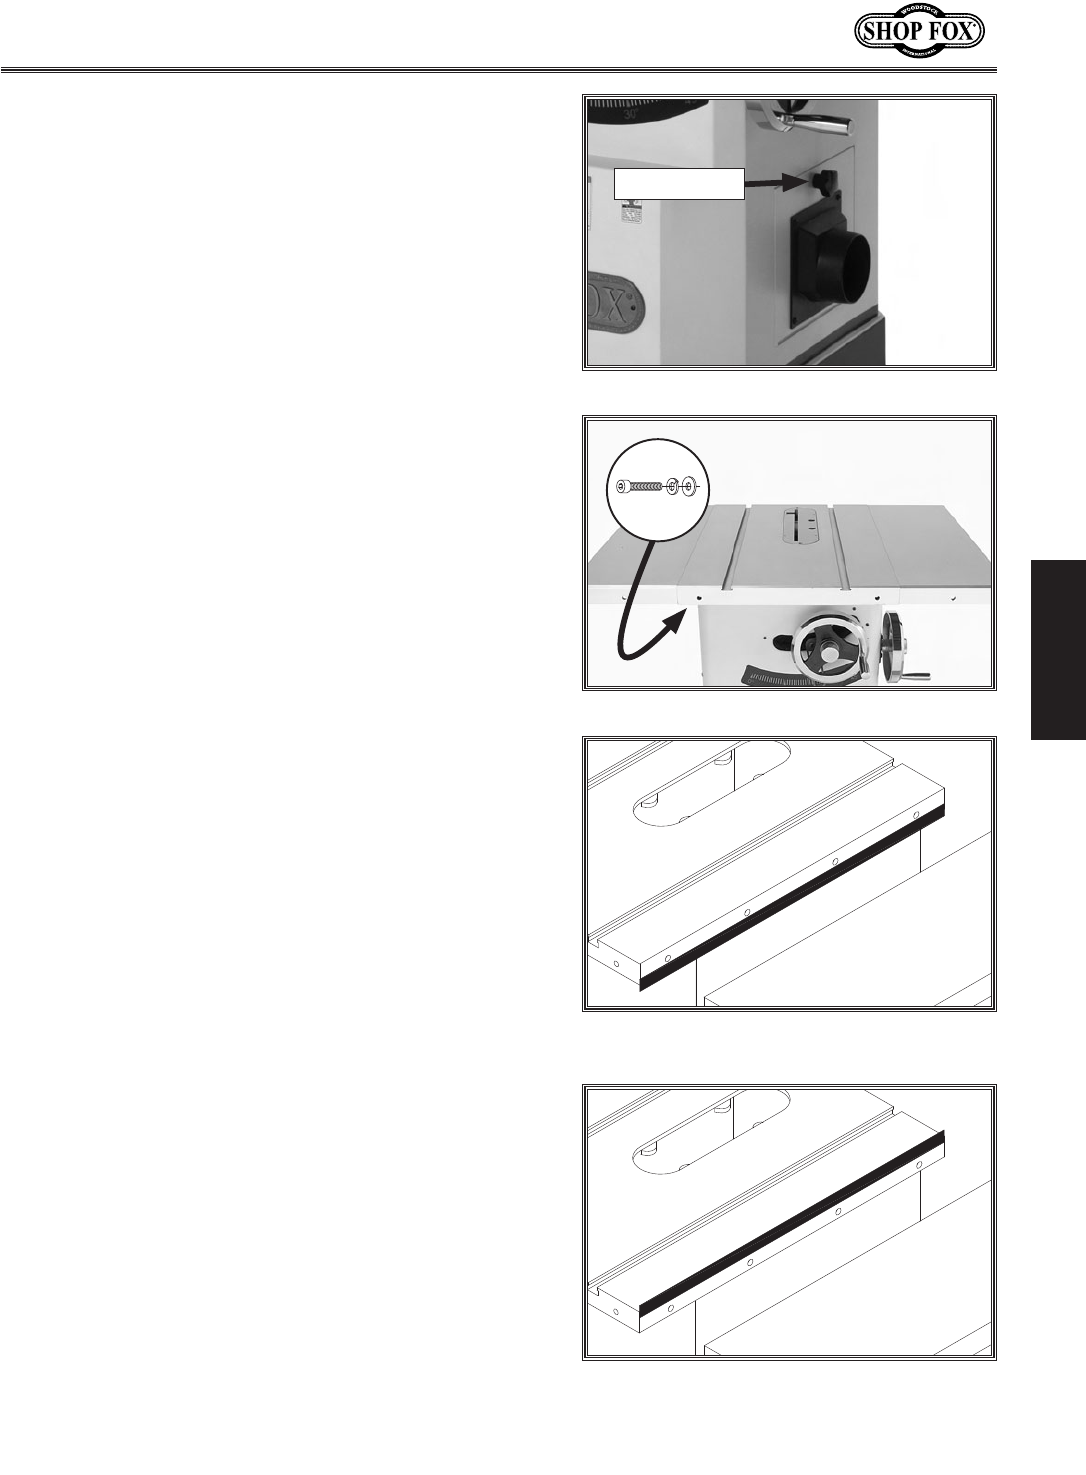
— If the outside end of the extension wing tilts up,
use a strip of masking tape along the top edge of
the main table to shim the extension wing down
(=`^li\(,).
Efk\18]k\ii\$`ejkXcc`e^n`e^j#i\dfm\Xcc\oZ\jj
dXjb`e^kXg\n`k_XiXqfiYcX[\%
=`^li\(+% Masking tape location for tilting
the extension wing up.
=`^li\(,% Masking tape location for
adjusting the extension wing down.
=`^li\(*% Extension wings installed.
x4
=`^li\()% Dust port installed.
Thumb Knob