


-26-
Df[\cN(/(0&N(/)'D]^%J`eZ\('&('
J<KLG
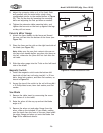
,% Adjust the extension table so it is flat (both flush
and parallel) with the main table, using a long
straightedge (similar to the method shown in =`^li\
))). This can be done by loosening the mounting
bolts and adjusting the feet up/down as needed.
-% Tighten the extension table mounting bolts, and
tighten the hex nuts on the feet up against the legs
so they will not move.
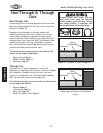
=\eZ\D`k\i>Xl^\
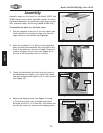
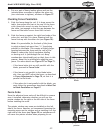
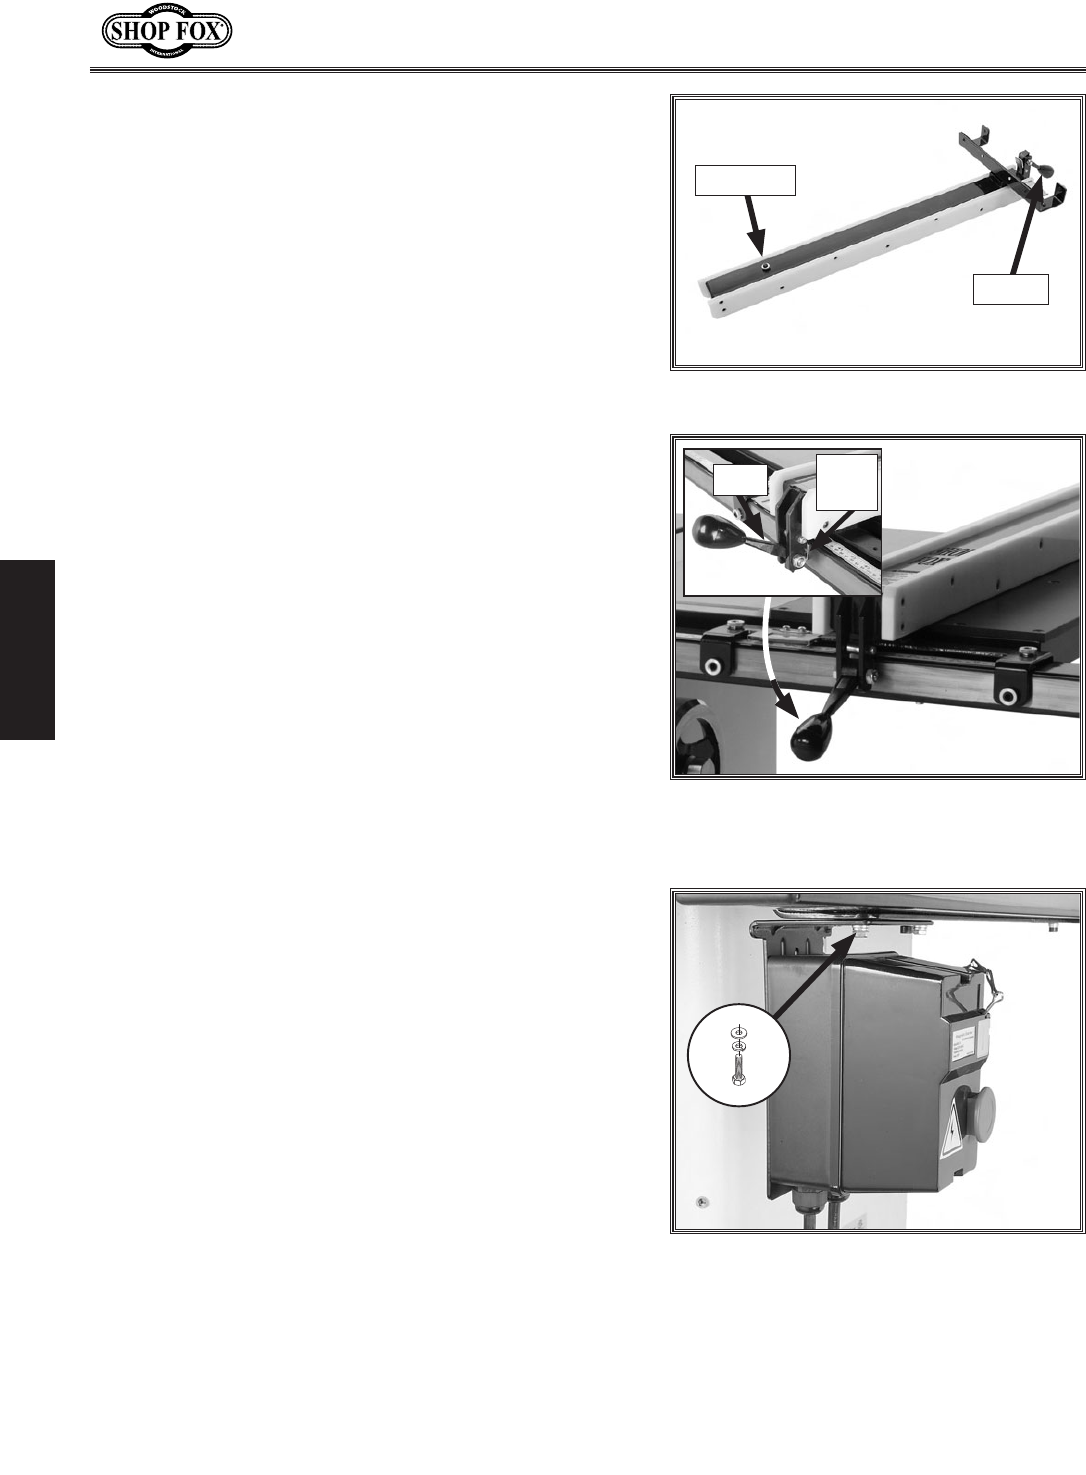
(% Attach the fence handle to the fence and thread
the rear rail foot into the bottom of the fence (see
=`^li\)+).
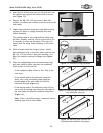
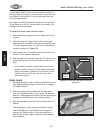
)% Place the fence on the rails on the right hand side of
the blade (see =`^li\),).
Efk\1DXb\jli\k_\ZXd]ffkZfekXZkjk_\ZXdfe
k_\]\eZ\cfZb_Xe[c\Y\]fi\pflgcXZ\k_\]\eZ\fe
k_\iX`c#fk_\in`j\k_\]\eZ\n`ccefkcfZbfekfk_\
iX`cklY\%
*% Slide the miter gauge into the T-slot on the left hand
side of the blade.
DX^e\k`ZJn`kZ_
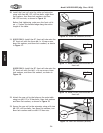
(% Install the magnetic switch onto the bottom left
hand side of the front rail using two M6-1 x 12 hex
bolts, 6mm lock washers, and 6mm flat washers, as
shown in =`^li\)-.
)% Secure the top of the switch to the rail with an M6-1
x 12 Phillip head screw, 6mm lock washer, and flat
washer.
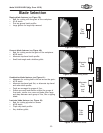
JXn9cX[\
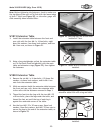
(% Remove the table insert by unscrewing the screw
that fastens it to the table.
)% Raise the arbor all the way up and set the blade
angle at 0º.
*% Remove the arbor nut and arbor flange from the
arbor, slide on the included 10" saw blade, making
sure the teeth face the front of the saw, then install
the arbor flange and arbor nut onto the blade. See
GX^\*, for additional details.
=`^li\)+% Fence assembled.
=`^li\),% Fence installed on rails.
Cam
Cam
Foot
=`^li\)-% Magnetic switch installed.
Rear Foot
Handle