


-42-
Df[\cN(/(0&N(/)'D]^%J`eZ\('&('
FG<I8K@FEJ
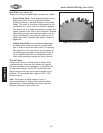
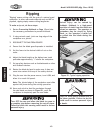
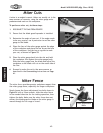
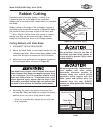
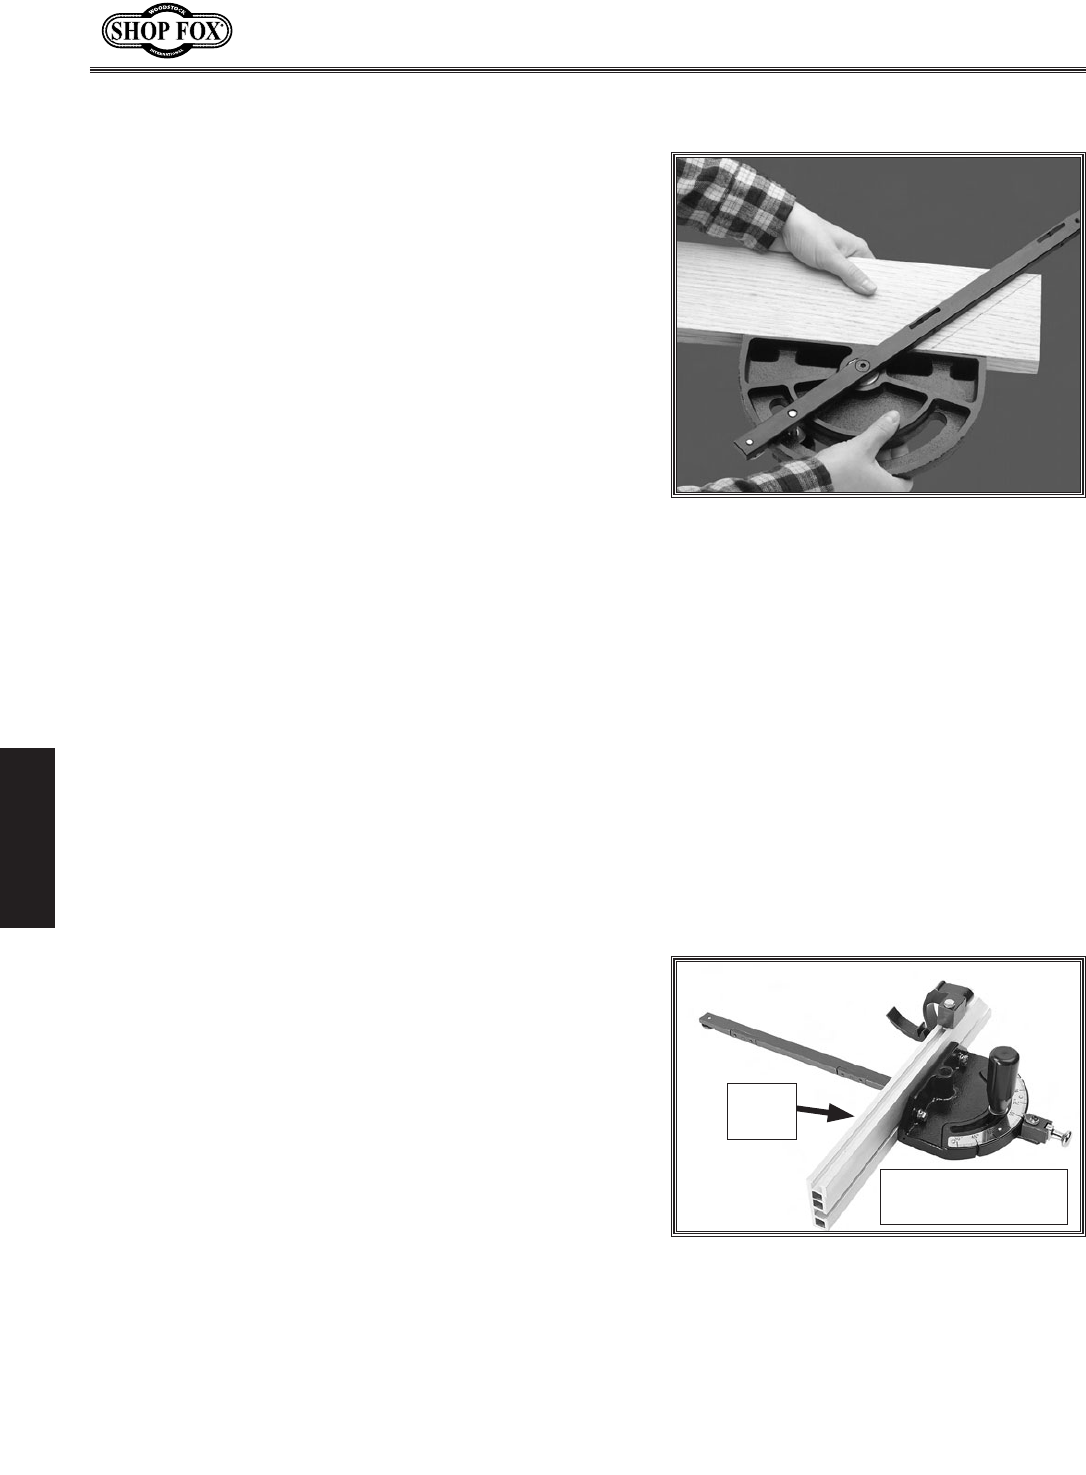
=`^li\,*% Example of marking miter line.
D`k\i:lkj
A miter is an angled crosscut. Miters are usually cut in the
same manner as crosscuts, using the miter gauge and a
predetermined mark on the workpiece.
Kfg\i]fidXd`k\iZlk#[fk_\j\jk\gj1
(% DISCONNECT THE SAW FROM POWER!
)% Ensure that the blade guard/spreader is installed.
*% Determine the angle of your cut. If the angle needs
to be very precise, use a protractor to set the miter
gauge to the blade.
+% Place the face of the miter gauge against the edge
of the workpiece and place the bar across the face
of the workpiece. Use the bar as a guide to mark
your cut, as shown in =`^li\,*.
,% Place the miter gauge back into the slot and hold
the workpiece firm against the miter gauge body.
Slide the miter gauge near the blade and adjust the
workpiece so the blade will cut on the waste side of
the line.
-% Proceed to make the cut in the same manner as
described in the :ifjjZlkk`e^ instructions on GX^\
+(.
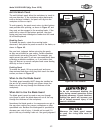
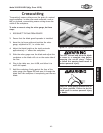
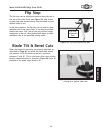
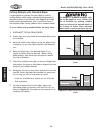
=`^li\,+% Miter fence adjustment bolts.
Fence Adjustment
Bolts
Miter
Fence
D`k\i=\eZ\
The miter fence provides greater workpiece support than
the miter gauge alone, especially for longer workpieces.
Simply loosen the fence adjustment hex bolts shown in
=`^li\,+with a 10mm wrench, slide the miter fence
in the needed direction for the cutting operation, then
tighten the bolts. Make sure the miter fence does not
contact the blade guard or blade as the miter gauge is
moved through its full range of travel.