Installation
334135B 23
Installation
Grounding
General Grounding Guidelines
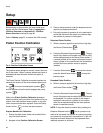
Pump: use ground wire and clamp (P). Refer to page 6
for component identification. Connect ground wire and
clamp to a true earth ground.
Fluid hoses: use only electrically conductive hoses.
Dispense Valve: ground through a proper connection to
a fluid hose and grounded pump.
Fluid supply container: follow local codes.
Object being sprayed: follow local codes.
Solvent pails used when flushing: follow local code.
Use only conductive metal pails, placed on a grounded
surface. Do not place the pail on a nonconductive sur-
face, such as paper or cardboard, which interrupts
grounding continuity.
Machine Installation
Locate Machine
1. Locate a bench top or open floor area to mechani-
cally mount the machine. Ensure the location has
access to compressed air and AC power and is well
ventilated.
2. Place the machine on the designated location. Allow
the machine to rest on the rubber feet provided.
Mount Machine, if Needed
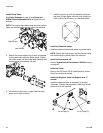
3. Remove the shield locking screws on both sides,
then remove the protective shield.
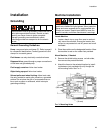
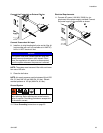
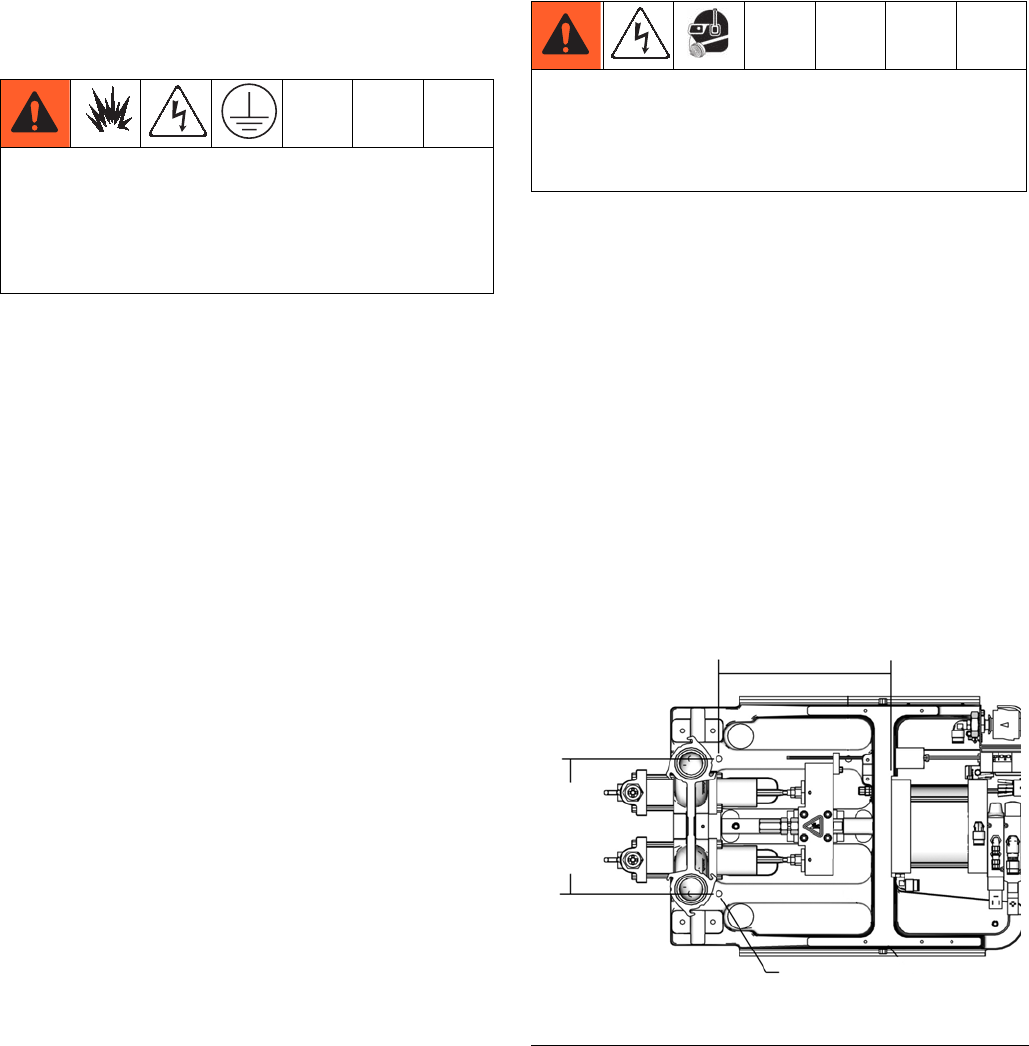
4. Attach the frame to the selected location by install-
ing fasteners (not provided with unit) through the
two mounting holes. See F
IG. 3.
The equipment must be grounded to reduce the risk of
static sparking and electric shock. Electric or static
sparking can cause fumes to ignite or explode.
Improper grounding can cause electric shock.
Grounding provides an escape wire for the electric
current.
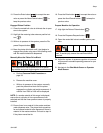
Pump shaft, polyethylene (PE) tank lid, and PE tank lid
gasket are coated with Krytox grease. Wear protective
gloves and cover exposed skin to avoid possible skin
irritation on contact. Read Krytox MSDS to know the
specific hazards, and follow manufacturer’s warnings.
F
IG. 3: Mounting Holes
10 in.
(254 mm)
8 in.
(203 mm)
0.375 in.
(10 mm)


