


Setup
28 334135B
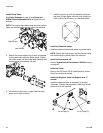
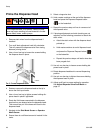
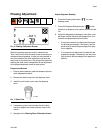
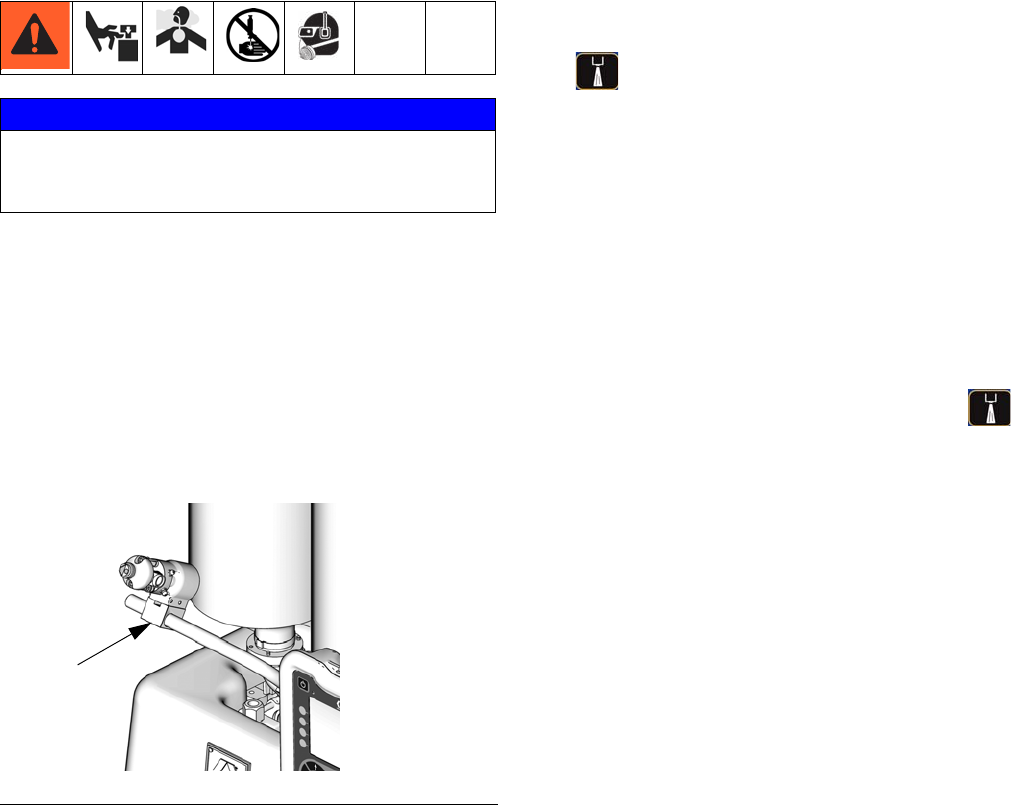
Prime the Dispense Head
1. Remove static mixer from the dispense head if
installed.
2. Turn snuff-back adjustment knob fully clockwise.
This will prevent the dispense valve from closing
between priming shots.
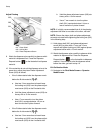
3. Use a 4 mm hex key to loosen the screws holding
the dispense head in place.
4. Rotate or remove the dispense head so the tip is
above the fluid input hoses.
5. Use a 4 mm hex key to tighten screws holding dis-
pense head in place if applicable.
6. Route the fluid hoses connected to the dispense
head so they are always below the dispense head.
This ensures any air in the hoses will travel to the
dispense head.
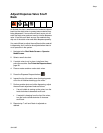
7. Navigate to the Shot Mode Screen or Operator
Mode Screen.
8. Ensure there is a sufficient amount of material in the
tanks.
9. Select a large size shot.
10. Hold a waste container at the end of the dispense
head and press the Dispense Request button
( ) or the footswitch.
11. Repeat the previous step until no air comes out of
the dispense valve.
12. If phasing adjustments and ratio checking are not
required, use the following procedure to attach the
static mixer.
a. Attach the static mixer with the dispense head
pointed up.
b. Hold waste container at end of dispense head
and press the Dispense Request button ( )
or the footswitch.
c. Repeat the previous steps until static mixer has
been purged of air.
13. Use a 4 mm hex key to loosen screws holding dis-
pense head in place.
14. Rotate dispense head back to normal dispensing
position.
15. Use a 4 mm hex key to tighten the screws holding
the dispense head in place.
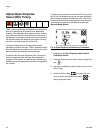
16. Adjust snuff back to proper setting for operation.
See Adjust Dispense Valve Snuff Back on
page 31.
NOTICE
If the dispense head is not primed, chemical cross-
over may occur resulting in cured material in the dis-
pense head, hoses, and/or pumps.
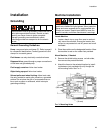
F
IG. 5: Prime Dispense Head
ti12391a