


-30-
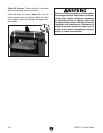
G0459 12" Drum Sander
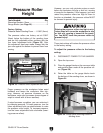
6. Lower the table one full turn of the crank han-
dle. Wait until the chain starts moving before
starting to count the crank handle rotation.
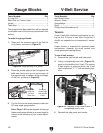
7. Starting at one end, place a 0.002" feeler
gauge between the sanding drum and the
gauge block. (The feeler gauge should slide
with moderate resistance, without forcing the
drum to roll.)
8. Repeat Step 7 at the other end of the drum.
—If the difference between the two sides is
0.002" or less, skip to the subsection that
covers how to adjust
the sanding drum
perpendicular to the feed direction
on this
page.
— If the difference between the two sides is
more than 0.002", then one side must be
adjusted to within 0.002" of the other (with
the ultimate goal of making them dead
even). Continue to the next step.
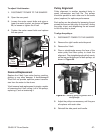
To adjust the pillow block bearings:
1. Loosen the lock nuts (see Figure 29) on
one of the pillow block bearings that requires
adjustment.
2. Rotate the setscrews
1
⁄8 of a turn clockwise to
raise the pillow block bearings (
see Figure
29).
Note: Turn all setscrew sets an equal
amount.
3. Tighten the lock nuts and recheck the align-
ment using the gauge blocks, repeating
Steps
1–8 from the previous subsection. Tightening
the lock nuts will pull the drum downward
slightly. Be sure to adjust to compensate
for this movement.
Do not over tighten the
lock nuts. The pillow block bearings can
break if over tightened.
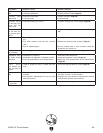
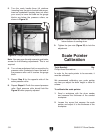
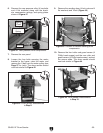
To adjust the sanding drum perpendicular to
the feed direction (Figure 31):
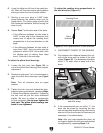
Figure 31. Drum perpendicular to feed direction.
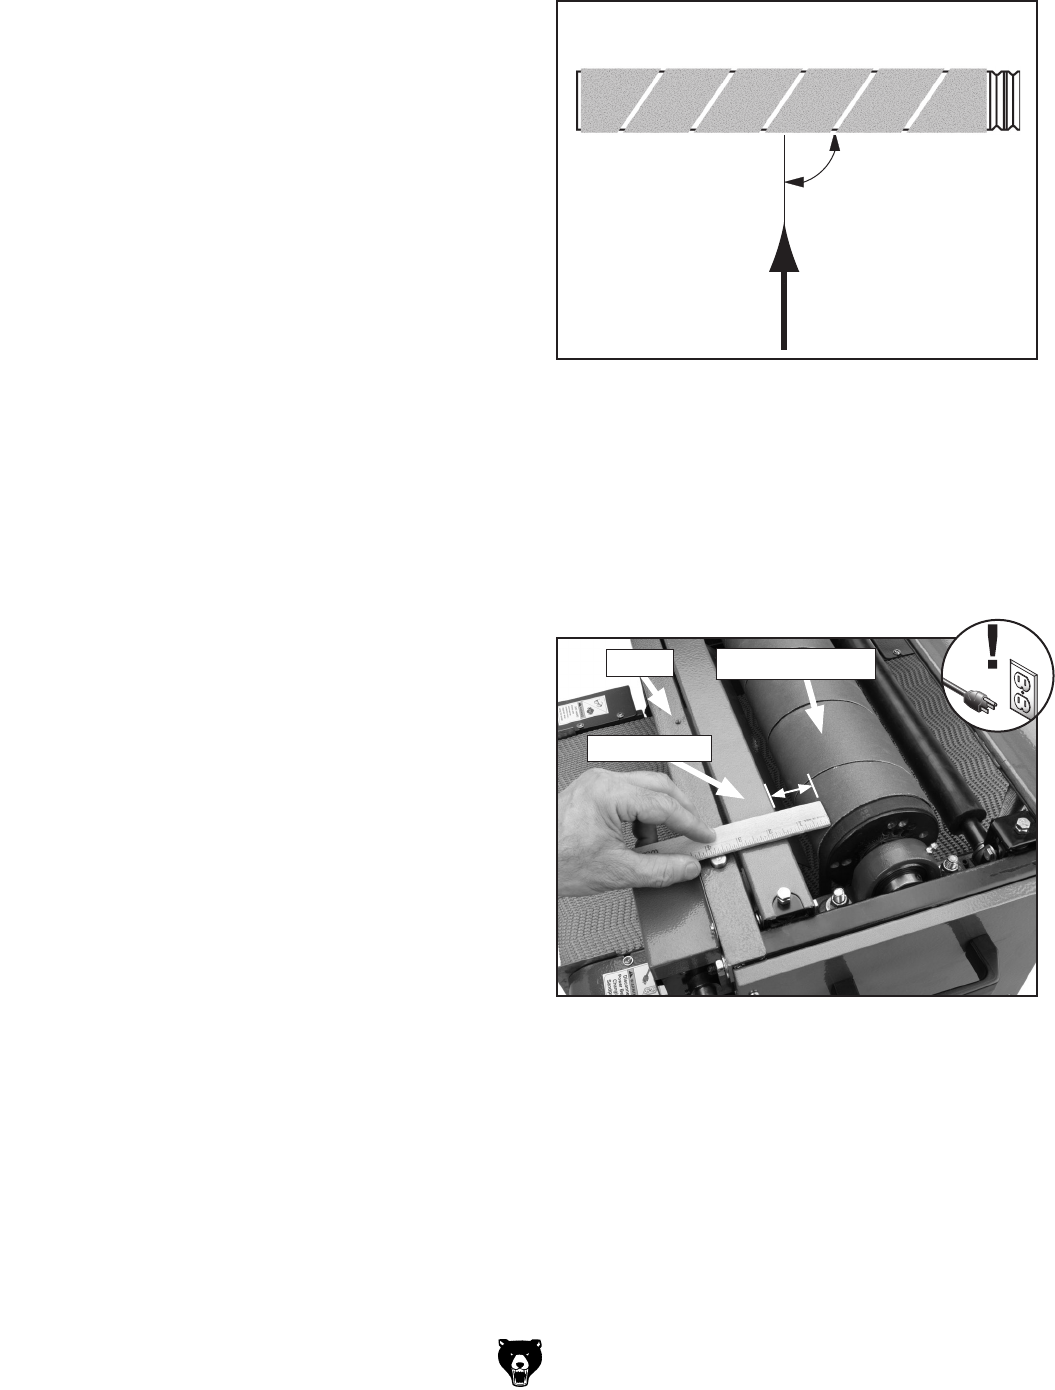
1. DISCONNECT POWER TO THE SANDER!
2. First measure the distance between the out-
side of the drum and the inside of the dust
scoop (
Figure 32). The distances should be
within
1
⁄8" of each other at each end of the
drum.
Figure 32
. Measuring distance between drum
and dust scoop
.
3. If the measurements are not within
1
⁄8", the
drum can be moved by loosening the lock
nuts on the pillow block bearings and moving
one end of the drum forward or backward as
necessary in the slotted holes.
Note: After you have adjusted the drum, do
not forget to tighten the lock nuts and recheck
the alignment by repeating Steps 1
–3.
Dust Scoop
Sanding Drum
Brace