


-36-
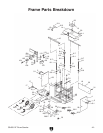
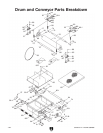
G0459 12" Drum Sander
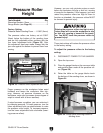
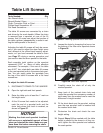
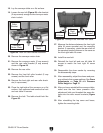
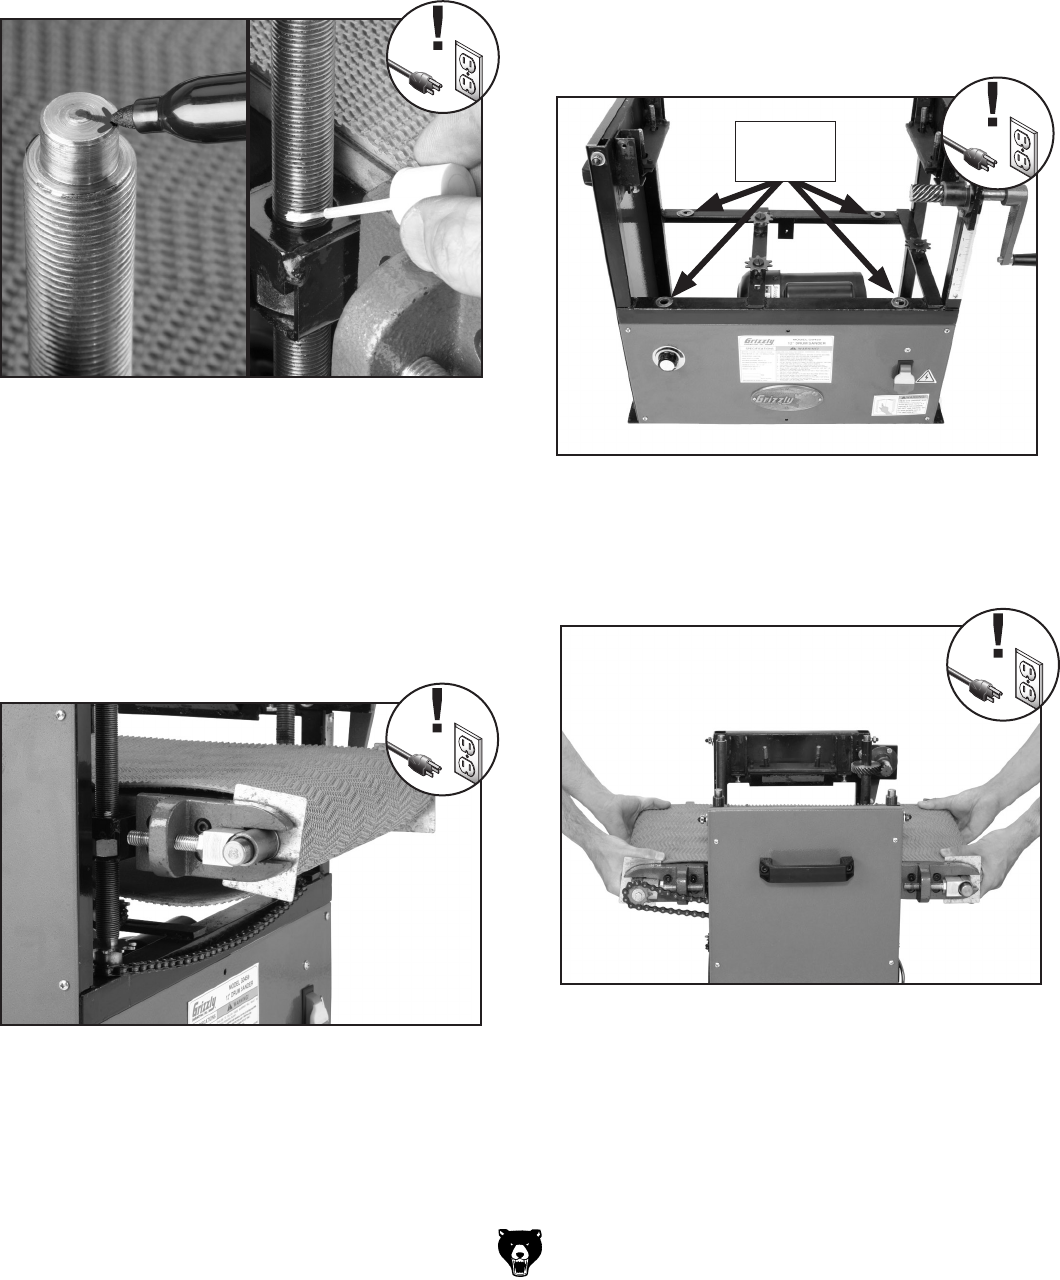
11. Mark the top of the table lift screws with
arrows (all pointing in same direction) and
mark the screws with liquid correction fluid
above the mounting bracket (
Figure 45).
Later, when you reassemble the conveyor
table, you can use these marks to reset the
table height close to the current position.
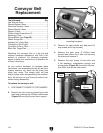
Figure 46. Conveyor belt loosened at the front
adjustments (only one shown).
12. Mark the chain and sprockets with correction
fluid.
13. Loosen the idler roller sprocket (Figure 38),
carefully pull the chain off of all the sprockets,
and remove it from the cabinet.
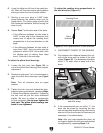
14. Loosen the conveyor belt at the front adjust-
ments, as shown in
Figure 46.
NEW
PHOTO
Figure 45. Locations to mark table lift screws.
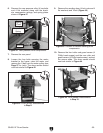
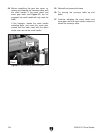
Figure 47. Brass shims.
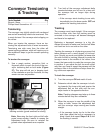
15. Disconnect the conveyor feed motor wires
from the circuit board.
16. Remove the scale pointer.
Before removing the table, note the number and
location of brass shims (Figure 47) under the
table lift screws. Knowing their correct position
will help you align the conveyor table during reas
-
sembly.
Brass
Shims
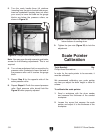
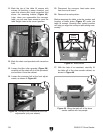
Figure 48. Lifting the table off of the drum
sander cabinet with two people
.
17. With the help of an assistant, carefully lift
the table off of the drum sander cabinet, as
shown in
Figure 48.