


G0459 12" Drum Sander
-35-
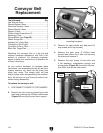
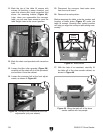
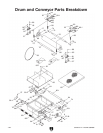
Figure 42. Drum sander disassembled
to Step 8.
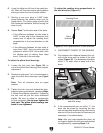
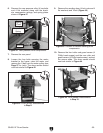
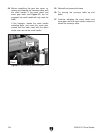
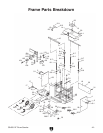
9. Remove the sanding drum (4 lock nuts and 4
flat washers) and V-belt (
Figure 43).
7. Remove the rear panel.
8. Loosen the hex bolts securing the motor
bracket to the frame, raise the motor and
remove the V-belt from the motor pulley (
see
Page 27 for help). The drum sander should
now look similar to
Figure 42.
NEW
PHOTO
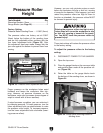
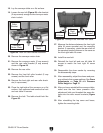
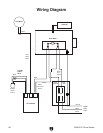
Figure 41. Rear pressure roller components.
6. Remove the rear pressure roller (4 hex bolts
and 4 flat washers) along with the brack
-
ets, compression springs, and spring plates
shown in
Figure 41.
NEW
PHOTO
Figure 43. Location to remove sanding drum
components.
Spring
Plate
Compression
Spring
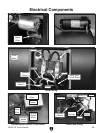
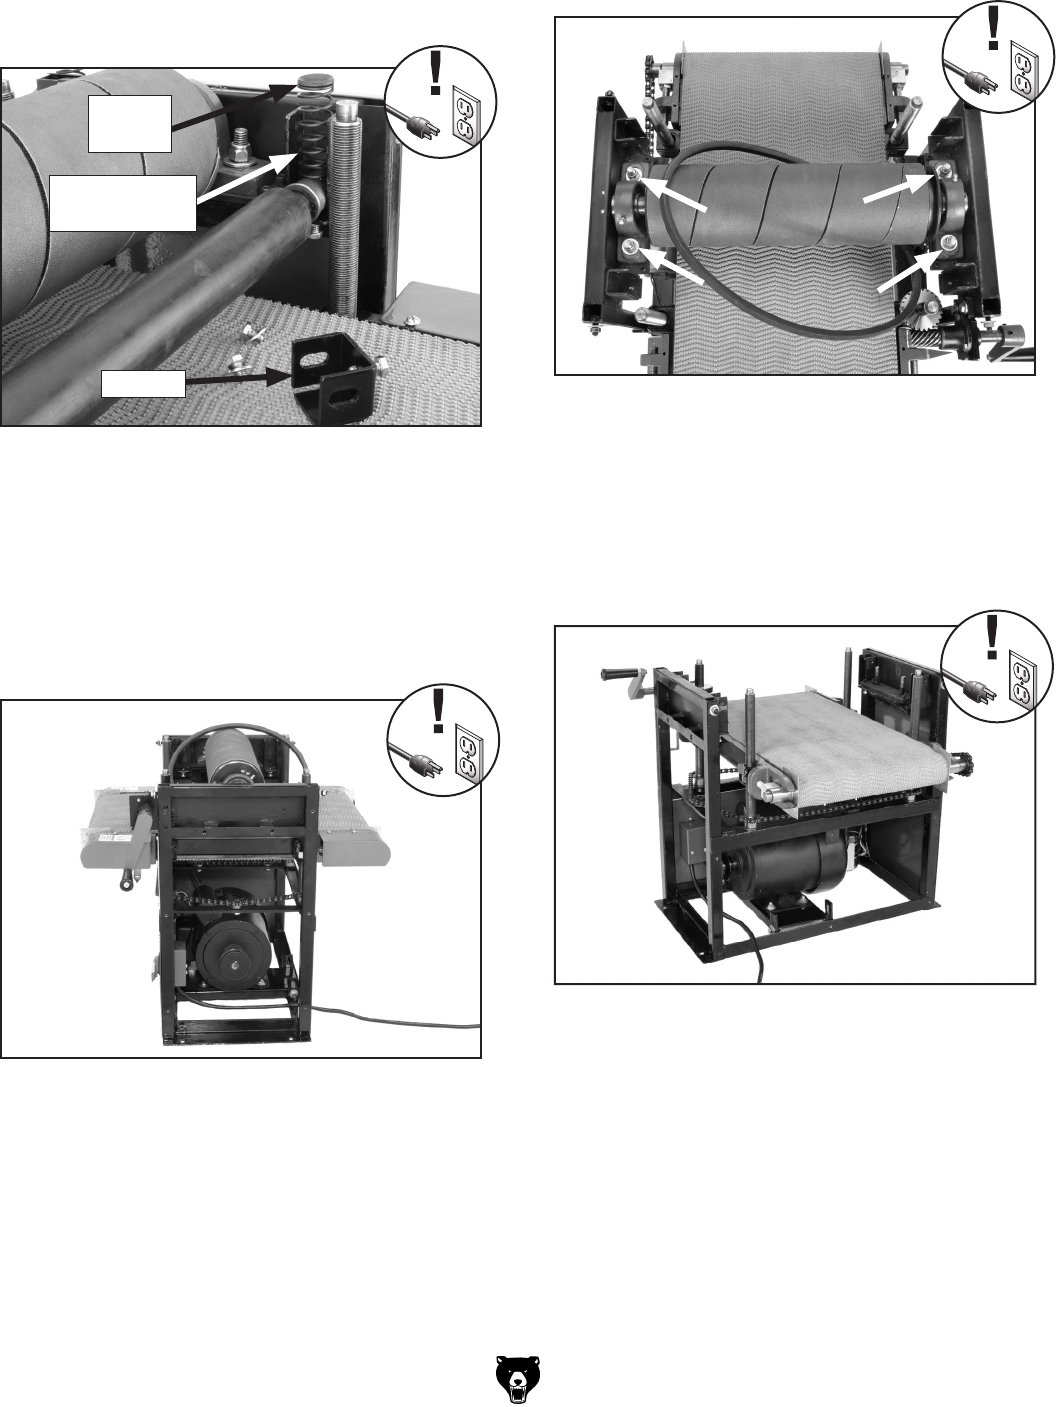
Figure 44. Drum sander disassembled
to Step 10.
10. Remove the front roller end guard covers (4
Phillip head screws) and the rear roller end
guard covers (4 Phillip head screws), and set
the covers aside. The drum sander should
now look similar to
Figure 44.
Bracket