


-13- G1015 Knife Belt Sander/Buffer
Upper Arm Assembly
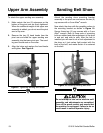
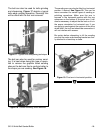
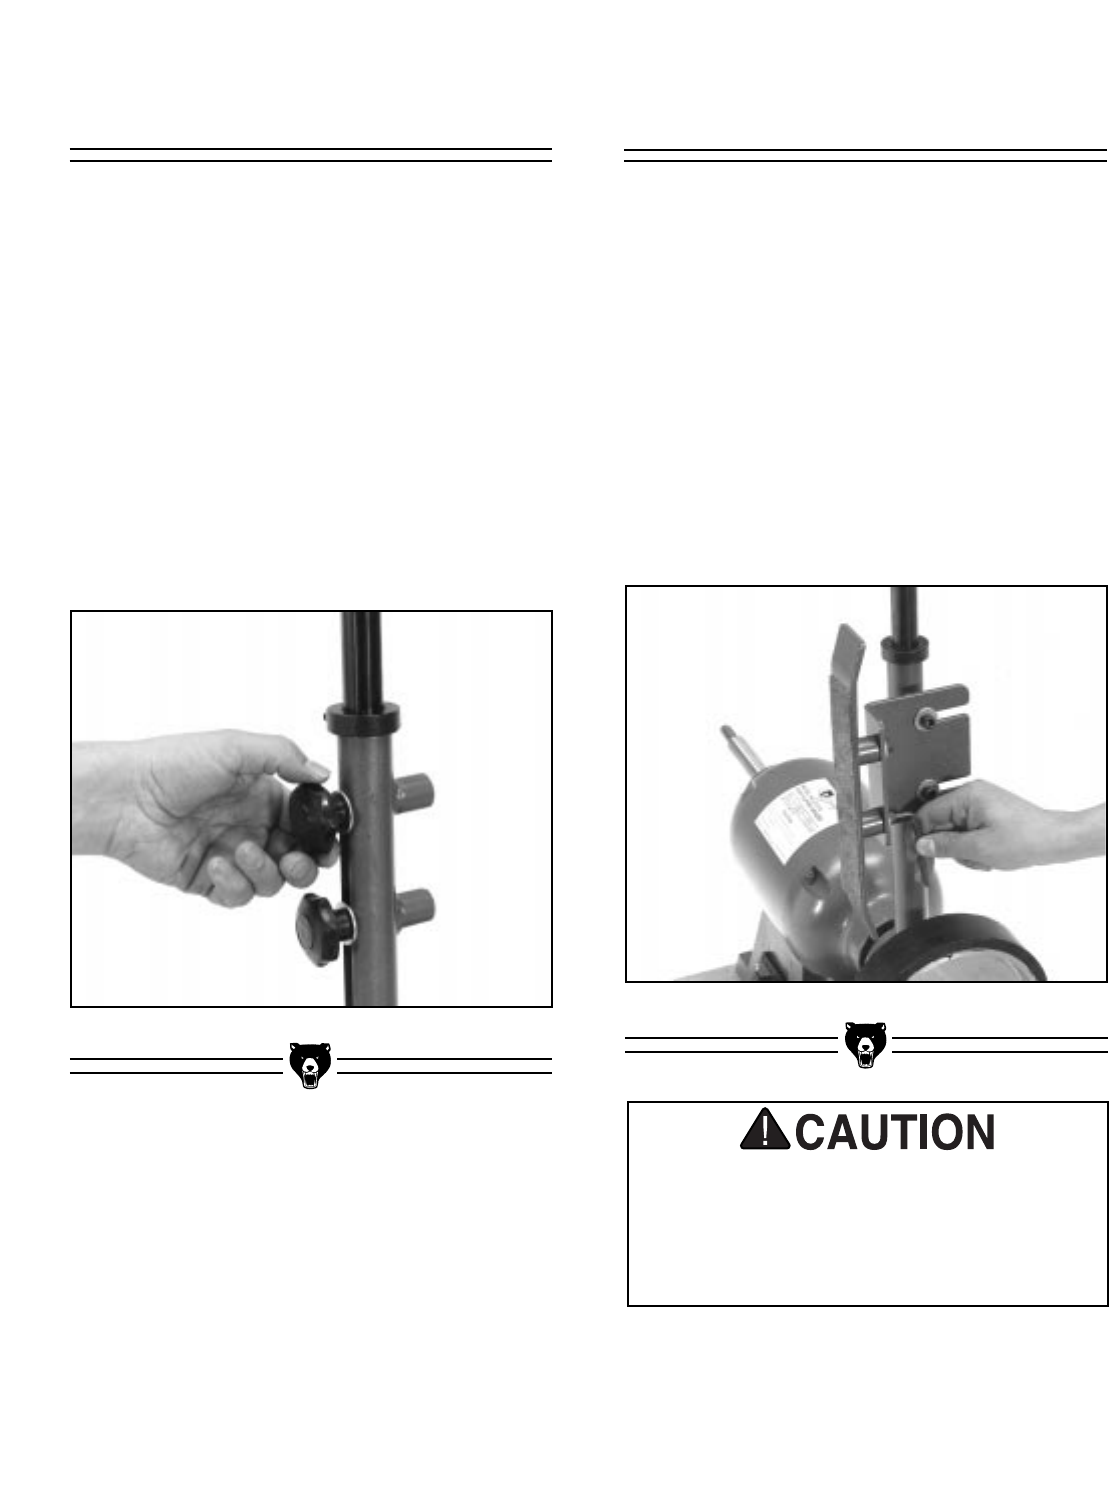
Figure 9. Tightening sanding arm knobs.
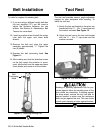
Figure 10. Attaching sanding belt shoe.
To attach the upper sanding arm assembly:
1. Make certain the two (2) setscrews on the
bottom of the pivot arm are firmly tightened.
When the additional weight of the upper arm
assembly is added, you do not want the pivot
arm to flop over.
2. Remove the two (2) hand knobs from the
pivot arm and slide the upper sanding arm
assembly into the lower pivot arm. The sand-
ing arm should seat on the collar.
3. Align the holes and replace the hand knobs
and tighten. See Figure 9.
Sanding Belt Shoe
Attach the sanding shoe mounting bracket
assembly to the pivot arm and secure the two (2)
cap screws with a 6 mm Allen
®
wrench.
Now attach the shoe with the graphite surface to
the mounting bracket as shown in Figure 10.
Secure these two (2) cap screws with a 6 mm
Allen
®
wrench. Both of these sets of mounting
bolts are slotted and allow adjustment of the shoe
in and out, and side to side. After the belt is
installed you will want to do a final adjustment to
the shoe so it just makes light contact with the
back of the belt, and make certain it is centered
on the belt.
Do not attempt to turn on the machine until
assembly and adjustments are completed.
Turn off the power switch and ensure that
the machine is unplugged. Failure to do so
could result in serious operator injury.