


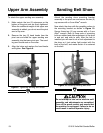
-17- G1015 Knife Belt Sander/Buffer
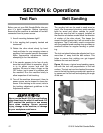
SECTION 6: Operations
Before you put your Belt Sander/Buffer into use,
give it a quick inspection. Before inspecting,
ensure that the machine is switched off and dis-
connected from its power source.
1. Are all mounting fasteners tight?
2. Is the sanding belt properly tracked and
tensioned?
3. Rotate the drive wheel slowly by hand.
Look and listen for any scraping noises or
anything that impedes smooth movement.
Make appropriate adjustments before
attempting to run the machine.
4. If the sander appears to be free of prob-
lems that might affect its operation, plug it
in to its power source and start the
machine. Be sure to keep a finger on the
OFF button, just in case of a problem with
the machine. Run the machine briefly to
allow inspection of belt tracking.
5. Turn off the machine, disconnect it from its
power source, and re-inspect for loose fas-
teners. If the tracking is not correct, refer to
the tracking adjustment guidelines in the
Adjustments section.
Never use the Model G1015 for applications
other than those for which it was made. DO
NOT overload the machine or use excess
force when sanding. Severe personal
injury, damage to the machine, or damage
to your workpiece could occur.
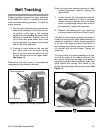
Test Run
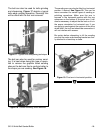
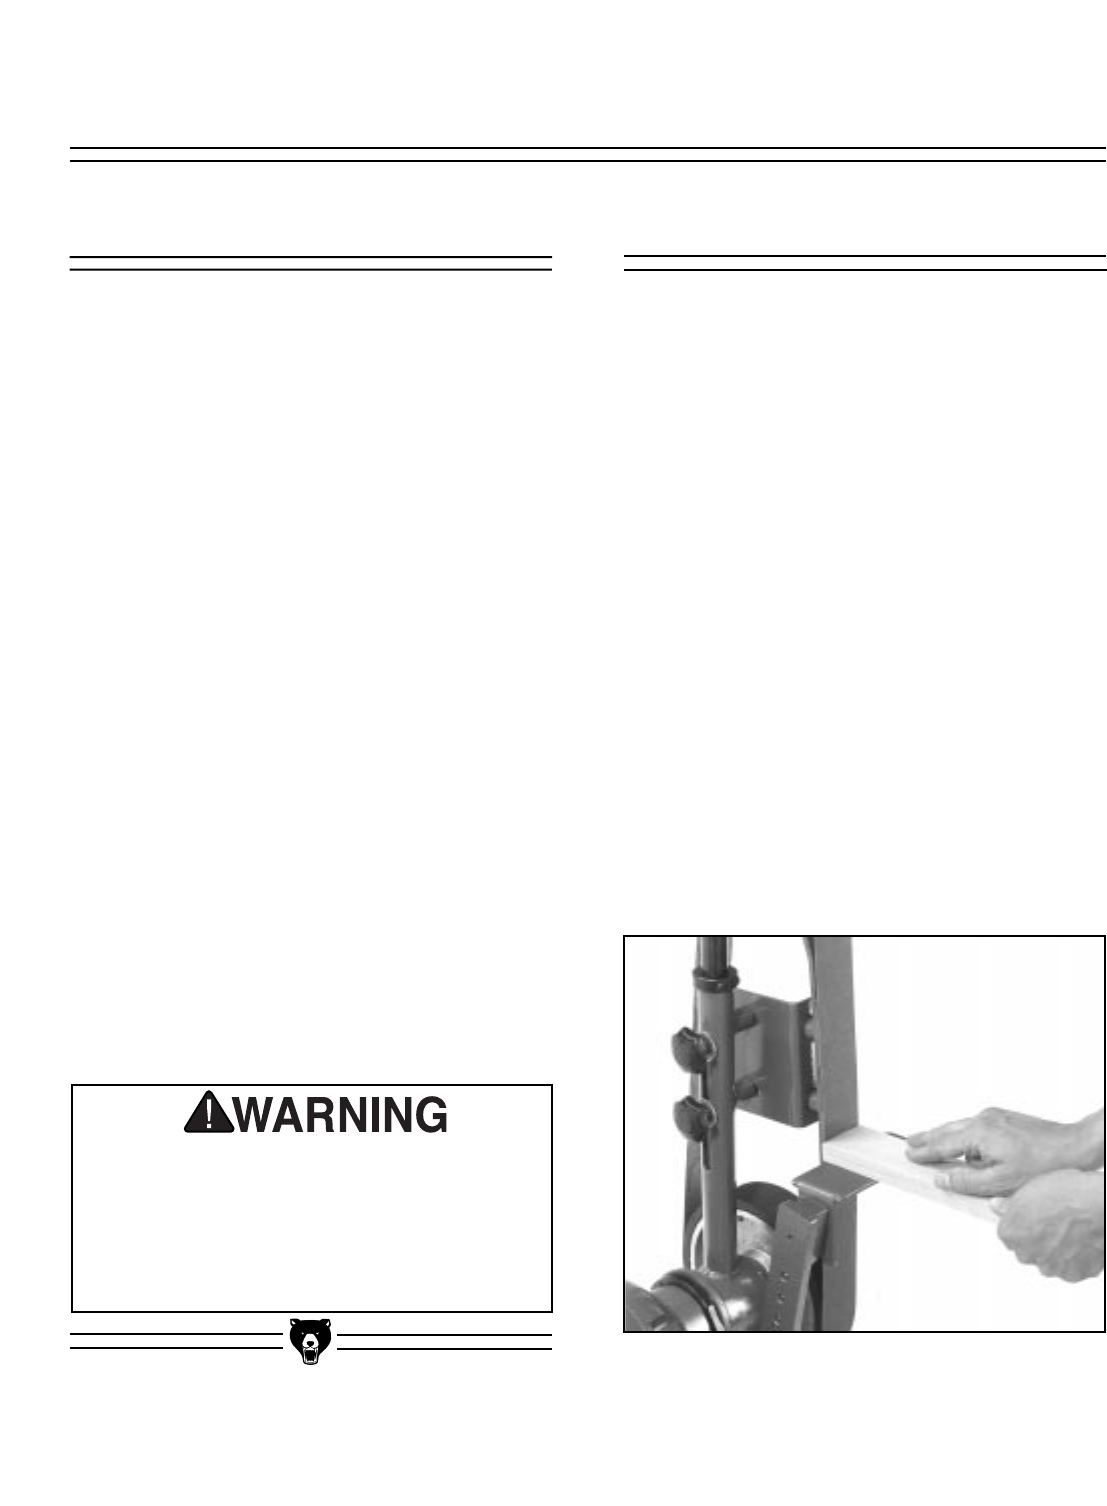
Figure 16. Belt sanding wood.
The sanding belt can be used to sand wood or
metal. We recommend aluminum oxide sanding
belts for wood and silicon carbide for metal.
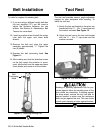
Always be sure the belt is properly installed so
the direction of rotation arrows follow the direction
of rotation of the drive wheel. This keeps the
seam in the belt oriented so it will not catch on the
workpiece. The 2" belt width, used in conjunction
with the graphite-faced sanding shoe provides an
excellent surface for angular sanding or polish-
ing.
The tool rest should always be adjusted so it is no
more than
1
⁄8" away from the belt surface. This
helps to assure that nothing can get trapped
between the rest and the belt.
Figure 16 shows a typical wood sanding opera-
tion with the tool rest perpendicular to the belt
surface. The tool rest can be checked for square-
ness to the belt by placing a machinist’s square or
try square on the tool rest and adjusting the angle
of the rest.
Belt Sanding