


G1015 Knife Belt Sander/Buffer -20-
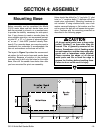
Drum Sanding
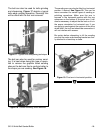
To sand using the optional pneumatic sanding
drum:
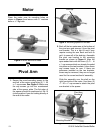
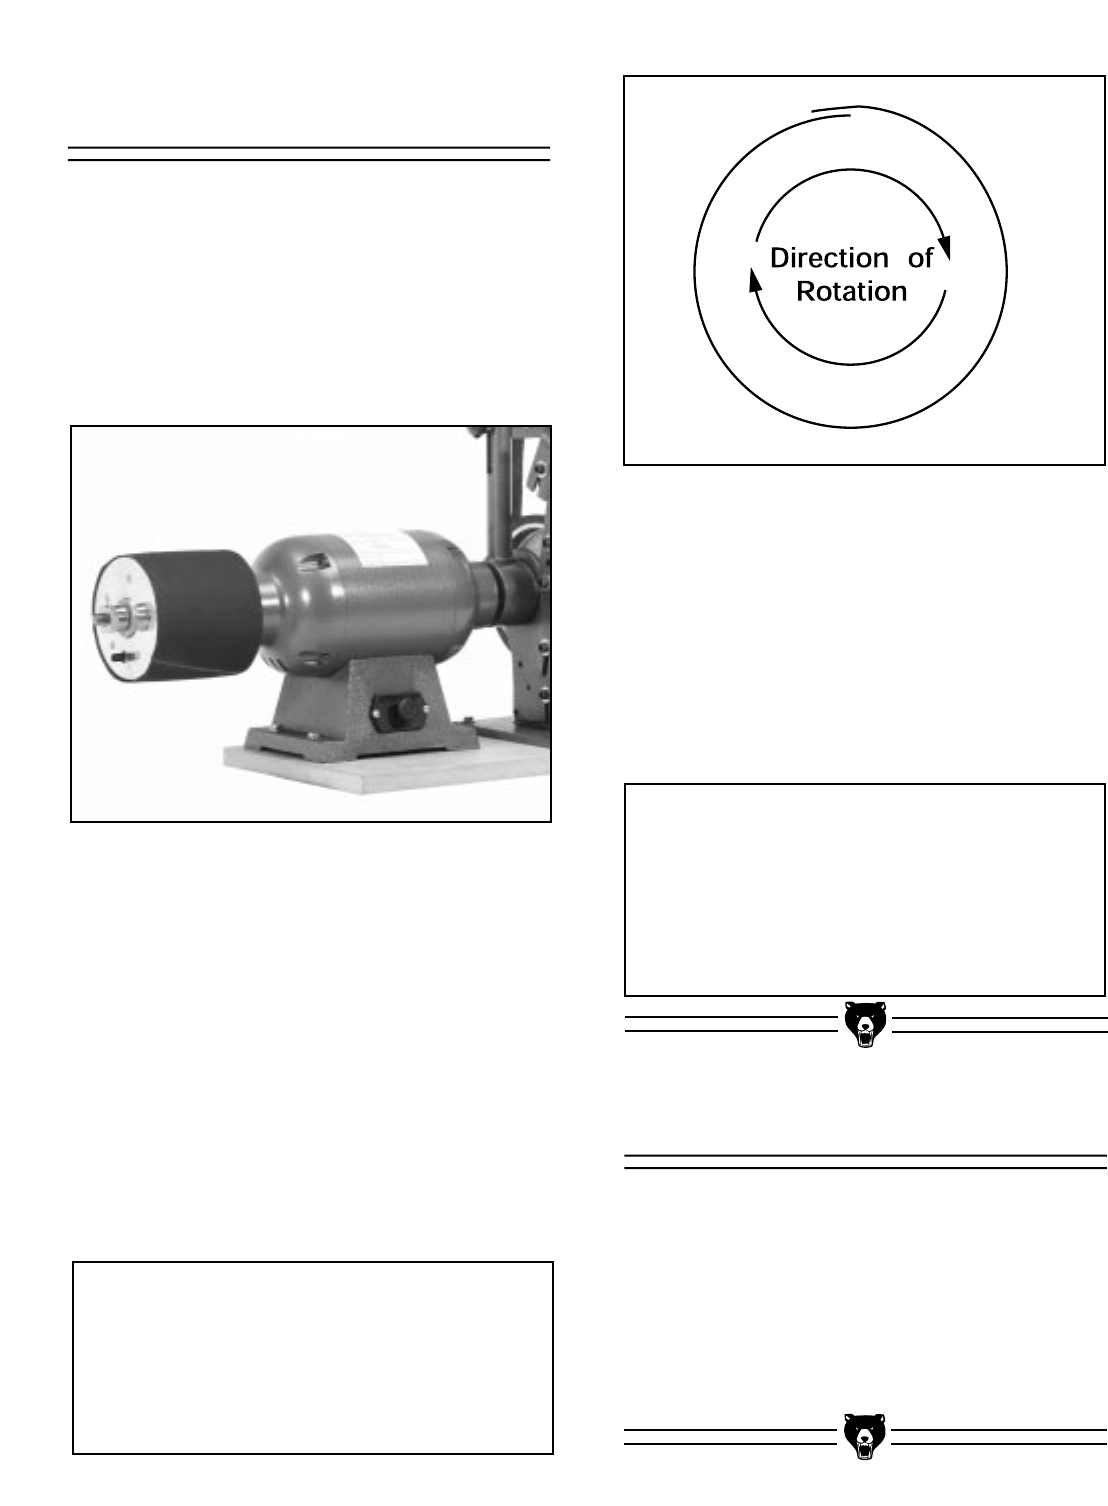
1. Slide the optional sanding drum onto the
shaft so the valve end is near the end of the
shaft. Secure with the shaft nut provided. It is
not necessary to use wheel flanges with the
drum. See Figure 22.
Figure 22 Sanding drum attached.
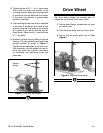
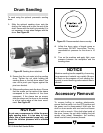
Figure 23. Recommended sleeve overlap.
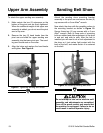
4. Inflate the drum using a bicycle pump or
hand pump. DO NOT over-inflate. The rec-
ommended air pressure for the drum is 10
psi.
5. Turn on the machine and apply light, even
pressure between the workpiece and the
sanding drum.
NOTICE
Machine sanding has the capability of removing
large amounts of material very rapidly. Be sure
to check on the progress of your sanding fre-
quently to avoid removing more material than is
desired.
2. Ensure that the nut seats into the sanding
drum. Tighten the nut while holding the
sanding drum or the belt drive wheel. Use
care not to pinch your fingers against the
pivot arm bracket.
3. Slide sanding sleeve onto the drum. Ensure
that the arrows on the inside of the sleeve
correspond to the direction of the drum
movement. If the sleeve has no arrows,
slide the sleeve on the drum so the overlap
is at the trailing edge of the drum move-
ment. See Figure 23.
Accessory Removal
To remove buffing or sanding attachments,
ensure that the switch is in the OFF position and
the power cord is disconnected. Hold onto the
shaft or drum sander with one hand and loosen
the nut with a wrench. If the shaft slips inside of
the drum, loosen the nut while holding the belt
sander drive wheel. Remember: the auxiliary
wheel has left-hand (reverse) threads.
NOTICE
Do not use a compressor to inflate the pneu-
matic sanding drum, it is too easy to over-
inflate. Use a hand-operated pump only, and
check the inflation pressure with a suitable
gauge.