


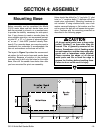
G1015 Knife Belt Sander/Buffer -14-
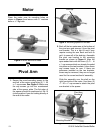
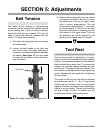
Tool Rest
The tool rest provides secure, angle-adjustable
support for your workpiece while sanding. To
install the tool rest:
1. Attach the tool rest bracket to the pivot arm
bracket with the
5
⁄16" - 18 x 1" cap screw and
flat washer included. See Figure 12.
2. Attach the tool rest to the tool rest bracket
with the
5
⁄16" - 18 x
3
⁄4" cap screw and flat
washer included.
Figure 12. Tool rest attachment
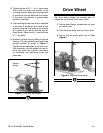
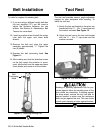
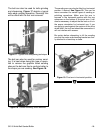
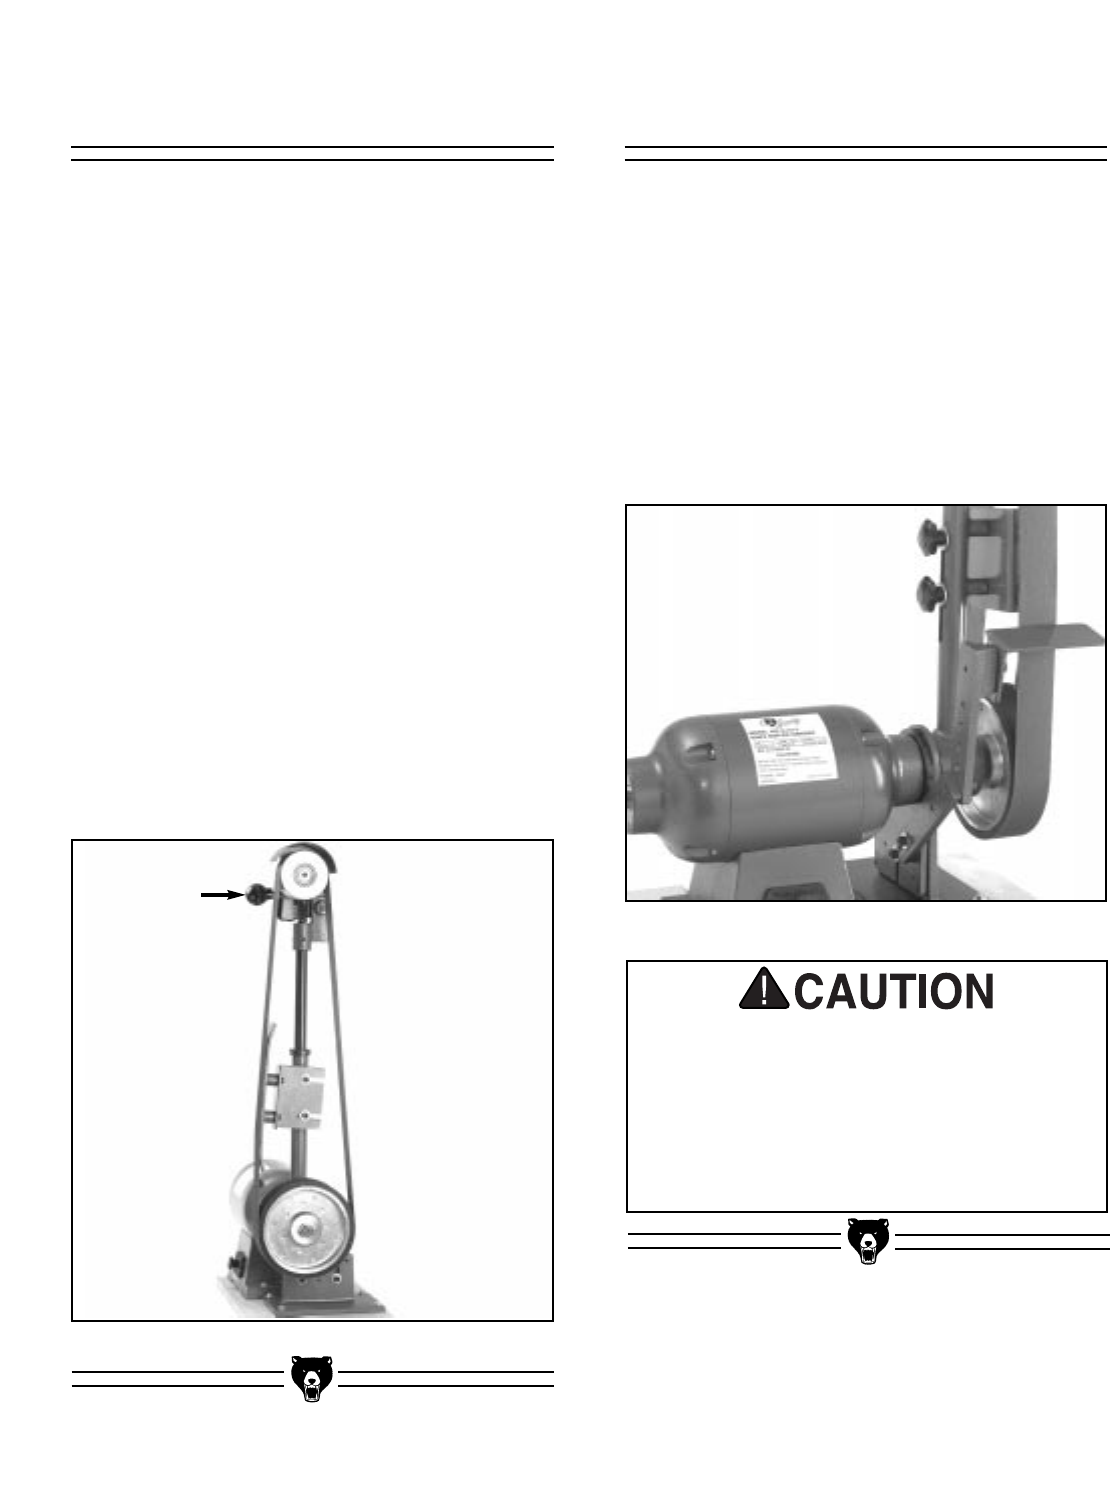
Belt Installation
To install or replace the sanding belt:
1. If you are using a different length belt than
the one supplied (72'') you will need to
adjust the distance between the two
wheels. See Section 5: Adjustments, Belt
Tension for more detail.
2. Locate a position where the belt fits snugly
over both the upper and lower drive
wheels.
3. Remove the belt and raise the upper
assembly approximately
1
⁄4". Tighten the
two (2) knobs.
4. Depress the belt tensioning knob. See
Figure 11.
5. After making sure that the direction arrows
on the belt match the direction of move-
ment, slip the belt over the upper and lower
drive wheels and center it on the wheels.
Figure 11. Attaching sanding belt.
Belt
Tensioning
Knob
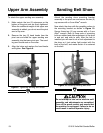
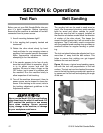
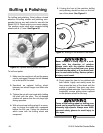
Sanding or polishing operations can be per-
formed against either the sanding shoe of the
drive wheel as a backstop. If sanding against
the drive wheel, remove the tool rest and its
support bracket to make sure the workpiece
does not jam against the rest. This can create
a pinch point trapping a finger against the belt.