


G5959Z 12" Left-Tilting Table Saw -15-
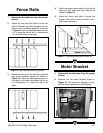
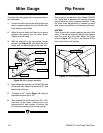
3. Attach the front rail to the table top using the
hex socket flathead screws as shown in
Figure 10. Place an adjustable square on
the edge of the table, and adjust the rail so
it is consistently
25
⁄
32" below the top of the
table.
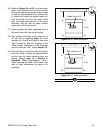
Figure 9. Rear rail attachment procedure.
Figure 10. Front rail attachment procedure.
4. Attach the square fence tube to the front rail
using the hex bolts and lock washers as
shown in Figure 11.
5. Attach the fence and slide it across the
length of the rails to ensure smooth, accu-
rate fence movement.
Figure 11. Attaching fence tube to front rail.
1. Disconnect the table saw from the power
source.
2. Attach the rear rail (the shorter of the two
rails) to the table top using the spacers, hex
bolts and lock washers supplied, as shown
in Figure 9. Use an adjustable square set to
15
⁄32" to measure the rail so it is consistently
15
⁄32" below the top of the table.
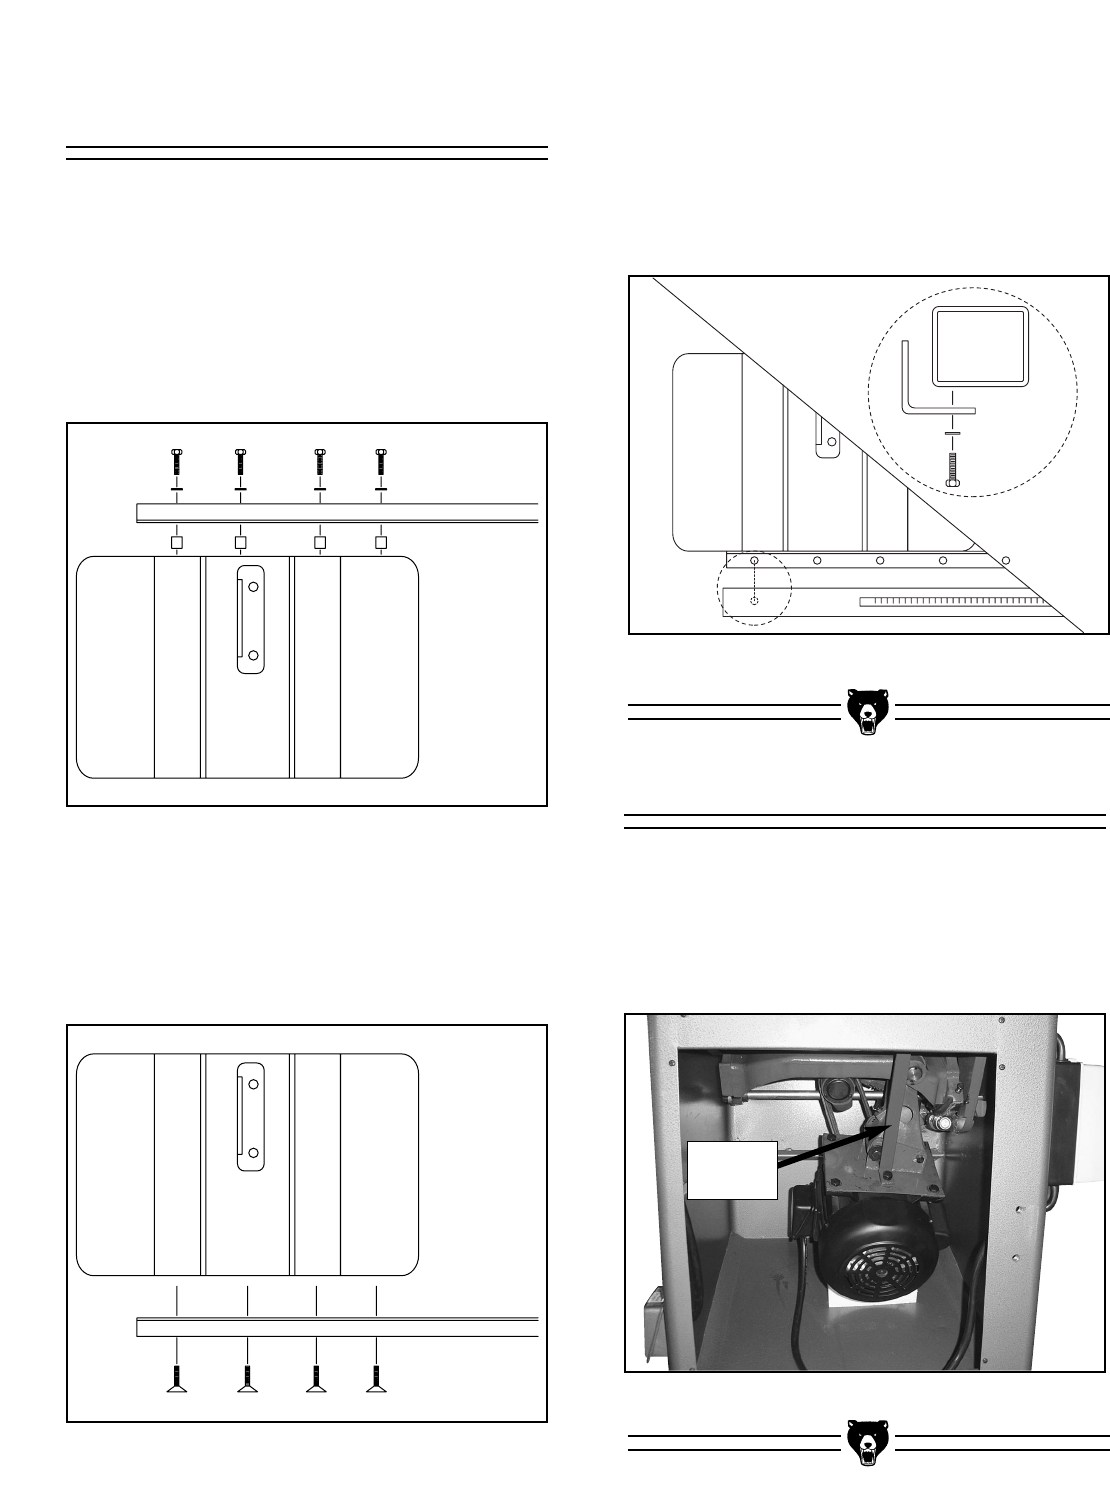
Figure 12. Remove motor bracket.
Motor Bracket
Motor
Bracket
1. Disconnect the table saw from the power
source.
2. Remove the red motor bracket shown in
Figure 12. This bracket is designed to pro-
tect the motor assembly during shipping.
Fence Rails