


G5959Z 12" Left-Tilting Table Saw -19-
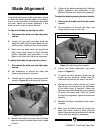
Blade Tilt
1. Disconnect the table saw from the power
source.
2. Set your blade angle at zero, as shown on
the angle indicator on the front of the saw,
and raise the blade several inches above the
table.
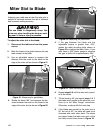
3. Place a machinist’s square flat on the table
and against the side the blade. The square
should contact the blade evenly from bottom
to top. Make sure that a blade tooth does not
obstruct the movement of the square.
4. Adjust the handwheel until the square is
flush with the blade. Loosen the tilt indicator
arrow, set to zero, and retighten. Loosen and
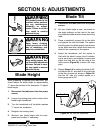
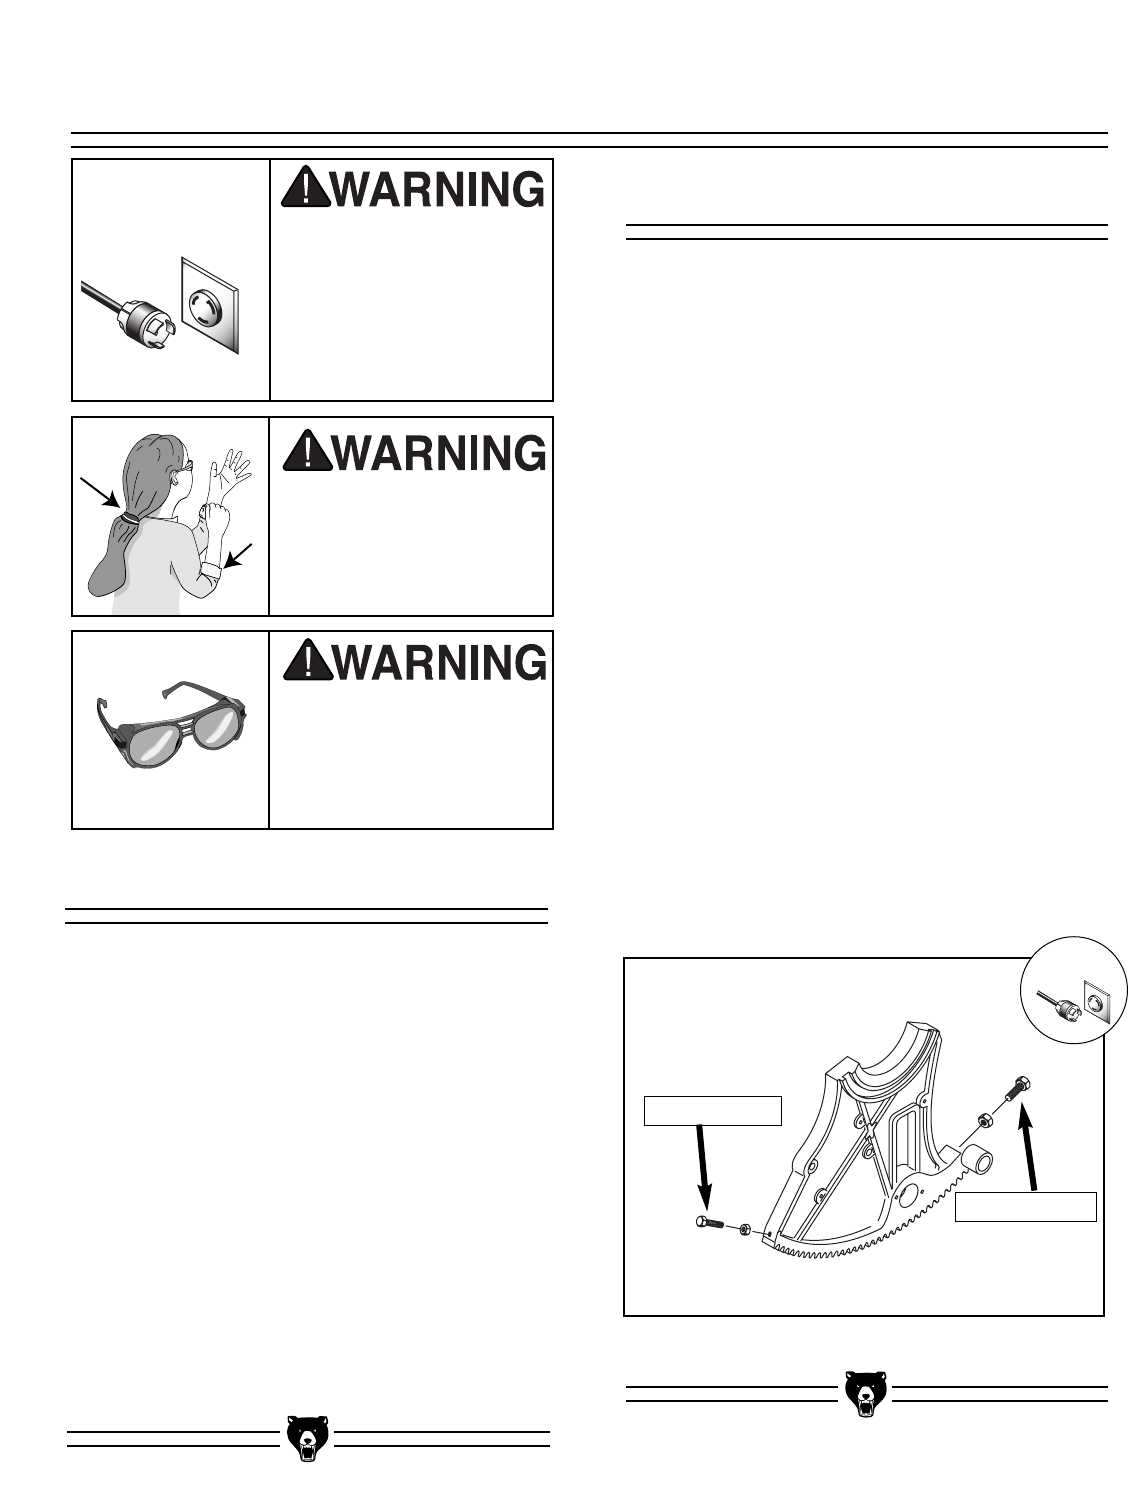
adjust the stop bolt on the left side of the
front trunnion (Figure 20) to allow a 90° stop
point.
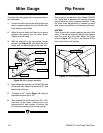
5. Repeat Steps 2-4 for setting the blade to 45°
and adjust the 45° stop bolt on the right side
of the front trunnion as shown in Figure 20.
Use the 45° side of a combo square or a
bevel gauge set at 45°.
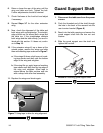
Figure 20. 90° and 45° stop bolts.
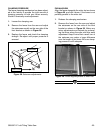
When preparing to operate your table saw, you
should adjust the blade height to approximately
1
⁄4" above the surface of the workpiece. To adjust
blade height:
1. Disconnect the table saw from the power
source.
2. Loosen the locking knob at the center of the
blade height handwheel.
3. Turn the handwheel until the blade reaches
1
⁄4" above the workpiece.
4. Retighten the locking knob.
5. Recheck your blade height with the work-
piece and re-adjust, if necessary.
45° Stop Bolt
90° Stop Bolt
Disconnect power to the
machine when perform-
ing any maintenance,
assembly or adjust-
ments. Failure to do this
may result in serious
personal injury.
!
Keep loose clothing
rolled up and out of the
way of machinery and
keep hair pulled back.
Wear safety glasses dur-
ing the entire adjustment
process. Failure to com-
ply may result in serious
personal injury.
Blade Height
SECTION 5: ADJUSTMENTS
!