


-24- G5959Z 12" Left-Tilting Table Saw
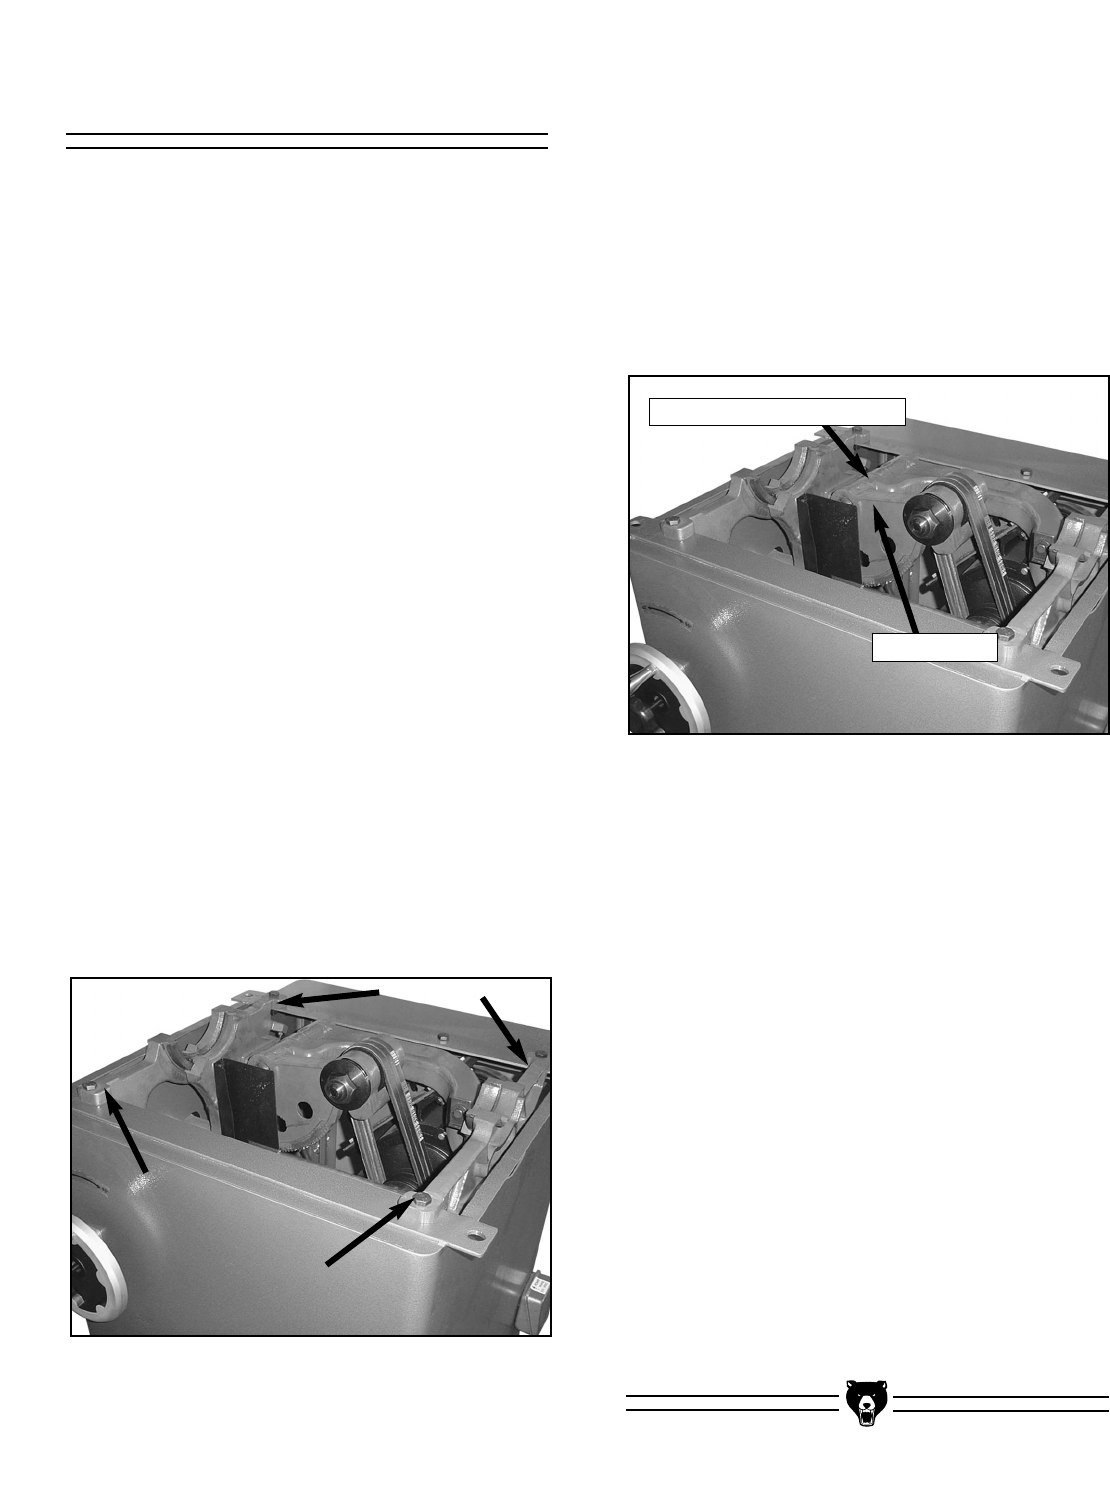
5. Tighten all the table mounting bolts. Recheck
splitter alignment and parallelism of the
blade to the miter slot. Adjust as necessary.
To adjust the blade by moving the arbor bracket:
1. Disconnect the table saw from the power
source.
2. Get assistance to remove the table and
wings and set them to one side.
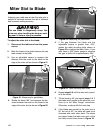
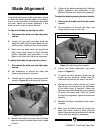
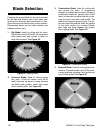
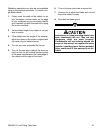
Figure 31. Adjusting arbor bracket.
Blade Adjustment Cap Screw
Arbor Bracket
Blade Alignment
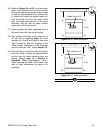
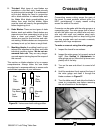
Figure 30. Trunnion mounting bolts.
2. Loosen the blade adjustment cap screw
shown in Figure 31.
3. To adjust the arbor bracket, loosen the cap
screw and the setscrew. Slowly slide the
arbor bracket towards the end of the shaft.
4. Moving the arbor bracket moves the V-belts
and pulleys out of alignment, so adjustment
of the motor pulley is required. Loosen the
setscrew and slowly slide the pulley towards
the end of the motor shaft. Once the V-belts
are back into alignment, tighten the setscrew
securely.
5. Reattach the table and tighten all the mount-
ing bolts.
6. Make sure the blade does not contact the
table insert when raised or tilted. Recheck
splitter alignment and parallelism of the blade
to the miter slot. Adjust as necessary.
4. Reattach the table and make sure the blade
does not contact the table insert when raised
or tilted.
If the blade contacts the table insert when raised
or tilted, the blade must be aligned. The easiest
way is to move the table. If moving the table does
not work, adjust the trunnion assembly. If that
does not work, move the arbor bracket.
To adjust the blade by moving the table:
1. Disconnect the table saw from the power
source.
2. Loosen the four table mounting bolts and
adjust the table until the blade does not con-
tact the insert. Tighten all the mounting bolts.
3. Make sure the blade does not contact the
table insert when raised or tilted. Recheck
splitter alignment and parallelism of the
blade to the miter slot. Adjust as necessary.
To adjust the blade by moving the trunnion:
1. Disconnect the table saw from the power
source.
2. Get assistance to remove the table and
wings and set them to one side.
3. Loosen the four trunnion mounting bolts as
shown in Figure 30, and adjust the trunnion.