G5959Z 12" Left-Tilting Table Saw -21-
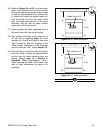
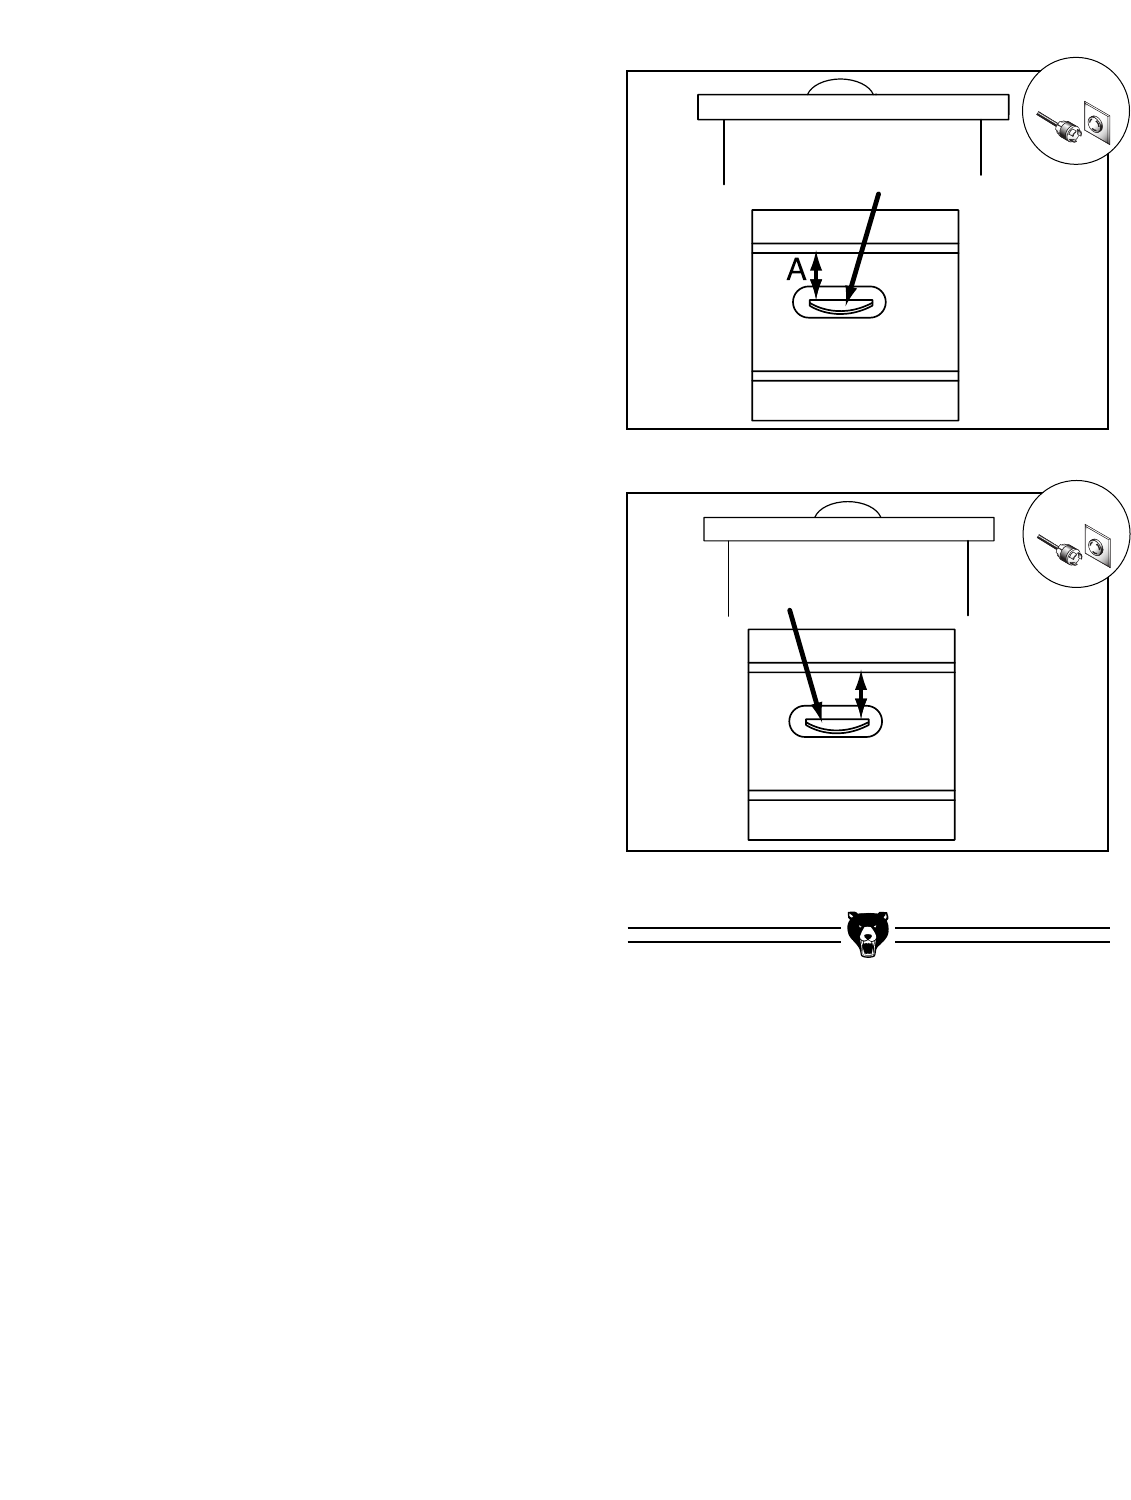
Figure 24. 45° blade parallelism.
Figure 25. 45° blade parallelism.
B
Blade tilted to 45˚
#1
#2
#3
#4
Front
Blade tilted to 45˚
#1
#2
#3
#4
Front
10. Refer to Figures 24 and 25, for shim place-
ment. If the distance of A is shorter than B,
shim(s) will need to be placed under corners
#1 and #2. If the distance of B is shorter than
A, shim(s) will need to be placed under cor-
ners #3 and #4. Very thin shim stock works
well, just make sure they are all the same
thickness, and you put an equal number
under each of the two corners.
11. Rotate through the bolts, tightening them a
little each time until they are all secure.
12. Now recheck the blade to the miter slot at
90° and 45° by repeating steps 1-5. If the
distance of A and B are equal or less than
.004" at both 90° and 45°, continue to the
“Miter Gauge” instructions. If the distances
are still more than .004", repeat steps 9-12.
13. Once you feel you have the miter slot adjust-
ed to the blade, recheck all measurements
and be sure the table mounting bolts are
secure. Repeat step 10 in Section 4:
Assembly, “Blade Guard/Splitter.” Note—
when removing the table in the future, take
note of shim placements for ease of re-
assembly.
!
!


