


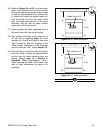


G5959Z 12" Left-Tilting Table Saw -29-
Proper dado operations will differ depending on
the blade system you choose. Consult the
instructions included with your dado blades for
directions regarding attachment and adjustment.
To use a dado blade:
1. Disconnect the table saw from the power
source.
2. Remove the table insert, splitter guard, regu-
lar saw blade, and 1" arbor. Install the long
5
⁄8" dado arbor.
3. Attach and adjust the dado blade system as
recommended in the dado blade instruc-
tions.
4. Install the dado table insert.
5. Clearly mark the width of the dado cut on
your workpiece. Include marks on the edge
of your workpiece so you can clearly identify
your intended cut while the material is laying
flat on the saw table.
6. Raise the blade system up to the desired
depth of the dado. Make sure the dado blade
will not cut through the work piece.
7. If dadoing along the length of your work-
piece, adjust the distance between the fence
and the inside edge of the blade to suit your
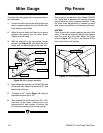
needs. When cutting across the wood grain,
use the miter gauge as a guide while dado-
ing. Remember: never use the fence as a
stop in conjunction with your miter gauge.
8. Reconnect the saw to the power source.
9. Using a scrap as a test piece, switch on the
saw and take a pass over the dado blade.
10. If the cut is satisfactory, repeat with your fin-
ish stock.
11. Reinstall the blade guard.
Dadoing operations can also be accomplished
using a conventional saw blade. To create a sin-
gle-blade dado:
1. Clearly mark the width of the dado cut on
your workpiece. Include marks on the edge
of your workpiece so you can clearly identify
your intended cut while the material is laying
flat on the saw table.
2. Set the blade height to the depth of cut you
wish to create.
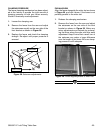
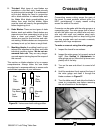
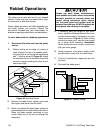
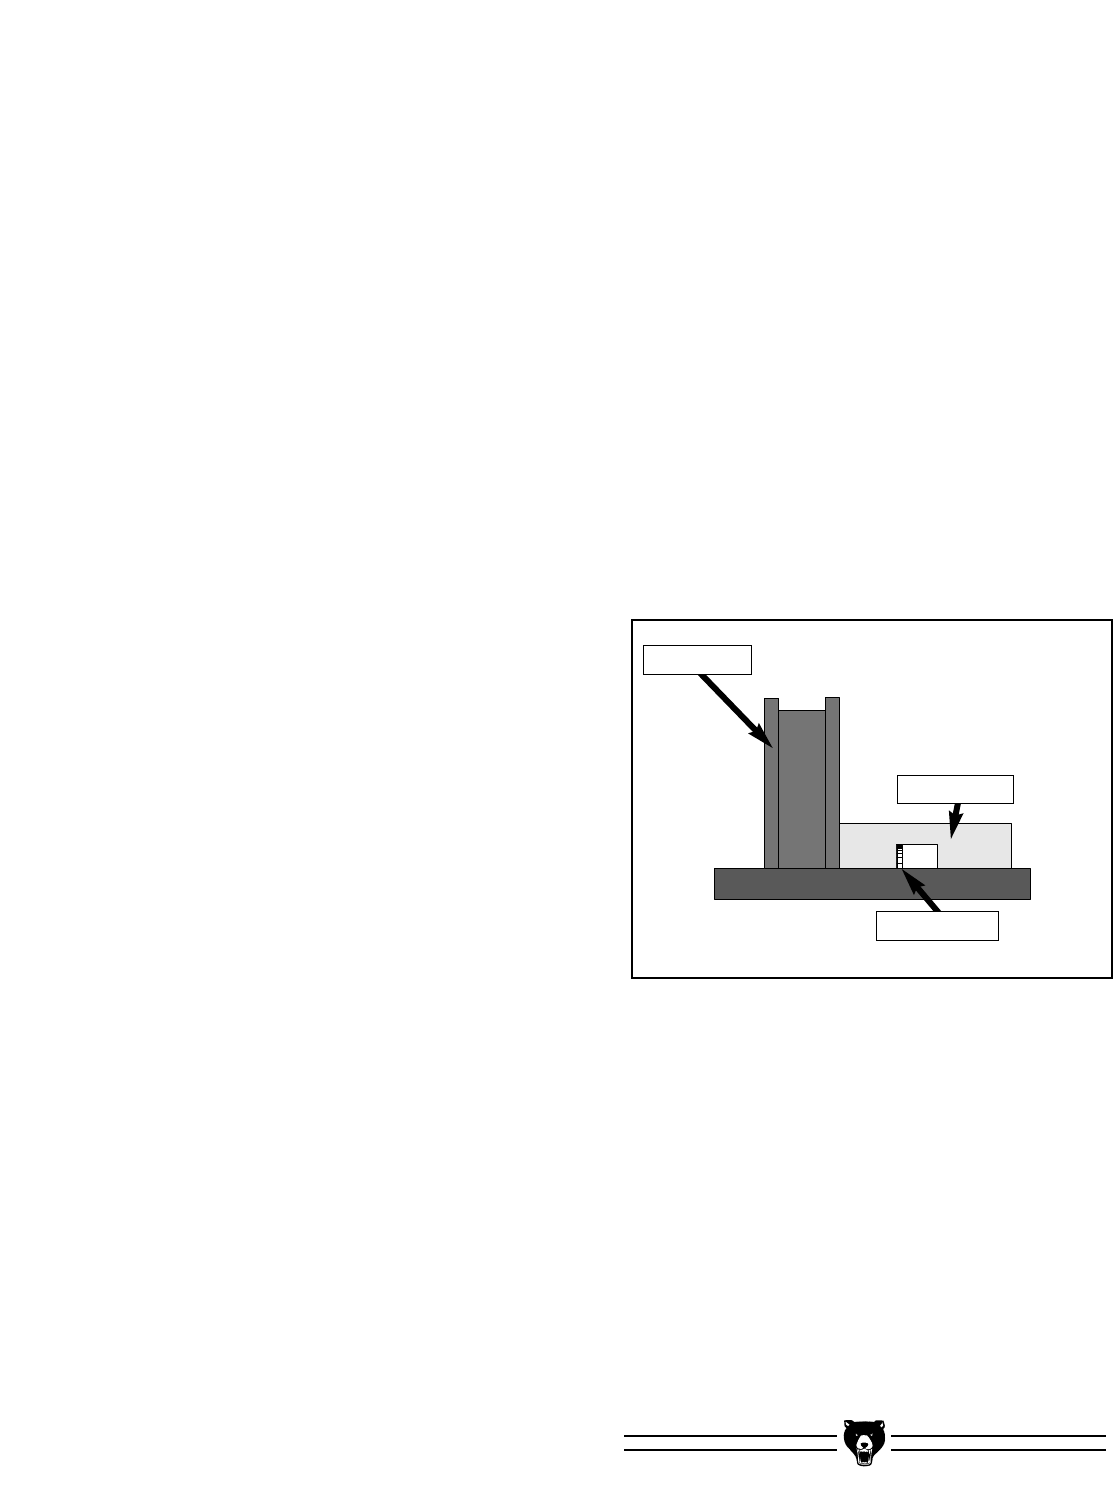
3. If the dado runs the length of the material,
adjust the fence so the blade is aligned with
the inside of your dado channel as shown in
Figure 39. When cutting across the wood
grain, use the miter gauge as a guide while
dadoing. Remember: never use the fence as
a stop in conjunction with your miter gauge.
Figure 39. Single-blade dado cut.
4. Turn on your saw and make the first cut.
5. Turn off the saw and re-adjust the fence so
the blade is aligned with the other edge of
the intended dado channel. Be sure to keep
the cuts within your marks; otherwise, your
dado will be too large.
6. Turn on the saw and make a second cut.
7. Move toward the center of the dado with your
subsequent cuts until the dado is complete.
8. Reinstall the blade guard.
Rip Fence
Workpiece
Saw Blade