-20-
Model T10687 (Mfg. Since 10/12)
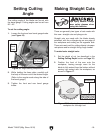
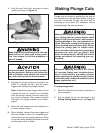
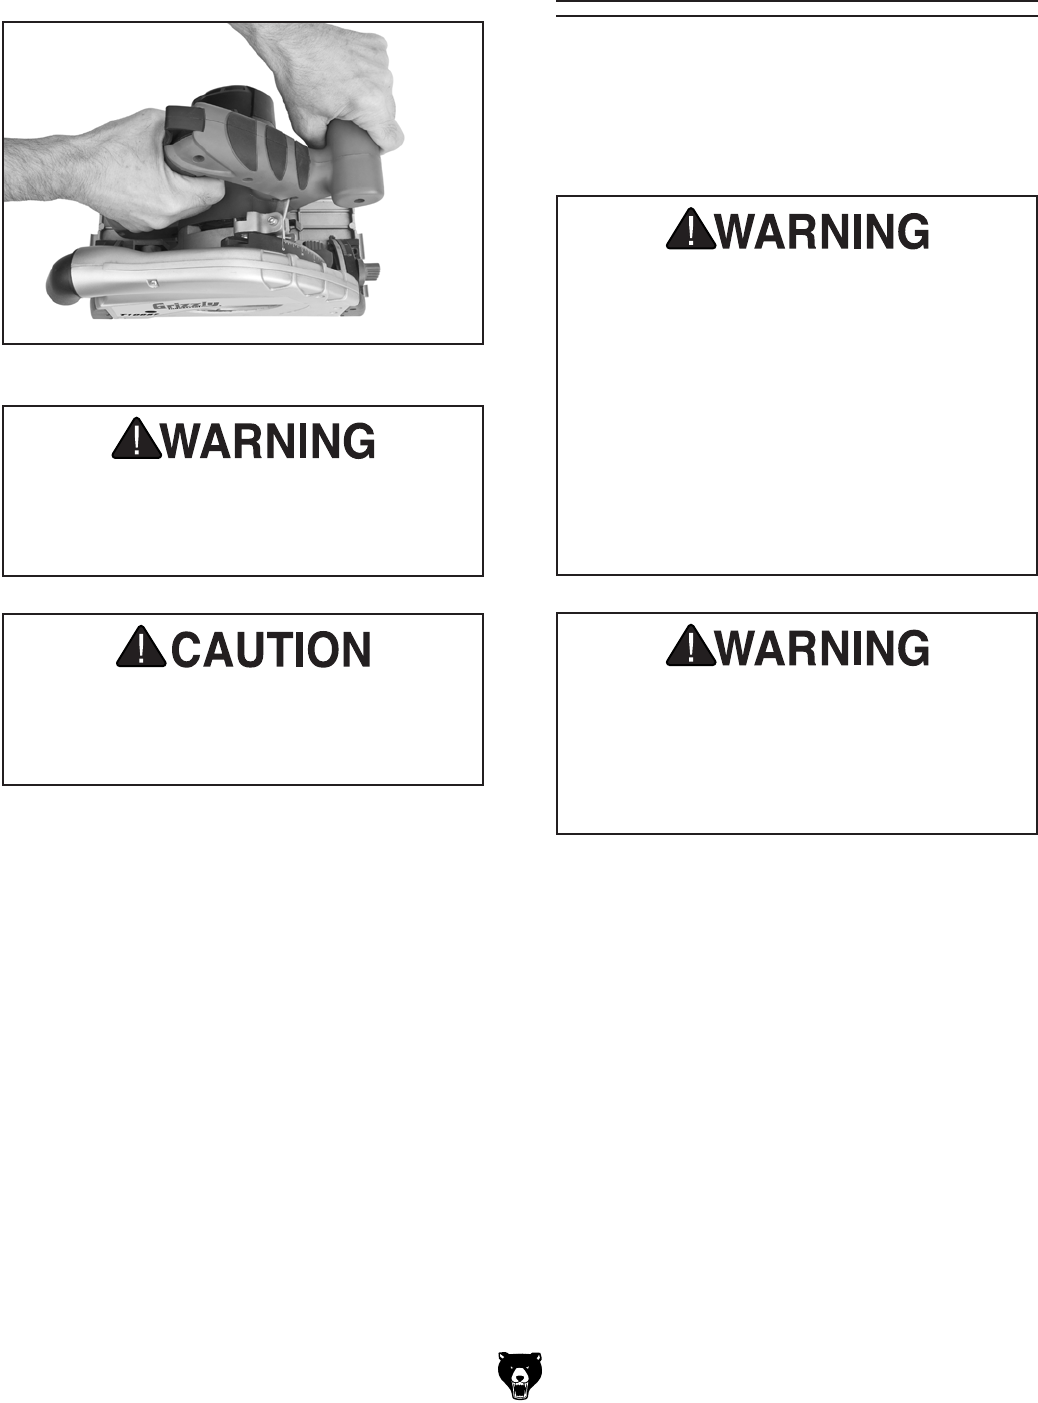
3. Hold the saw firmly with one hand on each
handle, as shown in Figure 18.
Plunge cuts are made by positioning the saw on
the workpiece so that the blade begins cutting as
soon as it is lowered. Plunge cuts work well for
removing an area within the workpiece without
sawing through the outer perimeter.
Making Plunge Cuts
Figure 18. Proper hand positions.
4.
Engage the plunge release and extend the
blade. To activate the saw, pull the power
trigger while holding the plunge release.
Note: Holding the power trigger alone will not
activate the saw. For power to be activated,
both the plunge release and the power trig-
ger must be pressed. After power has been
activated, the plunge release can be disen-
gaged.
5.
Move the saw forward over the workpiece in
an even, steady motion.
6.
When finished, release the power trigger and
allow the blade to come to a complete stop.
Return the saw to its upright position by lifting
up on the handle, allowing the blade to retract
and the saw to lock in place.
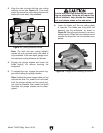
Let the saw reach full speed before contact-
ing the workpiece. Doing so will reduce the
risk of kickback, help provide the cleanest
cut, and reduce stress on the saw motor.
Keep fingers and hands away from the saw
blade and out of blade path during opera-
tion. Use clamps to hold the workpiece in
place if needed.
Making blind plunge cuts without checking
your cutting path for unseen objects could
result in injury from kickback, electrocution,
building damage or fire, gas explosions, or
death. Whenever making a blind plunge cut
into a standing structure (like a wall), always
check the cutting path for hidden wires,
nails, and other metal objects by thoroughly
scanning the area with an electric stud
finder or similar device. NEVER risk a blind
plunge cut without first checking your cut-
ting path.
Whenever operating the saw in the vicinity
of live wires, always wear insulated gloves.
Avoid unintentionally grounding yourself
when operating the saw by being in contact
with electrically-conductive materials (metal
pipes, appliances, etc.).
To make plunge cuts:
1.
Mark the desired start and stop cut-points on
your workpiece.
2. Set the depth of cut (as described in the
Setting Cutting Depth section on Page 19).


