


P 13/20
Repair
[3] DISASSEMBLY/ASSEMBLY
[3]-5. Air Motor Section
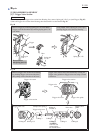
Fig. 24
Fig. 25
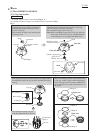
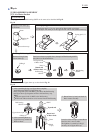
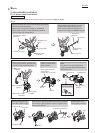
5) Before assembling Cylinder section to Housing, make sure if Air motor section is properly assembled to Housing
by doing the test as described in Figs. 24, 25.
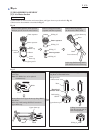
Outer separator
Inner separator Tapping screw 4
air duster
Attach a Flat washer of proper size to nozzle
of air duster for preventing air leakage.
Then insert the nozzle into Front cushion.
Firmly pressing down Cushion guide and Flat washer
with fingers, blow air into the machine.
Rotor will rotate with humming if Air motor section is
properly assembled to Housing.
If Rotor does not rotate with noise of air moving
through and out of the machine, insert Driver bit
into Rotor and rotate Rotor by turning Driver bit.
Then do this check again.
Flat washer
of proper size
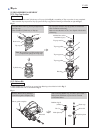
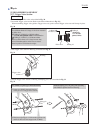
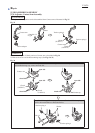
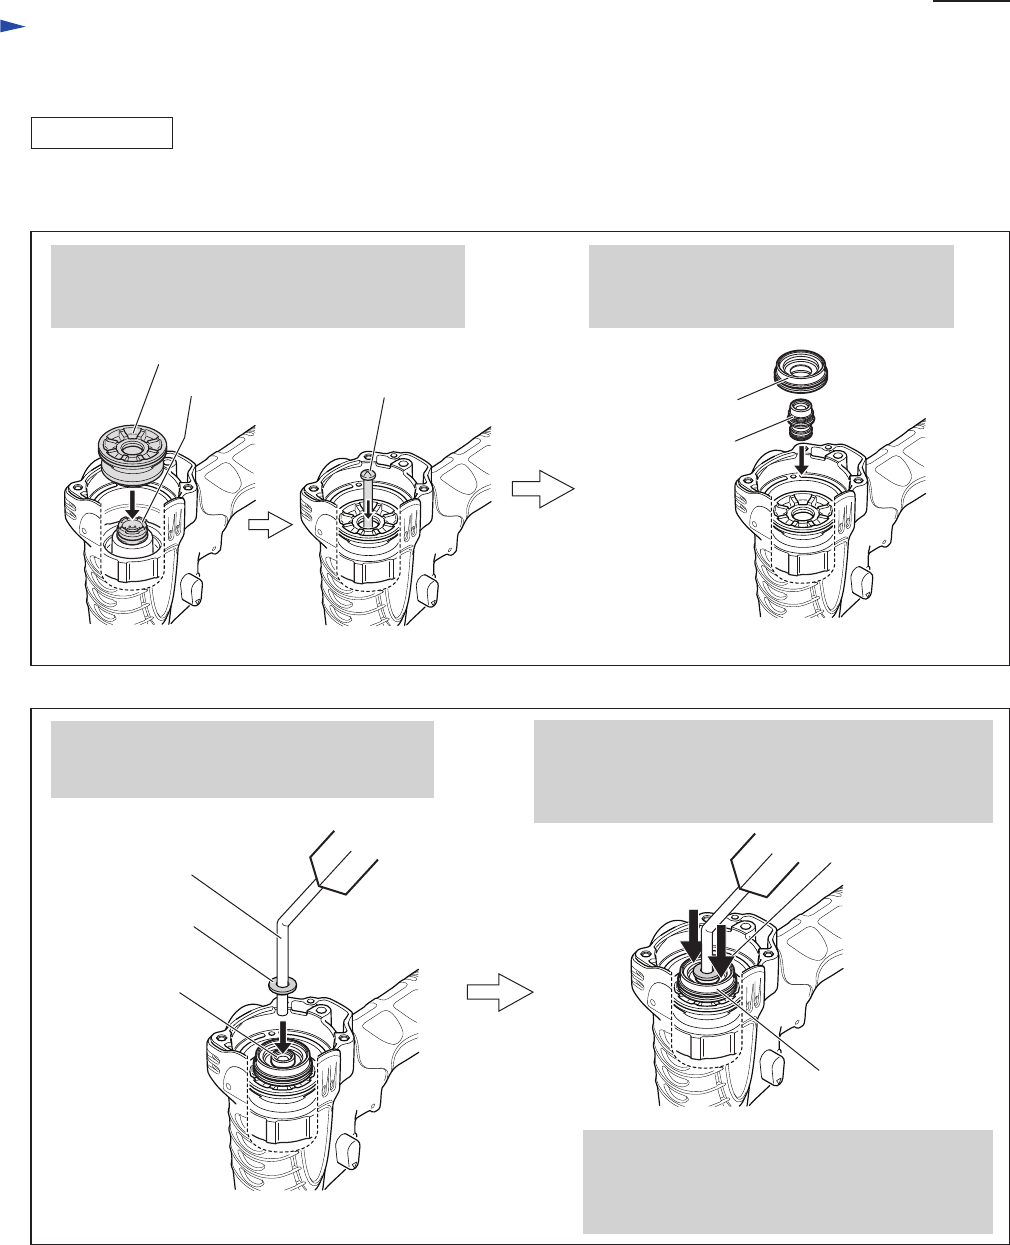
Mount O rings on Front cushion assembly
and Cushion guide. (Refer to Fig. 13.)
Then mount them on Outer separator.
Mount Inner separator and Outer separator,
then insert 4 Tapping screw for preventing
air leakage.
Front cushion
Cushion guide
Front cushion
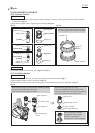
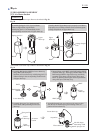
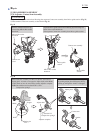
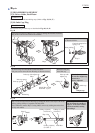
6) Assemble Cylinder section to Housing. (Fig. 12)
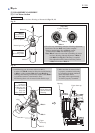
7) Assemble Top cap section to Housing as illustrated on left in Fig. 3.
Cushion guide
Flat washer
ASSEMBLING