


P 6/20
Repair
[3] DISASSEMBLY/ASSEMBLY
[3]-2. Top Cap Section
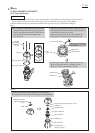
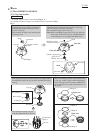
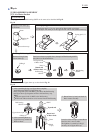
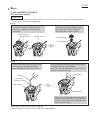
3) Assemble Head valve and Cylinder stay to Top cap (left in Fig. 8); assembling of Top cap section is now completed.
Then assemble Top cap section, Top cap spacer and Top cap gasket to Housing as illustrated on right in Fig. 8.
Fig. 8
Head valve
Top cap gasket
Top cap section
M5x80 Hex socket
head Bolt (4 pcs)
Top cap gasket
Housing
Top cap spacer
Assemble Head valve by pressing straight down
into Top cap.
Then assemble Cylinder stay to Top cap.
Top cap
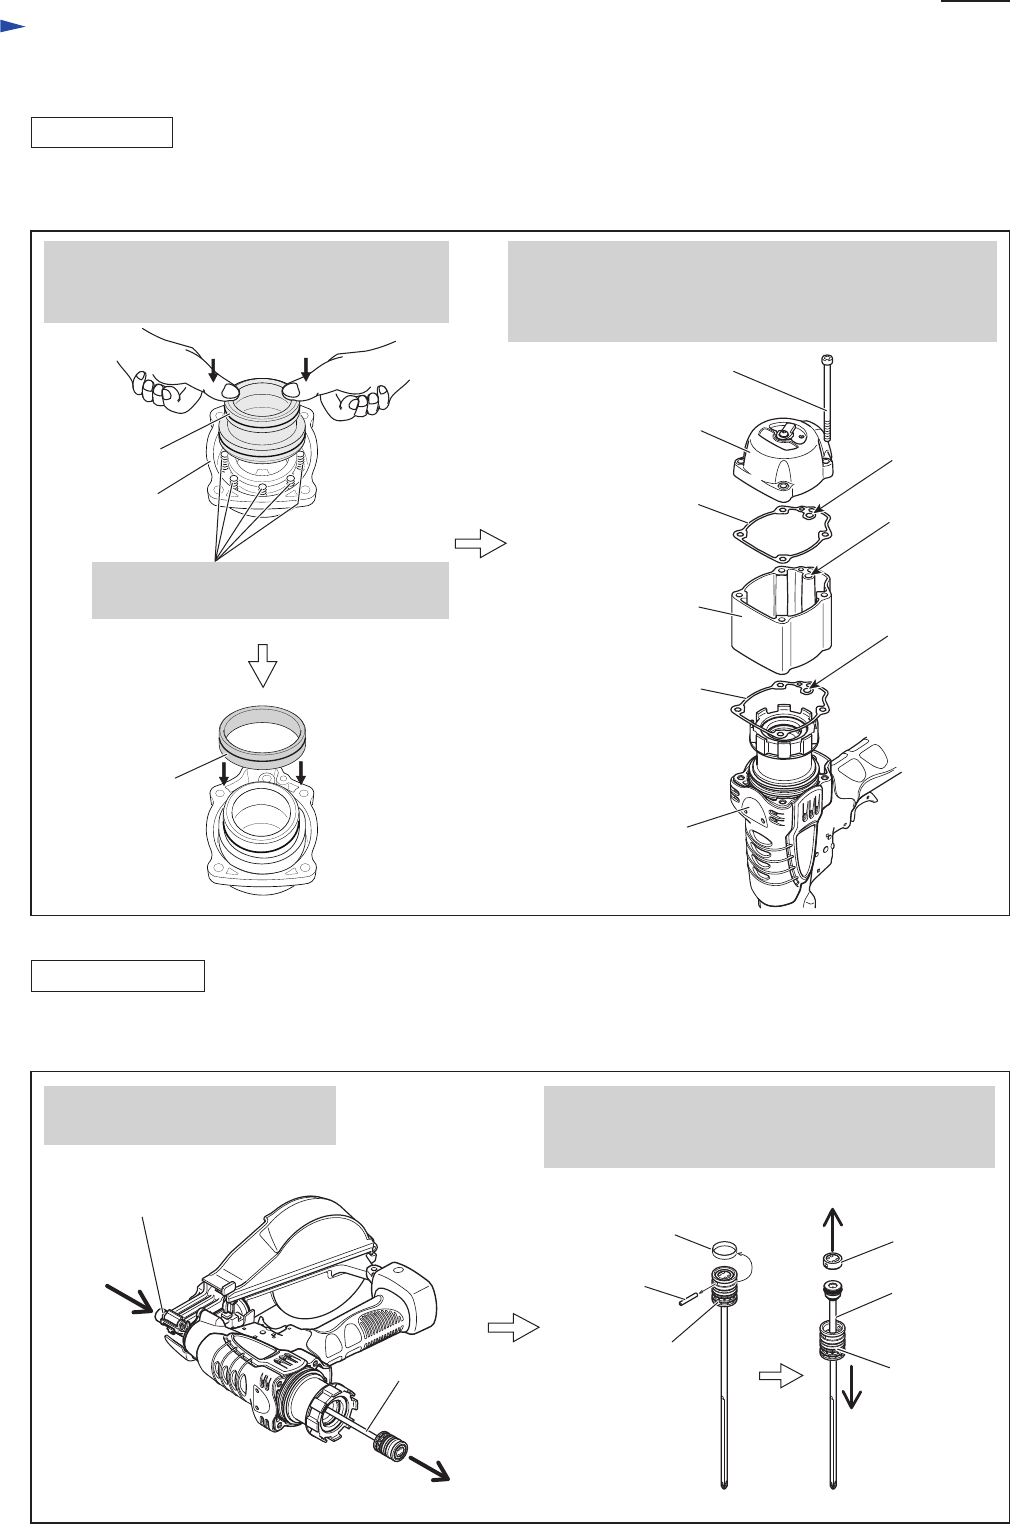
Driver bit
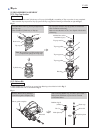
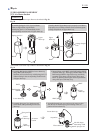
Remove Driver bit by pushing it
from Driver guide complete side.
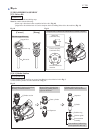
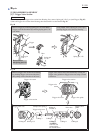
After removing Rubber ring 19 (white), pull off Pin 3.
Main piston and Piston cap can now be removed
as illustrated below.
Driver guide complete
Rubber ring 19
(white)
Main piston
Piston cap
Pin 3
Driver bit
Main piston
Fig. 9
[3]-3. Driver Bit
1) Disassemble Top cap and Top cap spacer from Housing as described on left in Fig. 3.
2) Disassemble Driver bit as described in Fig. 9.
ASSEMBLING
DISASSEMBLING
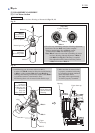
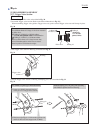
Note: Be careful not to fall down the eight
Compression springs set in Top cap.
Cylinder stay
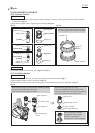
Top cap spacer and two Top cap gaskets are directional
when assembled to Housing.
Make sure that the holes A, B, C are aligned with the hole
of Housing.
A
B
C