


P 14/ 20
Repair
[3] DISASSEMBLY/ASSEMBLY
[3]-4. Bearing box section, Crank housing section (cont.)
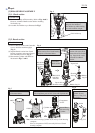
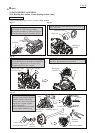
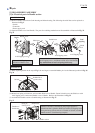
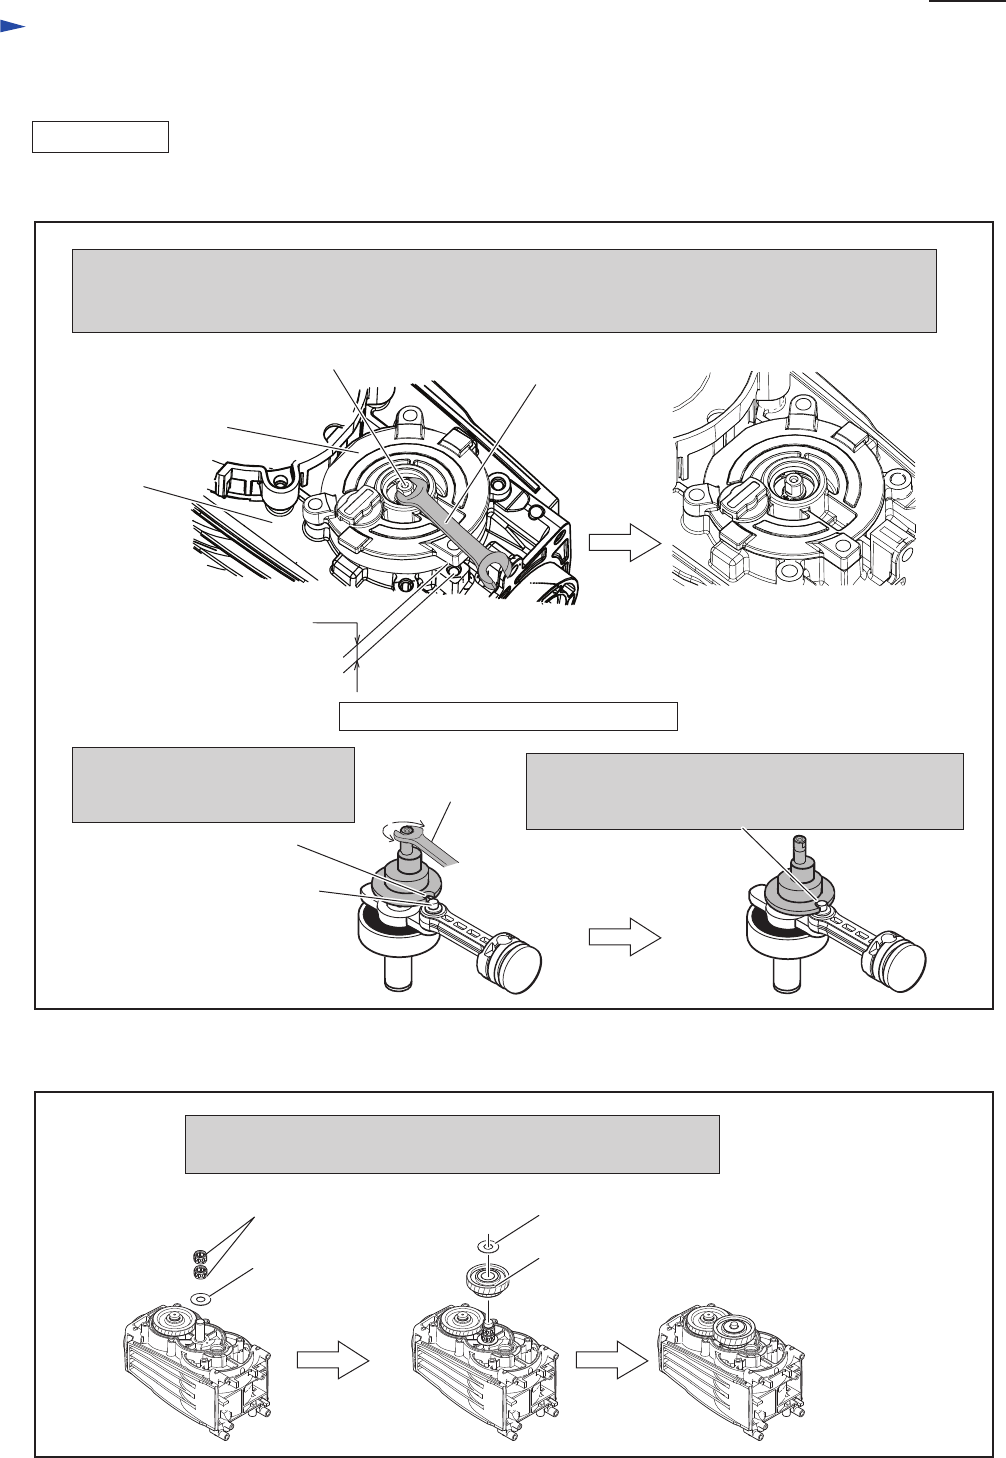
ASSEMBLING
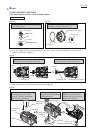
Fit the Notch of Counter shaft to the pin portion of Crank shaft by turning Counter shaft with Wrench 7.
(Unless the notch of Counter shaft fits to the pin portion of Crank shaft, approx. 5mm gap arises between
Bearing box complete and Crank housing complete.)
Pin portion of Crank shaft
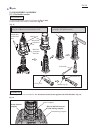
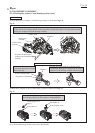
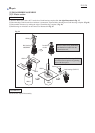
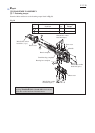
When assembling Gear complete 34-48 and Needle gauge 112,
do not forget to mount two Flat washers as illustrated below.
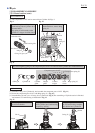
The notch of Counter shaft fits to the pin portion
of Crank shaft. Bearing box complete can be exactly
mounted to Crank housing complete without any gap.
The notch of Counter shaft does
not fit to the pin portion of Crank
shaft in this step.
Notch of Counter shaft
Gap between Bearing box
complete and Crank housing
complete
Bearing box
complete
Counter shaft
Condition under Bearing box complete
Wrench 7
Crank housing
complete
Wrench 7
Fig. 32
Fig. 33
Needle gauge 1412
(2pcs.)
Flat washer 14
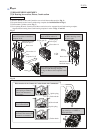
(6) As for the further steps, do the reverse step of Disassembly.
Flat washer 14
Gear complete 34-48
4) Mount Bearing box complete to Crank housing complete as illustrated in Figs. 32.
5) Mount Gear complete 34-48 to Crank housing complete as illustrated in Figs. 33.