


OM-129 647 Page 32
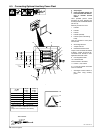
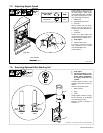
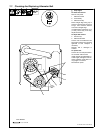
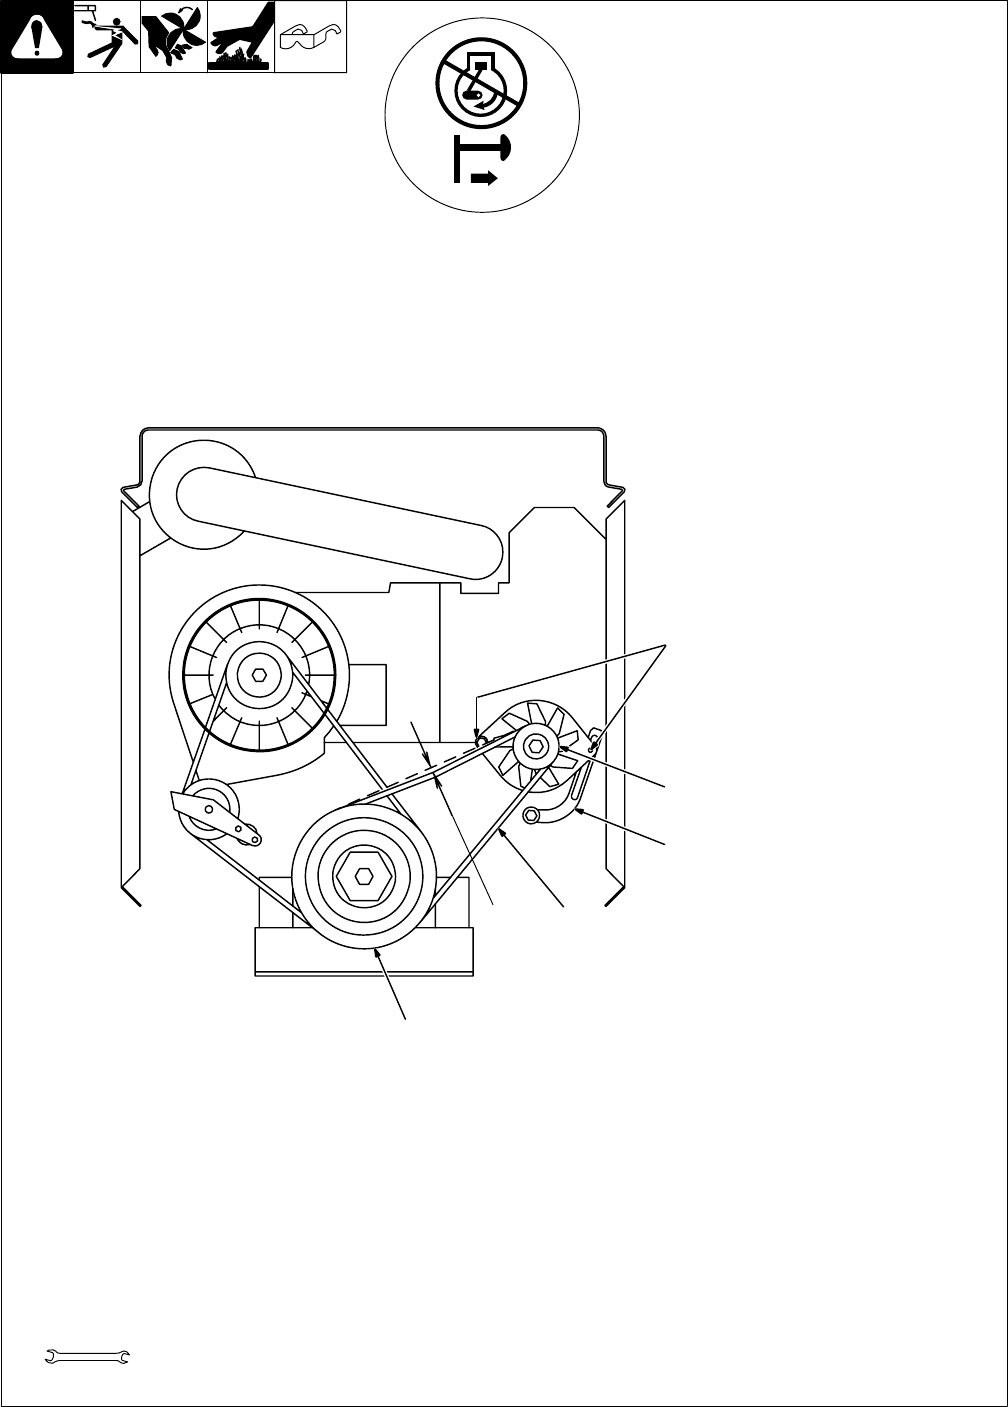
7-7. Checking And Replacing Alternator Belt
ST-158 632 / Ref. ST-180 933-B
Y Stop engine.
To check belt tension:
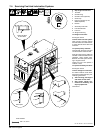
Remove rear panel.
1 Alternator V-Belt
2 Crank Pulley
3 Alternator Pulley
Place straight edge along top of
pulleys. Pull down belt as far as it
will go, then measure distance
from belt to straight edge.
If measurement is less than 1/2 in
(13 mm), belt is okay. If not okay,
adjust belt tension.
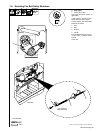
To adjust belt tension:
4 Hex Nuts (2)
5 Alternator Bracket
Loosen nuts. Pivot alternator until
belt is tight. Tighten nuts. Recheck
tightness of belt. Readjust if
necessary.
Replace belt if damaged or
cracked.
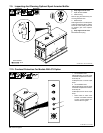
To replace belt:
Loosen hex nuts and pivot alterna-
tor clockwise. Remove belt.
Install new belt, pivot alternator un-
til belt is tight, and tighten nuts. Re-
check tightness of belt after run-
ning engine 15 minutes.
Reinstall rear panel.
1
1/2, 11/16 in
1/2 in
(13 mm)
Max
4
3
5
2
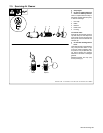
Tools Needed: