


-26-
Df[\cN(/).=fiDXZ_`e\jD]^%J`eZ\*&()
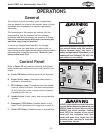
FG<I8K@FEJ
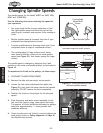
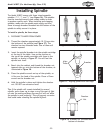
Kf`ejkXccXZlkk\i#[fk_\j\jk\gj1
(% DISCONNECT SHAPER FROM POWER!
Efk\1=fiZfem\e`\eZ\#i\dfm\k_\]\eZ\Xjj\dYcp
Y\]fi\g\i]fid`e^k_\]fccfn`e^jk\gj%
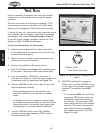
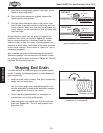
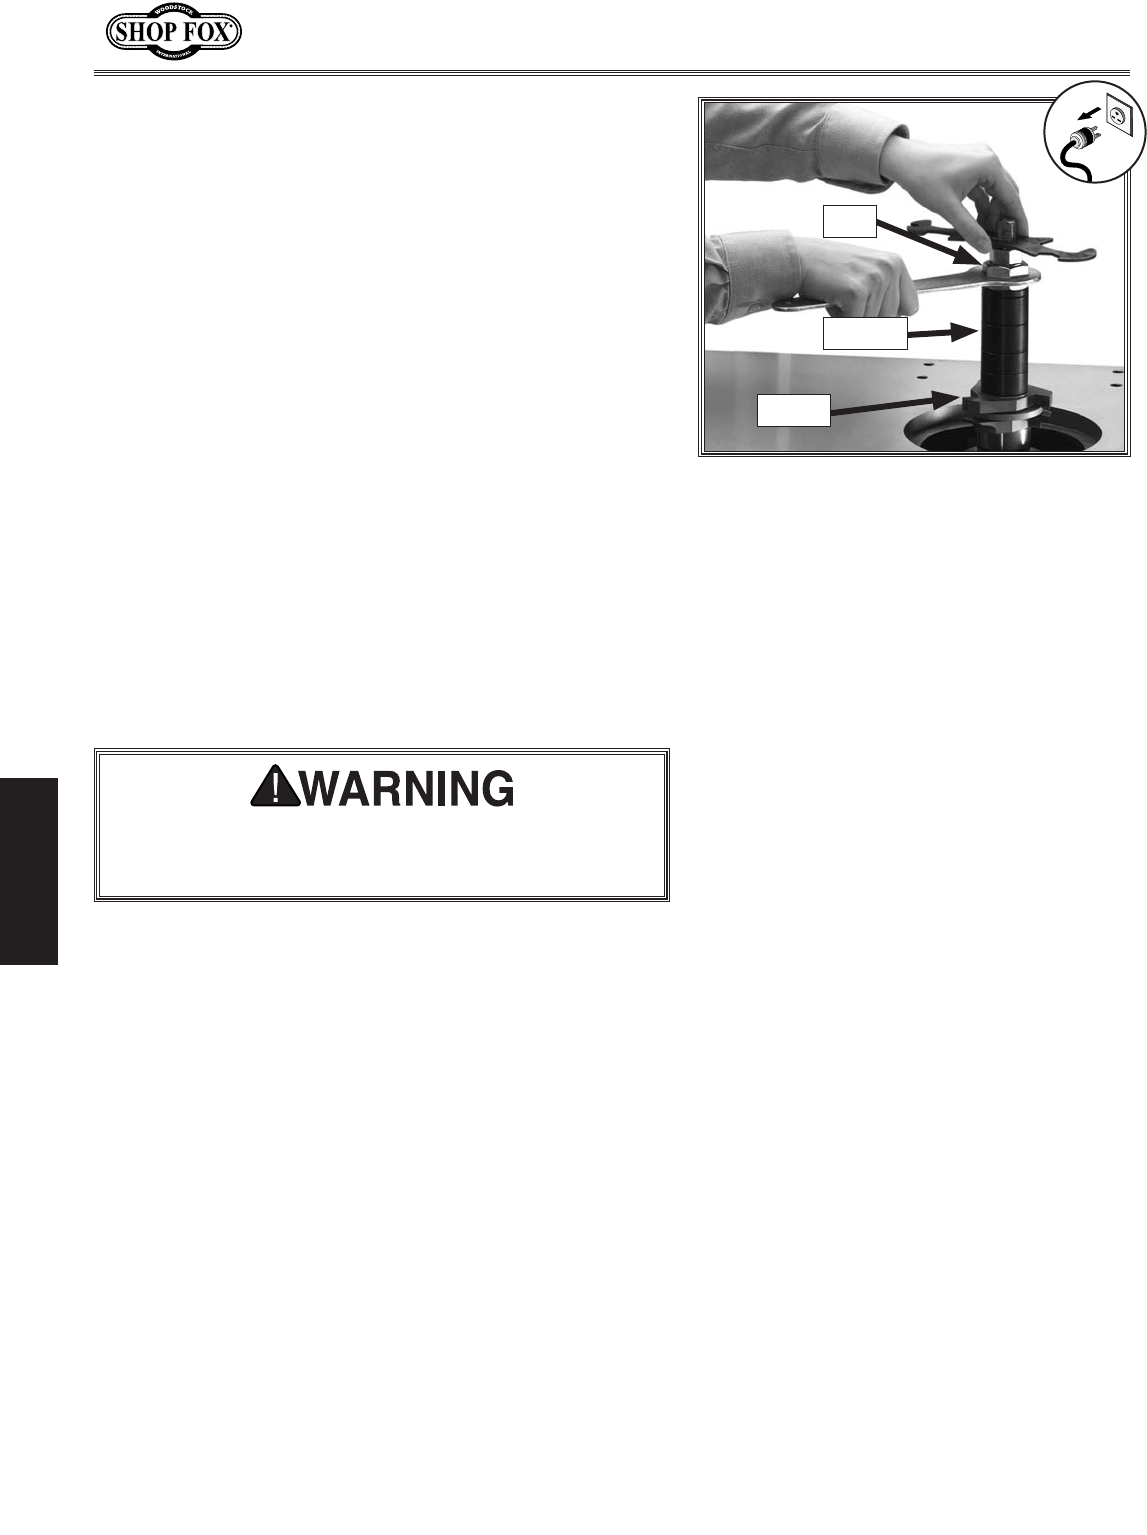
)% Remove the two spindle nuts from the spindle.
*% Place the required spindle spacers on the spindle to
raise the cutter to the proper distance.
+% Protecting your hands from the sharp edges, slide
the cutter onto the spindle, making sure the cutting
edges are facing in the right direction for the
selected spindle rotation.
,% Place the additional spacers onto the spindle as
necessary (see =`^li\**).
-% Thread one spindle nut tightly onto the spindle to
secure the components, then thread the second
spindle nut against the first to act as a lock nut, as
shown in =`^li\**.
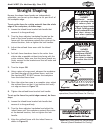
=`^li\**% Tightening the spindle nuts to
secure the spindle components.
Cutter
Spacers
Nuts
Always use a spindle lock nut during operation to
reduce the risk of the cutter or spindle components
leaving the spindle and flying at the operator.