40.
Attaching the Smart Guard
System
To prevent personal injury, always dis con nect
plug from power source before attaching or
removing the Smart Guard System.
P
OSITIONING THE RIVING KNIFE
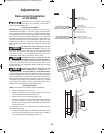
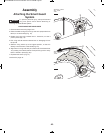
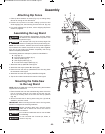
1.Remove table insert using finger hole.
2.Raise the blade as high as it will go and set it perpendicular to
table (0° on bevel scale) (Fig. 19).
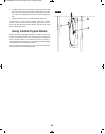
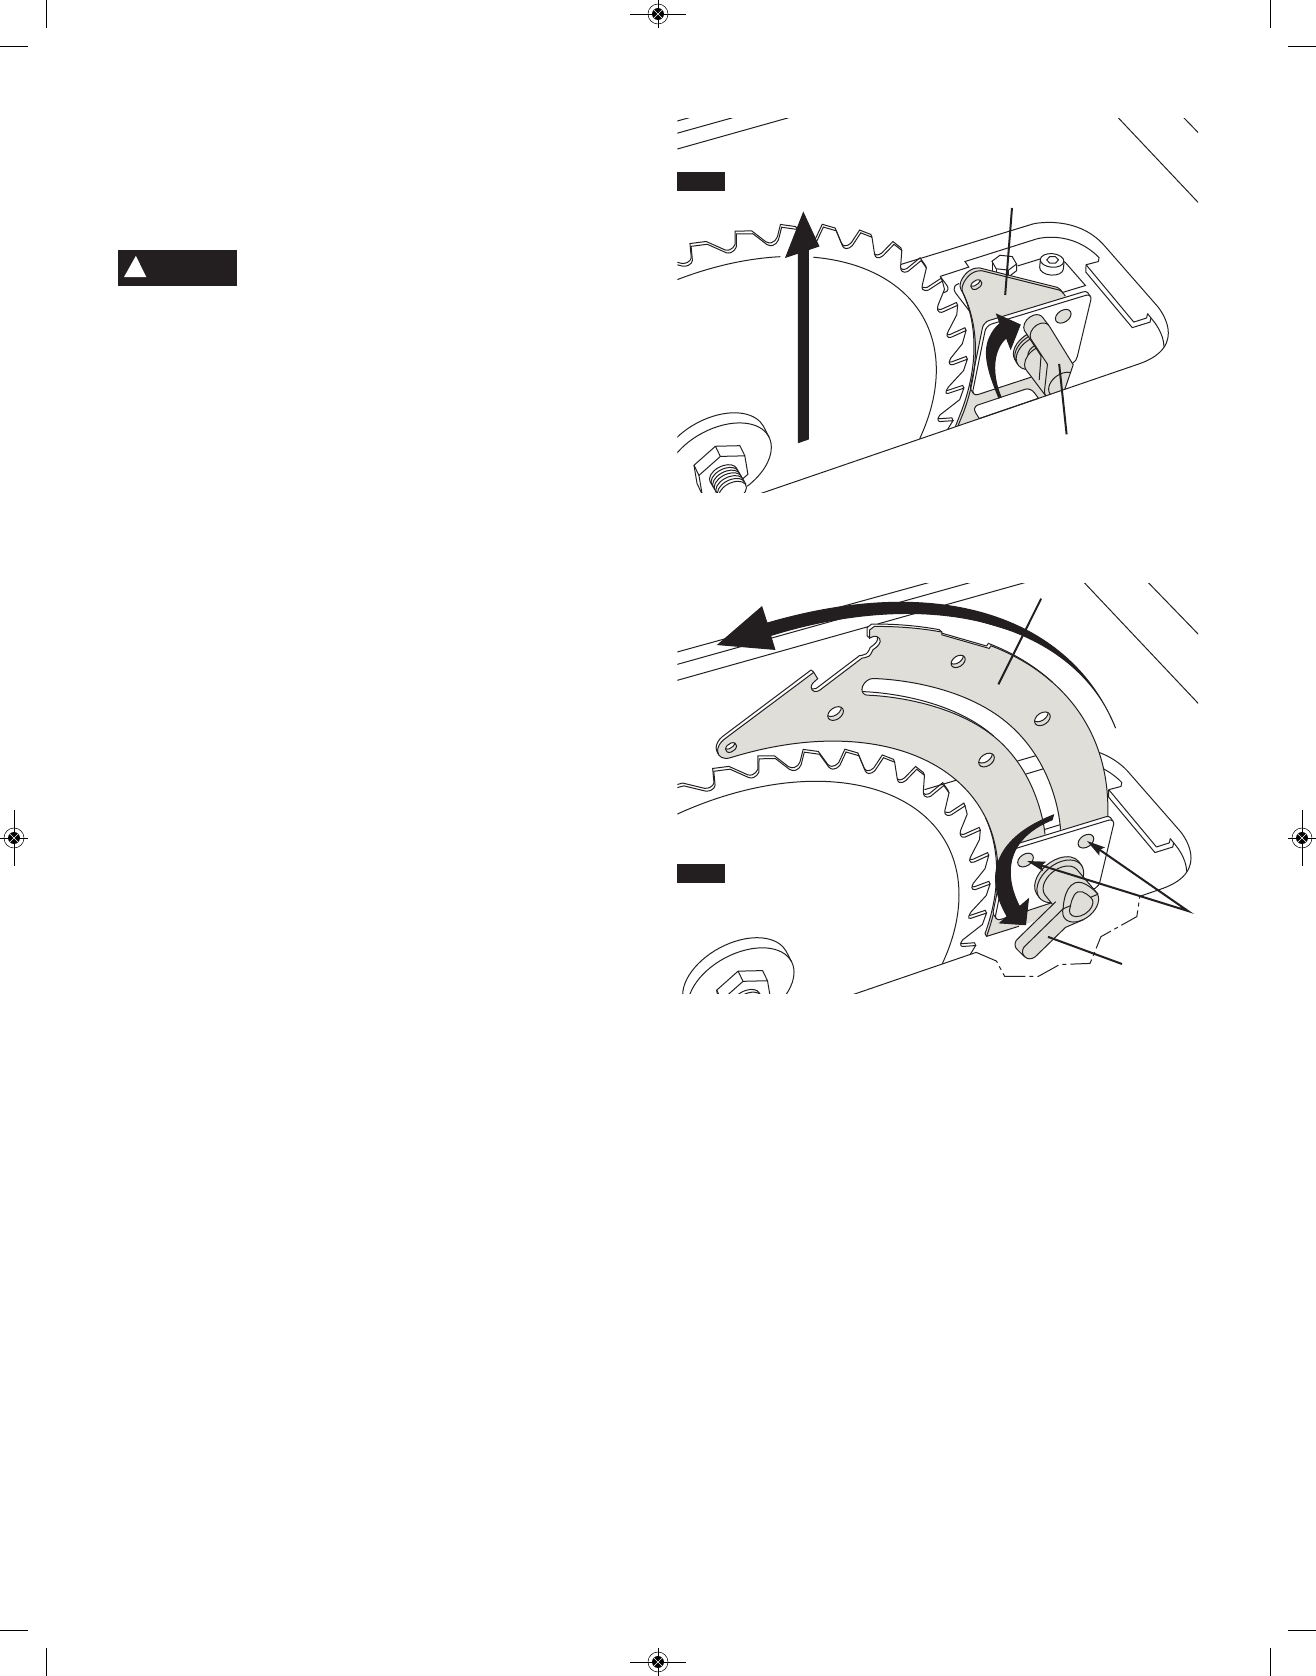
3.Rotate the riving knife release lever 1 clockwise, so that it
points upward (Fig. 19).
4.Pull riving knife 2 towards release lever to disengage it from
the pins 3.
5.Slide the riving knife 2 up to its highest position, so that it is
directly over the center of the blade (Fig. 20).
6.Align holes in riving knife with pins 3 and lock the release lever
1 by rotating it counterclockwise. Push/pull riving knife to verify
that it is locked in place (Fig. 20).
7. Replace table insert (Fig. 21).
continued on page 42
Assembly
FIG. 19
FIG. 20
1
2
1
3
2
WARNING
!
SM 2610008289 02-10:3310 Table Saw 2/2/10 8:38 AM Page 40


