


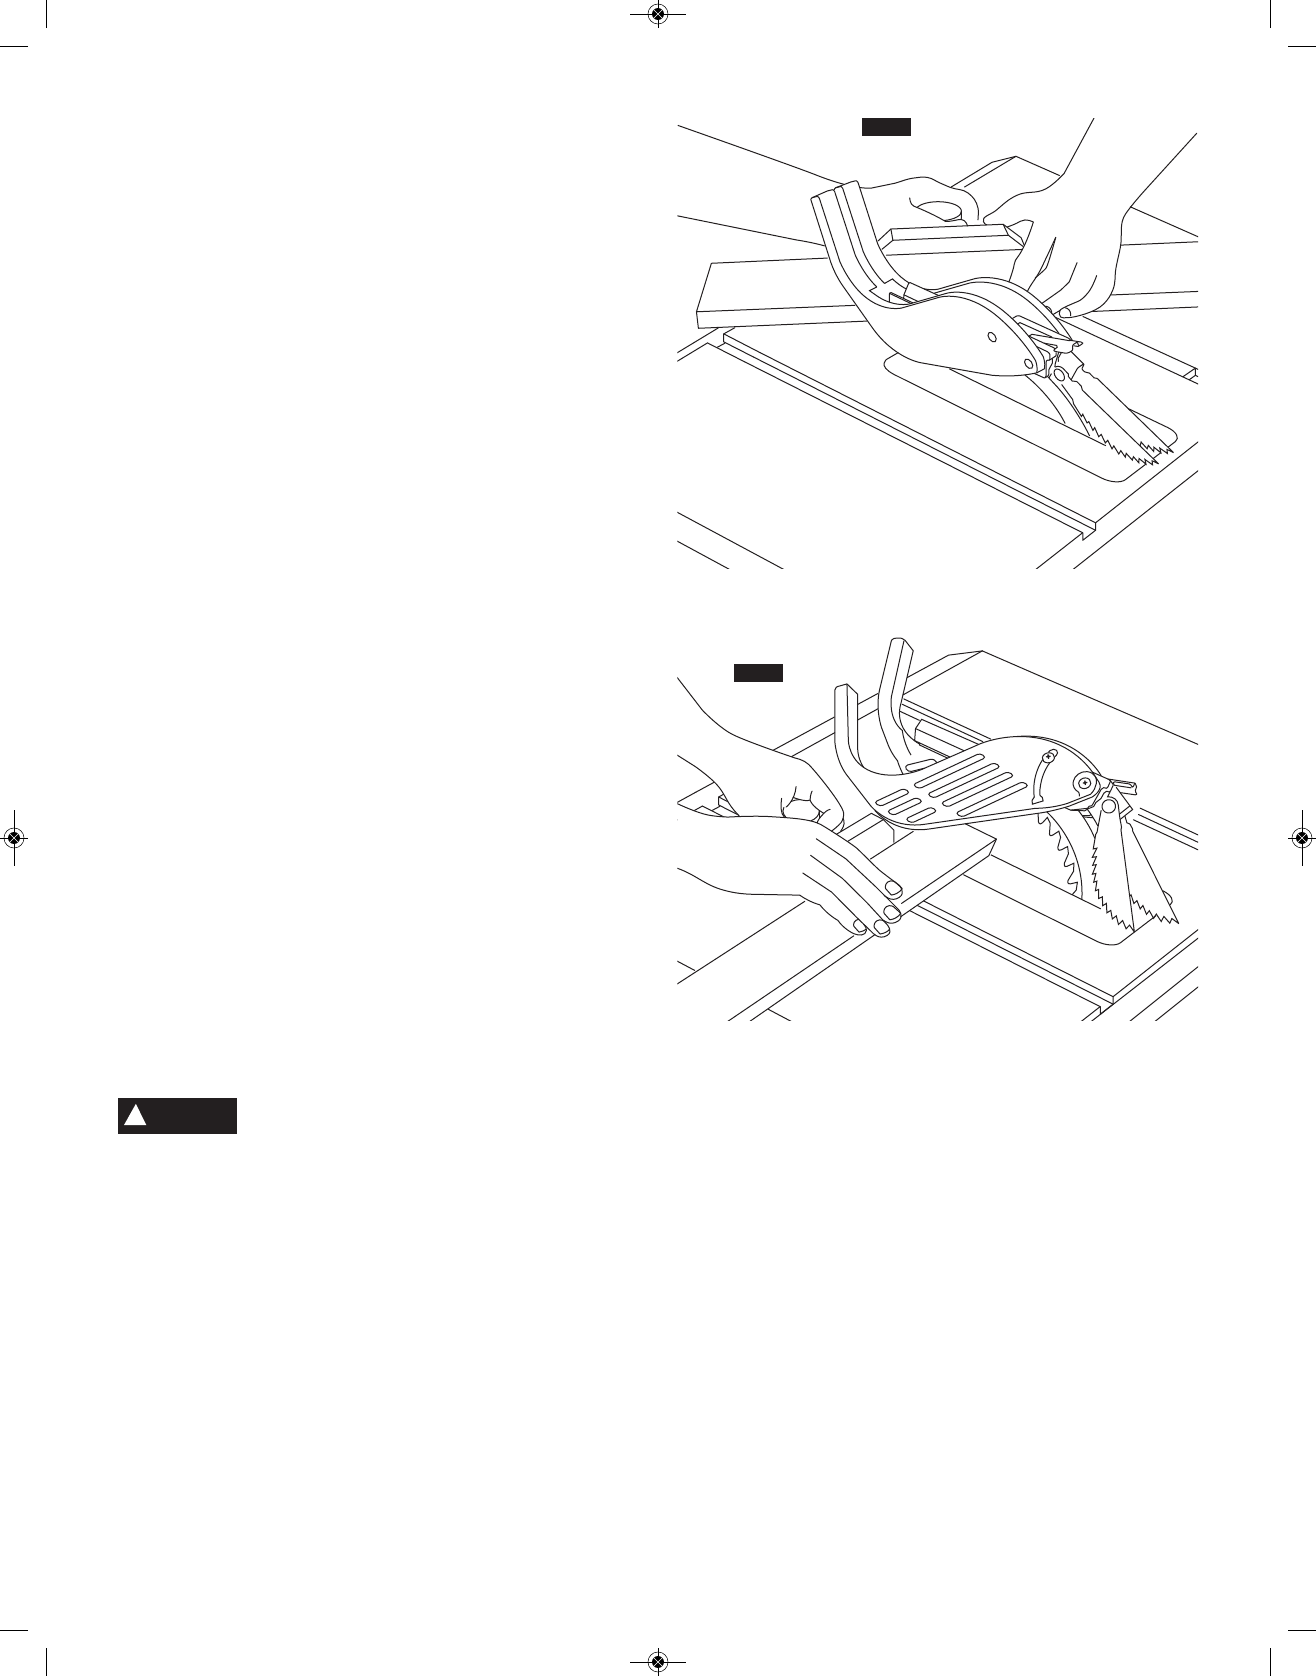
FIG. 40
FIG. 41
60.
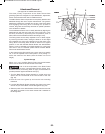
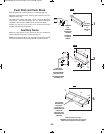
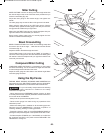
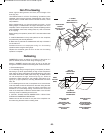
Miter Cutting
MITER CUTTING is known as cutting wood at an angle other than
90° with the edge of the wood. Follow the same procedure as you
would for crosscutting (Fig. 40).
Adjust the miter gauge to the desired angle, and tighten lock
handle.
The miter gauge may be used in either of the grooves in the table.
When using the miter gauge in the LEFT hand groove, hold the
workpiece firmly against the miter gauge head with your left hand,
and grip the lock handle with your right hand.
When using the RIGHT hand groove, hold the workpiece with your
r
ight hand and the lock handle with your left hand.
Before cutting, always make sure you securely tighten the lock
handle to maintain the desired angle.
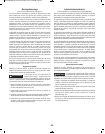
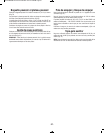
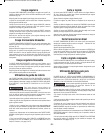
Bevel Crosscutting
BEVEL CROSSCUTTING is the same as crosscutting ex cept that
the wood is also cut at an angle … other than 90° with the flat side
of the wood (Fig. 41).
Adjust the blade to the desired angle and lock it.
Use the Miter Gauge in the groove to the RIGHT of the blade. It
cannot be used in the groove to the LEFT because the blade guard
will interfere. Hold the workpiece with your right hand and the lock
knob with your left hand.
Compound Miter Cutting
COMPOUND MITER CUTTING is a combination of miter cutting
and bevel crosscutting. The cut is made at an angle other than 90°
to both the edge and the flat side of the wood .
Adjust the miter gauge and the blade to the desired angle. Make
sure miter gauge is locked.
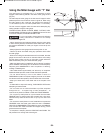
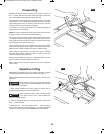
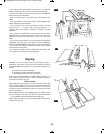
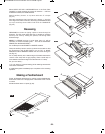
Using the Rip Fence
RIPPING, BEVEL RIPPING, RESAWING AND RABBETING are
performed using the RIP FENCE together with the AUXILIARY
FENCE / WORK SUPPORT, PUSH STICK OR PUSH BLOCK.
For your own safety, always observe the following
safety precautions in addition to the safety
instructions on Pages 2-6.
• Never make these cuts FREEHAND (without using the rip fence
or auxiliary devices when required) because the blade could bind in
the cut and cause a KICKBACK.
• Always lock the rip fence securely when in use.
• Remove miter gauge from table during any operations which
utilize the rip fence.
• Make sure blade guard is installed for all thru-sawing type cuts.
Replace the guard IMMEDIATELY following completion of
resawing, rabbeting, dadoing or molding operations.
• Frequently check the action of the ANTI-KICKBACK PAWLS by
passing the workpiece alongside of the spreader while saw is OFF.
• Pull the workpiece TOWARD you. If the PAWLS do not DIG into
the workpiece and HOLD it, the pawls must be REPLACED. See
“Maintenance” on Page 72.
WARNING
!
SM 2610008289 02-10:3310 Table Saw 2/2/10 8:38 AM Page 60