12
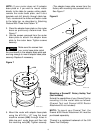
Assemble Fence to the
Router Table
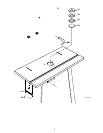
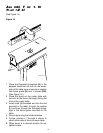
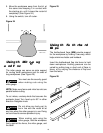
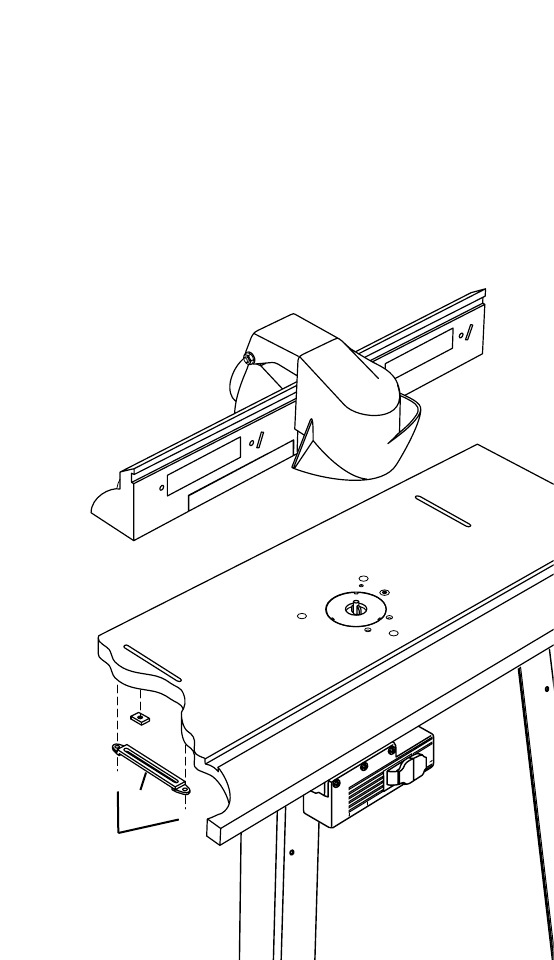
(See Figure 14.)
Figure 14
1. Place the threaded stampings (H) in the
deepest machined cut-outs on the under-
side of the table top and secure in position
with fence guide (H) and 4 screws (GG).
(See Figure 14.)
2. Place the fence on the router table with
the front of the fence (flat edge) facing the
front of the router table.
3. Insert knob (J) threaded end into the slot
provided in the table, through the washer
(L) and then through the threaded stamp-
ings in the fence guide mounted on the
table.
4. Secure by turning the knob clockwise.
5. Follow numbers 1 through 4 above to
attach other side of fence to router table.
6. When fence is in desired location for cut,
tighten knobs.
WOLF113-30
GG
H
P
U
L
L
O
N
P
U
S
H
O
F
F
R
E
S
E
T
O
U
T
L
E
T
S


