Model G0690/G0691 (Mfg. 11/10+)
-33-
Basic Controls
ON/OFF Switch: Starts and stops the motor.
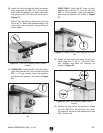
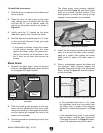
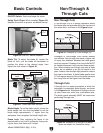
Safety Pin & Chain: When installed (Figure 40),
disables the switch to prevent accidental startup.
Safety
Pin
Figure 40. ON/OFF switch disabled.
ON
Switch
Safety
Pin
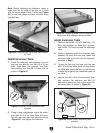
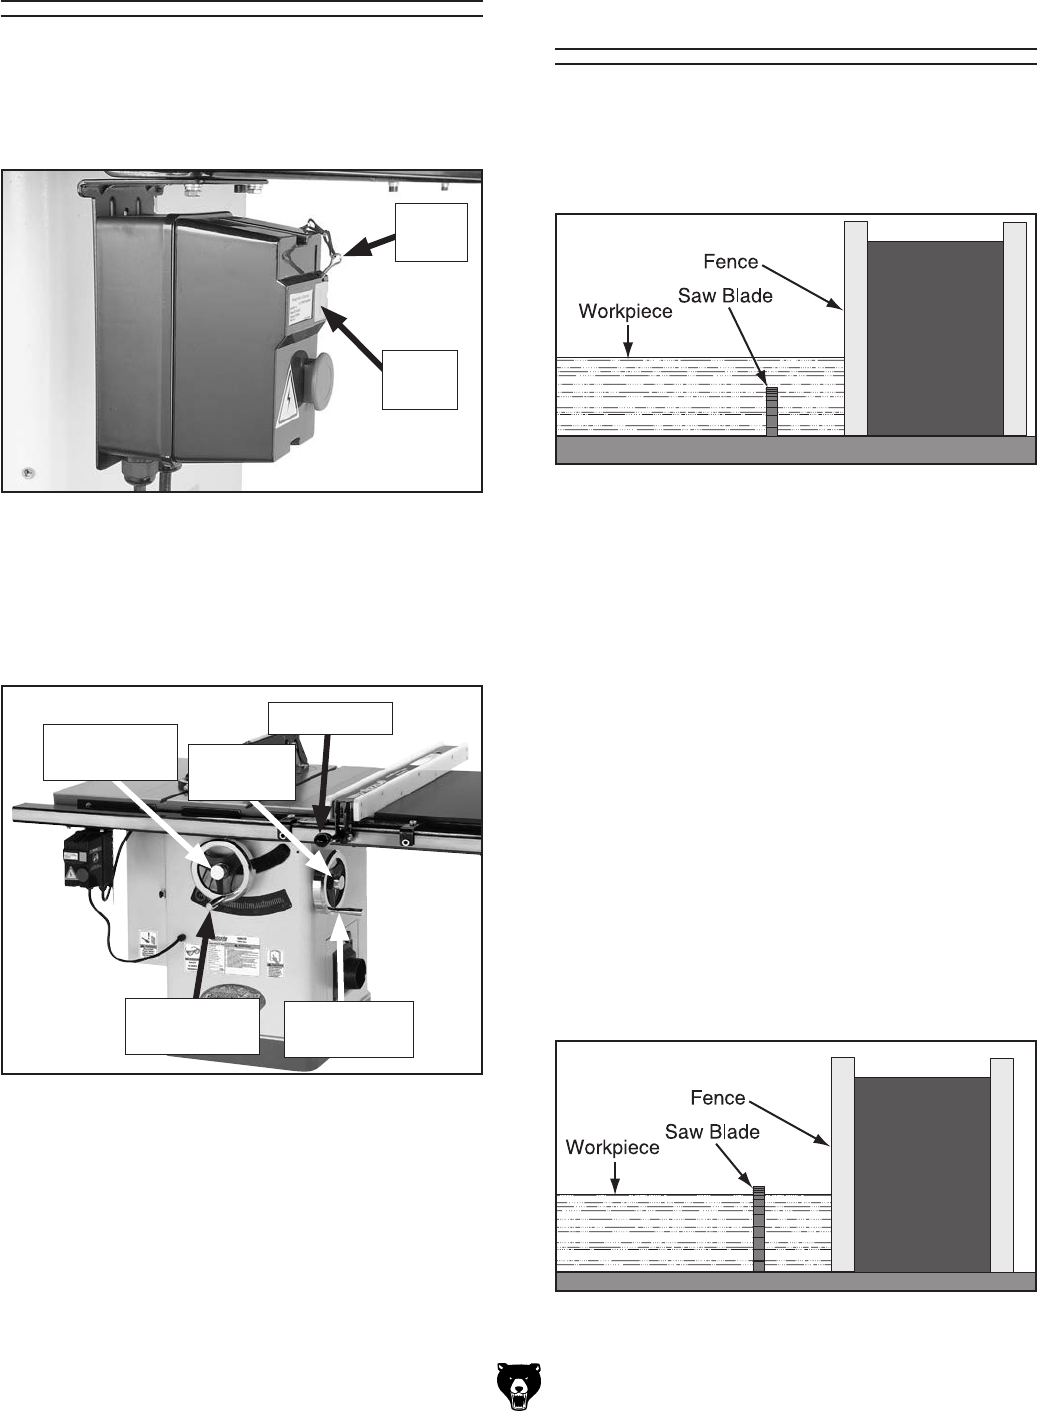
Blade Tilt: To adjust the blade tilt, loosen the
blade tilt lock, turn the blade tilt handwheel to
position the blade at the desired angle, then
tighten the lock shown in Figure 41.
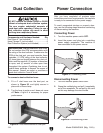
Figure 41. Basic table saw controls.
Blade Height
Lock
Blade Tilt
Lock
Fence Lock
Blade Height
Handwheel
Blade Tilt
Handwheel
Blade Height: To set the blade height, unlock the
blade height lock, turn the handwheel to set the
blade height approximately
1
⁄4" higher than the
workpiece, then re-tighten the blade height lock.
Fence Lock: After adjusting the fence to the
desired width of cut, lock it in place by firmly push-
ing the fence lock down until it stops.
Non-Through &
Through Cuts
Examples of non-through cuts include dadoes
and rabbets. Non-through cuts have a higher risk
of injury from kickback because the blade guard
must be removed. However, the riving knife MUST
be installed because it still provides some protec-
tion. When making non-through cuts with a dado
blade, do not attempt to cut the full depth in one
pass. Instead, take multiple light passes to reduce
the load on the blade. A dado blade smaller than
10
"
will require removal of the riving knife, because
the riving knife will be higher than the blade.
Non-Through Cuts
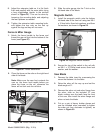
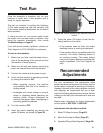
Figure 42. Example of a non-through cut.
A non-through cut is a sawing operation where
the blade does not protrude above the top face of
the wood stock, as shown in the
Figure below.
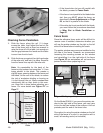
Figure 43. Example of a through cut (blade
guard not shown for illustrative clarity).
Through Cuts
A through cut is a sawing operation in which the
workpiece is completely sawn through, as shown
in the
Figure below
. Examples of through cuts are
rip cuts, cross cuts, miter cuts, and beveled cuts.
The blade guard assembly MUST be used when
performing through cuts.


