Model G0690/G0691 (Mfg. 11/10+)
-73-
Belt Tension &
Replacement
Tools Needed Qty
Wrenches 18mm ............................................... 2
Tensioning Belt
1. DISCONNECT THE SAW FROM POWER!
2. Lower the blade completely, then open the
motor cabinet.
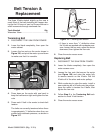
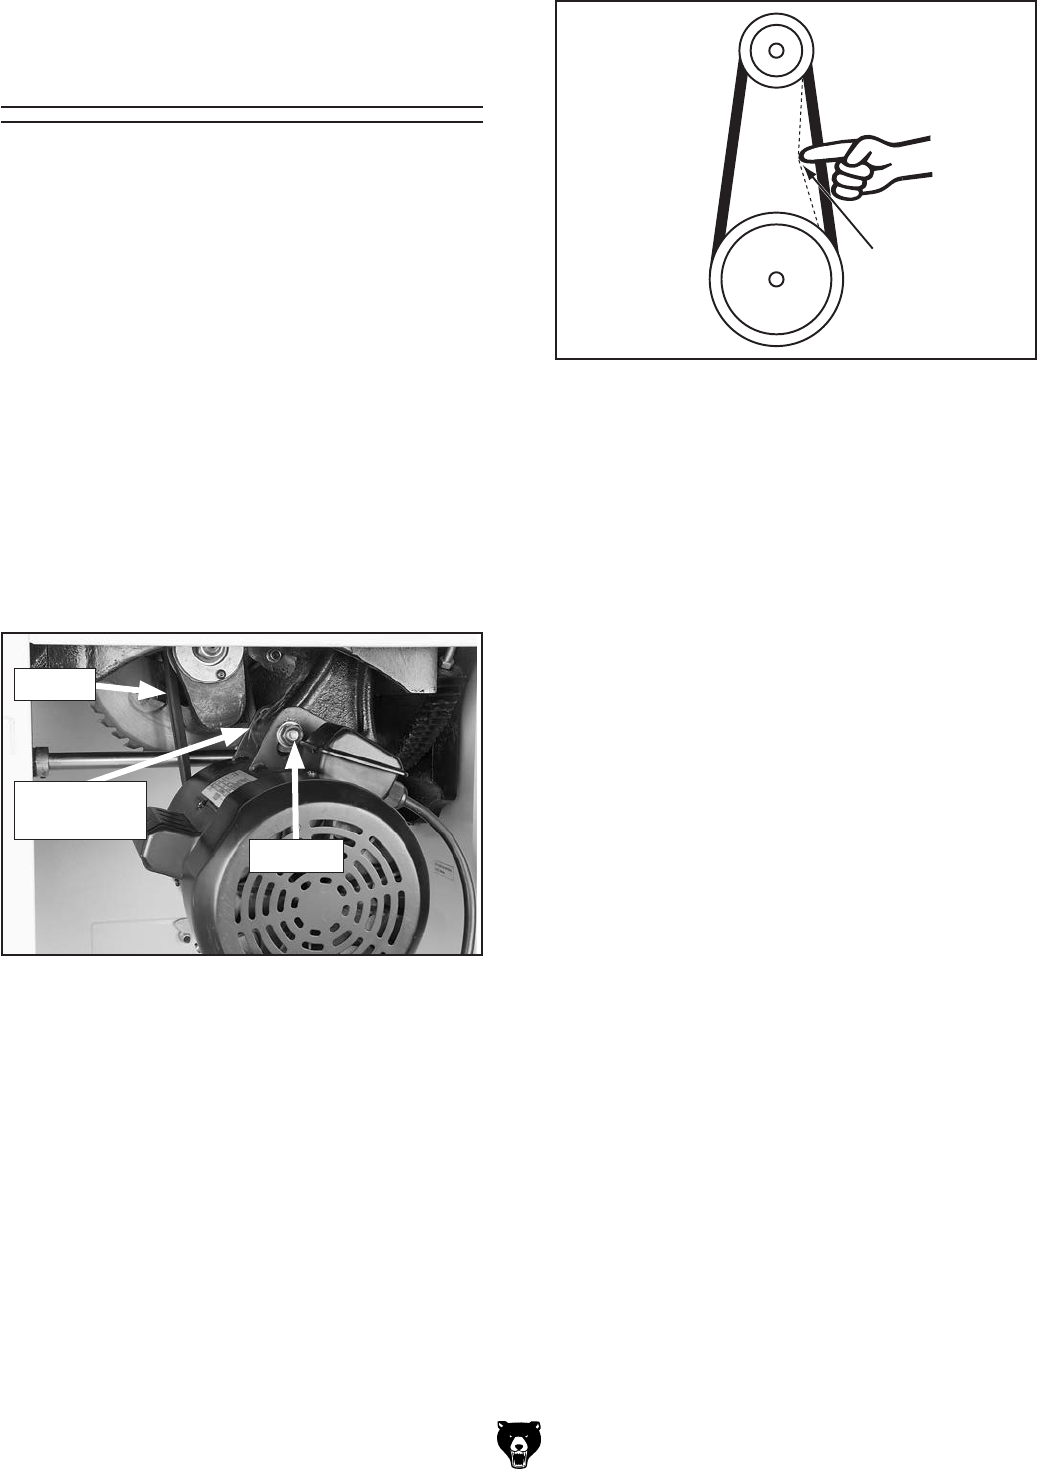
3. Loosen the hex nuts on the motor shown in
Figure 126, and pivot the motor up and down
to make sure that it is movable.
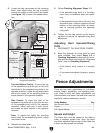
Figure 126. Motor mounting nut.
4. Press down on the motor with one hand to
keep the belt tension tight and tighten the hex
nuts.
5. Press each V-belt in the center to check belt
tension.
The belts are correctly tensioned when there
is approximately
1
⁄2" deflection when they are
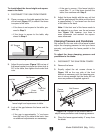
pushed with moderate pressure, as shown in
Figure 127.
The three V-belts stretch slightly as the saw is
used. Most of the belt stretching will happen dur-
ing the first 16 hours of use, but it may continue in
small increments through continued use.
Replacing Belt
1. DISCONNECT THE SAW FROM POWER!
2. Lower the blade completely, then open the
motor access cover.
3. Loosen the hex nuts that secure the motor
(see Figure 126) and raise the motor fully
to remove tension on the V-belts. Roll the
V-belts off of the arbor and motor pulleys.
4. While continuing to raise the motor, install a
new matching set of V-belts onto the pulleys,
lower the motor to tension the V-belts, then
tighten the hex nuts.
5. Follow Step 5 in the Tensioning Belt sub-
section to check V-belt tension.
6. Close the motor access cover.
Pulley
Deflection
Pulley
Figure 127. Checking belt tension.
1
⁄2"
— If there is more than
1
⁄2" deflection when
the V-belts are pushed with moderate pres-
sure, loosen the hex nuts, adjust the motor
downward, then tighten the hex nuts.
6. Close the motor access cover.
V-Belts
Hex Nut
(Not Shown)
Hex Nut


