-70-
Model G0690/G0691 (Mfg. 11/10+)
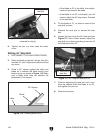
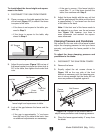
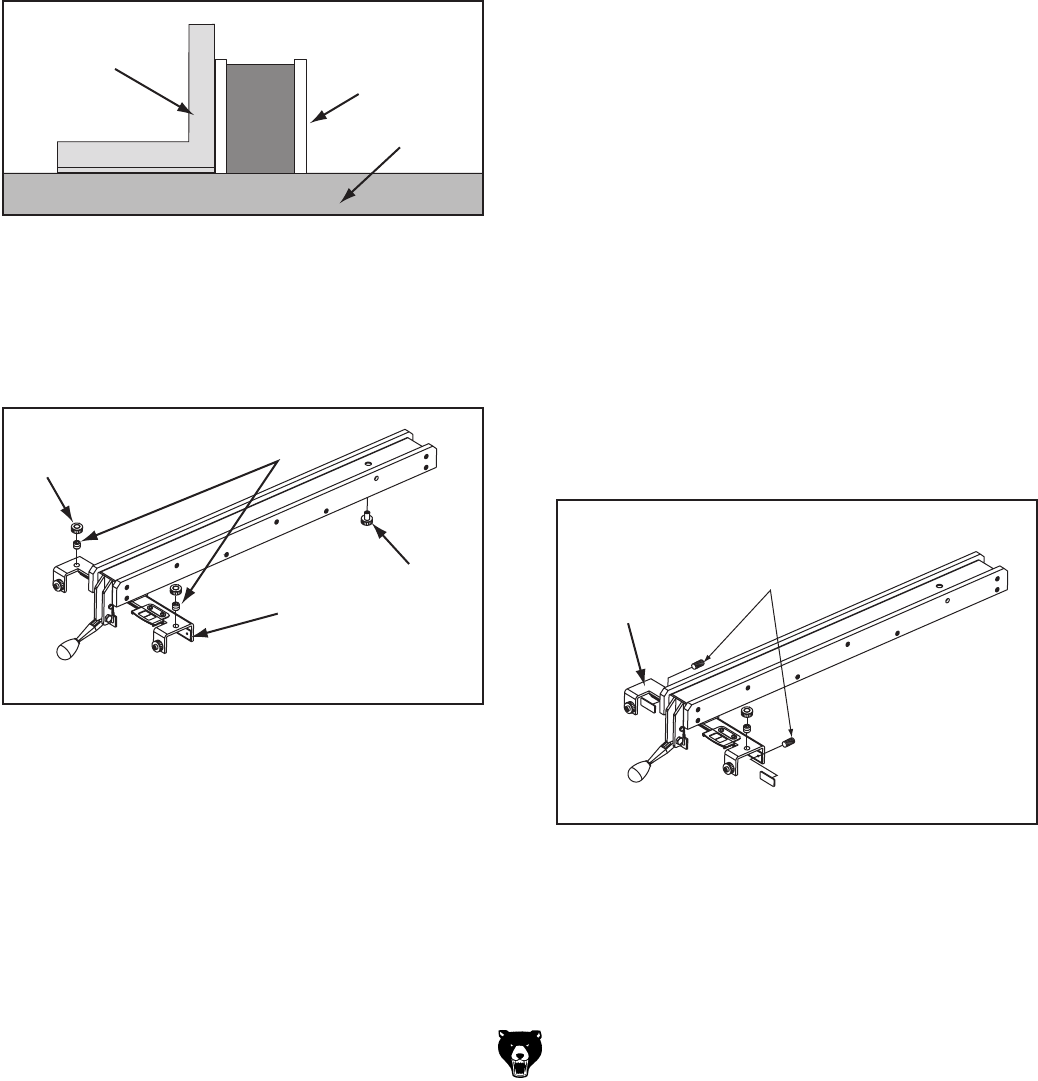
Figure 117. Checking if fence is square to table.
90° Square
Fence
Table
Figure 118. Fence components used to adjust
fence height and squareness to table.
Fence
Bracket
Set Screws
Lock Nut
Rear Rail
Foot
4. Look at the gap between the fence and the
table top.
— If the gap is approximately
1
⁄16" and even
from the front of the table to the back, then
no additional adjustments are necessary.
3. Adjust the set screws (Figure 118) on top of
the fence bracket to ensure the fence face is
90° to the table, then tighten the knurled lock
nuts.
Clamping Pressure and Parallelism
Set screws on the rear side of the fence bracket
adjust the clamping pressure to hold your fence
securely, and position the fence parallel to the
blade.
To adjust the fence clamping pressure and
parallelism to the blade:
1. DISCONNECT THE SAW FROM POWER!
2. Remove the fence.
3. Equally adjust the set screws shown in
Figure 119 on the rear side of the front
bracket as necessary until the clamping pres-
sure is strong enough that the fence will not
move as pressure is applied against it.
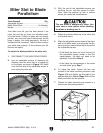
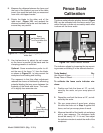
Figure 119. Location of set screws used to
adjust fence parallelism and clamping pressure.
Set Screws
Fence
Bracket
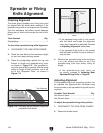
4. Place the fence approximately 4" away from
the blade.
—If the gap is uneven, if the fence height is
more than
1
⁄8", or if the fence touches the
table, then continue with Step 5.
5. Adjust the fence height with the rear rail foot
until the gap between the table and the fence
is approximately
1
⁄16" and even from the front
of the table to the back.
Note: If the front end of the fence needs to
be adjusted up or down, use the set screws
from Figure 118; however, turn them in
even increments and recheck the square-
ness afterwards.
To check/adjust the fence height and square-
ness to the table:
1. DISCONNECT THE SAW FROM POWER!
2. Place a square on the table against the face
of the fence (Figure 117) to check if the fence
is square to the table.
— If the fence is not square to the table, pro-
ceed to Step 3.
— If the fence is square to the table, skip
ahead to Step 4.


