


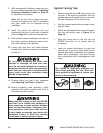
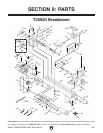
-34-
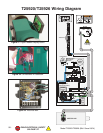
Model T25920/T25926 (Mfd. Since 08/14)
Tensioning &
Replacing Belt
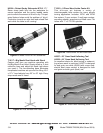
Tools Needed:
Hex Wrenches 3mm, 6mm ...........................1 Ea
Rubber/Wood Mallet .......................................... 1
The drive belt stretches as the lathe is used.
Most of the stretching will occur during the first
16 hours, but may continue with further use. If the
lathe loses power while making a cut, the belt may
be slipping and need tensioning. If the belt shows
signs of excessive wear, or damage, replace it.
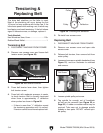
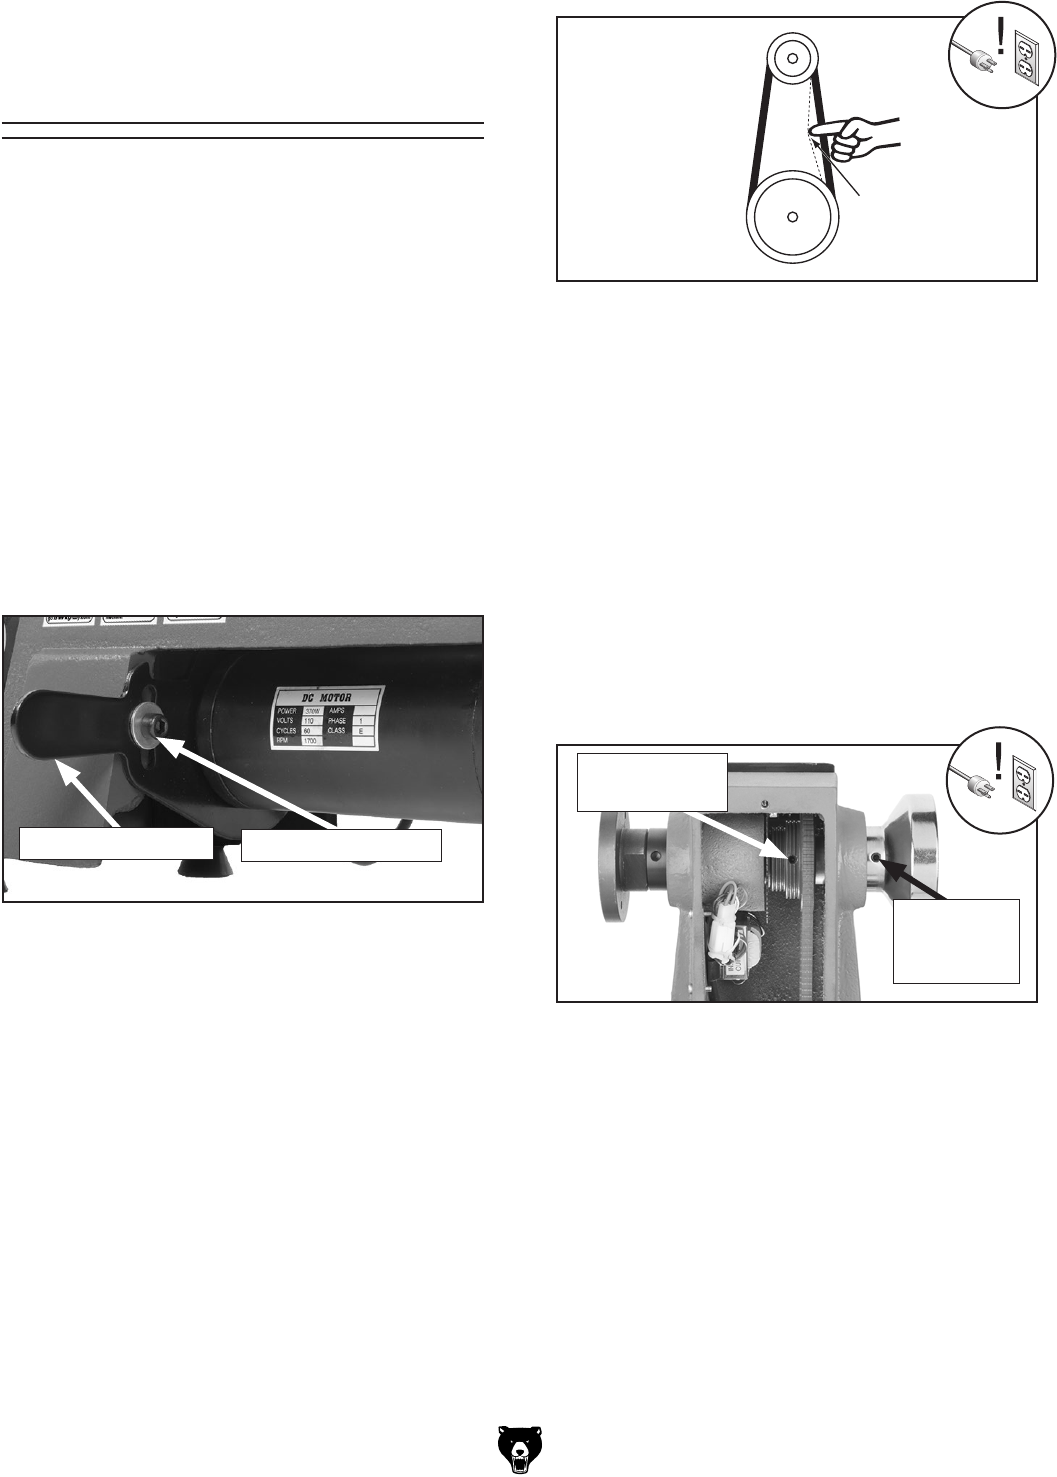
Figure 49. Belt tension controls.
Belt Tension Lever
Belt Tension Screw
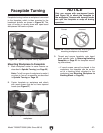
Tensioning Belt
1. DISCONNECT MACHINE FROM POWER!
2. Remove rear access cover and loosen belt
tension screw (see Figure 49).
3. Press belt tension lever down, then tighten
belt tension screw.
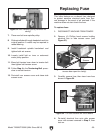
4. Press belt with moderate pressure in center
to check tension. Belt is correctly tensioned
when there is approximately
1
⁄2" deflection
when pushed as shown in Figure 50.
— If there is more than
1
⁄2" deflection repeat
the tensioning procedure until it is correct.
If tension cannot be achieved replace belt.
Pulley
Deflection
Pulley
Figure 50. Checking belt deflection.
1
⁄2"
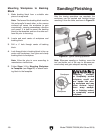
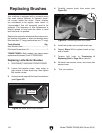
Replacing Belt
1. DISCONNECT MACHINE FROM POWER!
2. Remove rear access cover and open side
access cover.
3. Release belt tension, then remove belt from
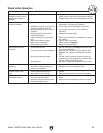
motor pulley.
4. Loosen set screws on spindle handwheel (see
Figure 51), and turn clockwise to unthread
and remove.
Figure 51. Set screw locations.
Spindle
Handwheel
Set Screw
Spindle Pulley
Set Screw
5. Re-install rear access cover.
5. Loosen spindle pulley set screw.
6. Tap spindle far enough out of headstock
so belt can be removed (see Figure 52 on
Page 35). A rubber or wooden mallet may be
required. Take care not to damage spindle
threads or lose parts. DO NOT remove spin-
dle pulley.