-16-
Model T27313 (Mfd. Since 01/15)
Cutting Tool
The cutting tool can be positioned closer to or
farther from the workpiece by loosening the set
screw at the top of the cutting tool collar.
To install or replace cutting tool:
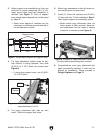
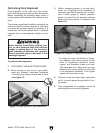
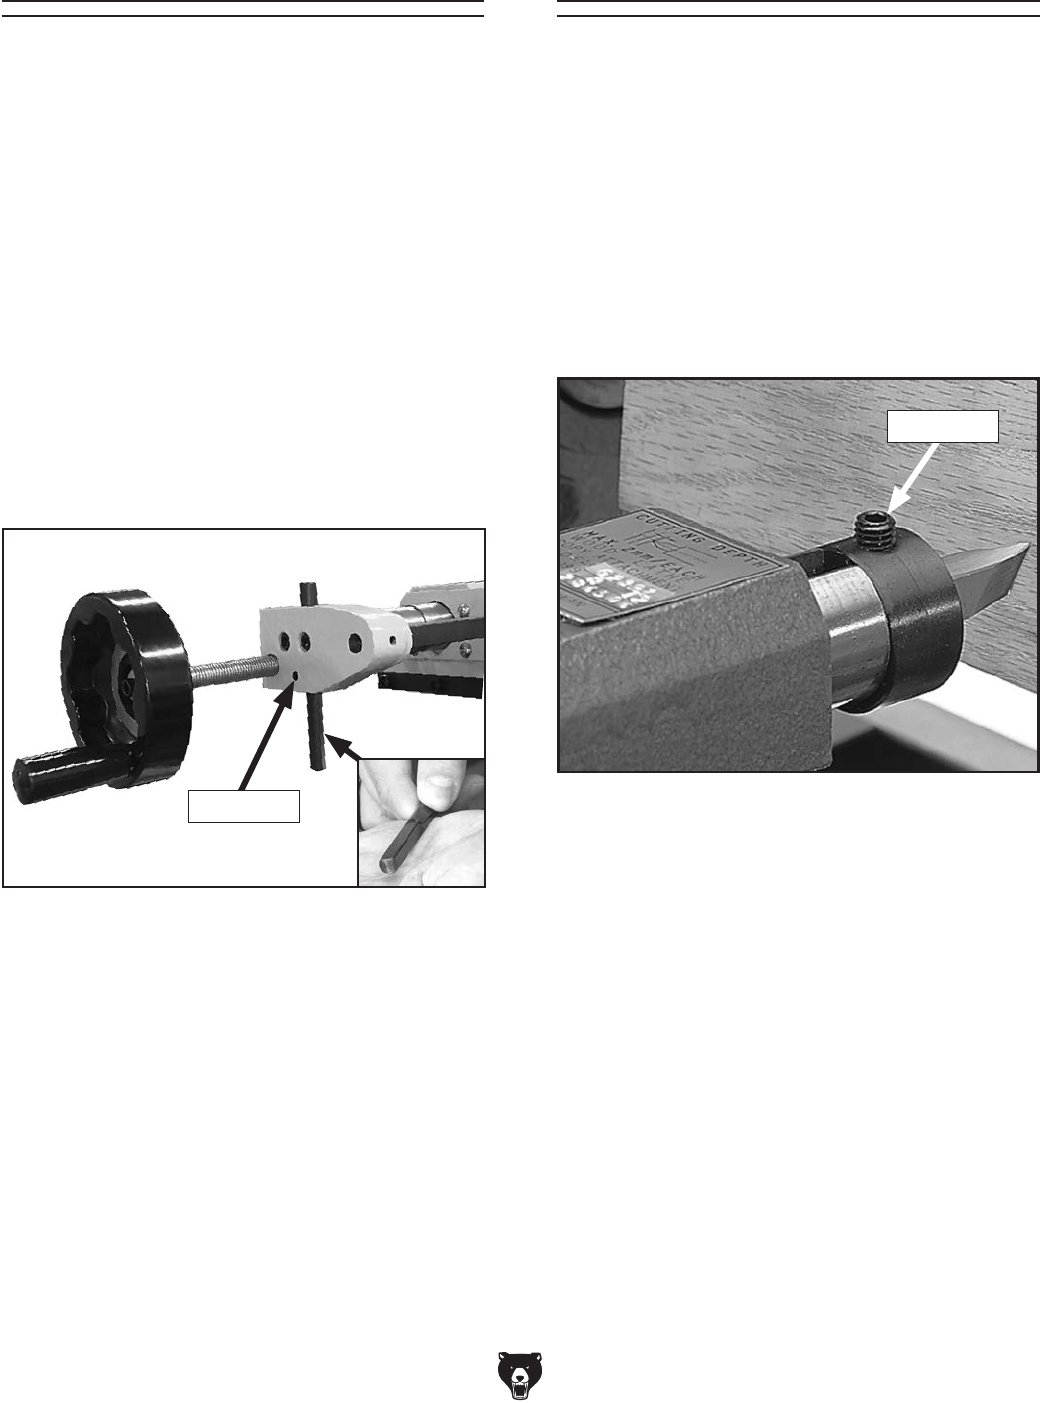
1. Loosen M8-1.25 x 16 set screw on cutting
tool collar shown in Figure 16.
2. Insert cutting tool with triangular cutting edge
facing up (see Figure 16), then tighten set
screw.
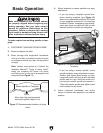
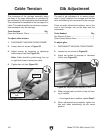
Figure 16. Example of proper position for cutting
tool.
Copy Stylus
To ensure the greatest level of precision while
copying from a template or a master spindle, it
is essential that the copy stylus is properly posi-
tioned at the underside of the carriage. When
adjusting the stylus, keep in mind that its follower
edge should be centered on the template or mas-
ter profile, so the narrowest point fits securely.
To adjust stylus:
1. DISCONNECT MACHINE FROM POWER!
2. Center master spindle on copy centers, or
attach template to support brackets.
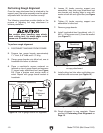
3. Loosen M5-.8 x 10 set screw, then adjust
stylus height until the follower edge is cen-
tered on template or profile (see Figure 15).
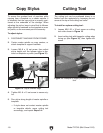
Figure 15. Stylus follower edge.
4. Tighten M5-.8 x 10 set screw to secure sty-
lus.
5. Run stylus along length of master spindle or
template.
— If stylus does not contact master spindle
or template details, move cutting tool
accordingly, and repeat Steps 3–4.
Set Screw
Set Screw


