22
Arm to Column Adjustment
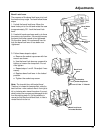
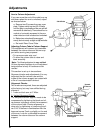
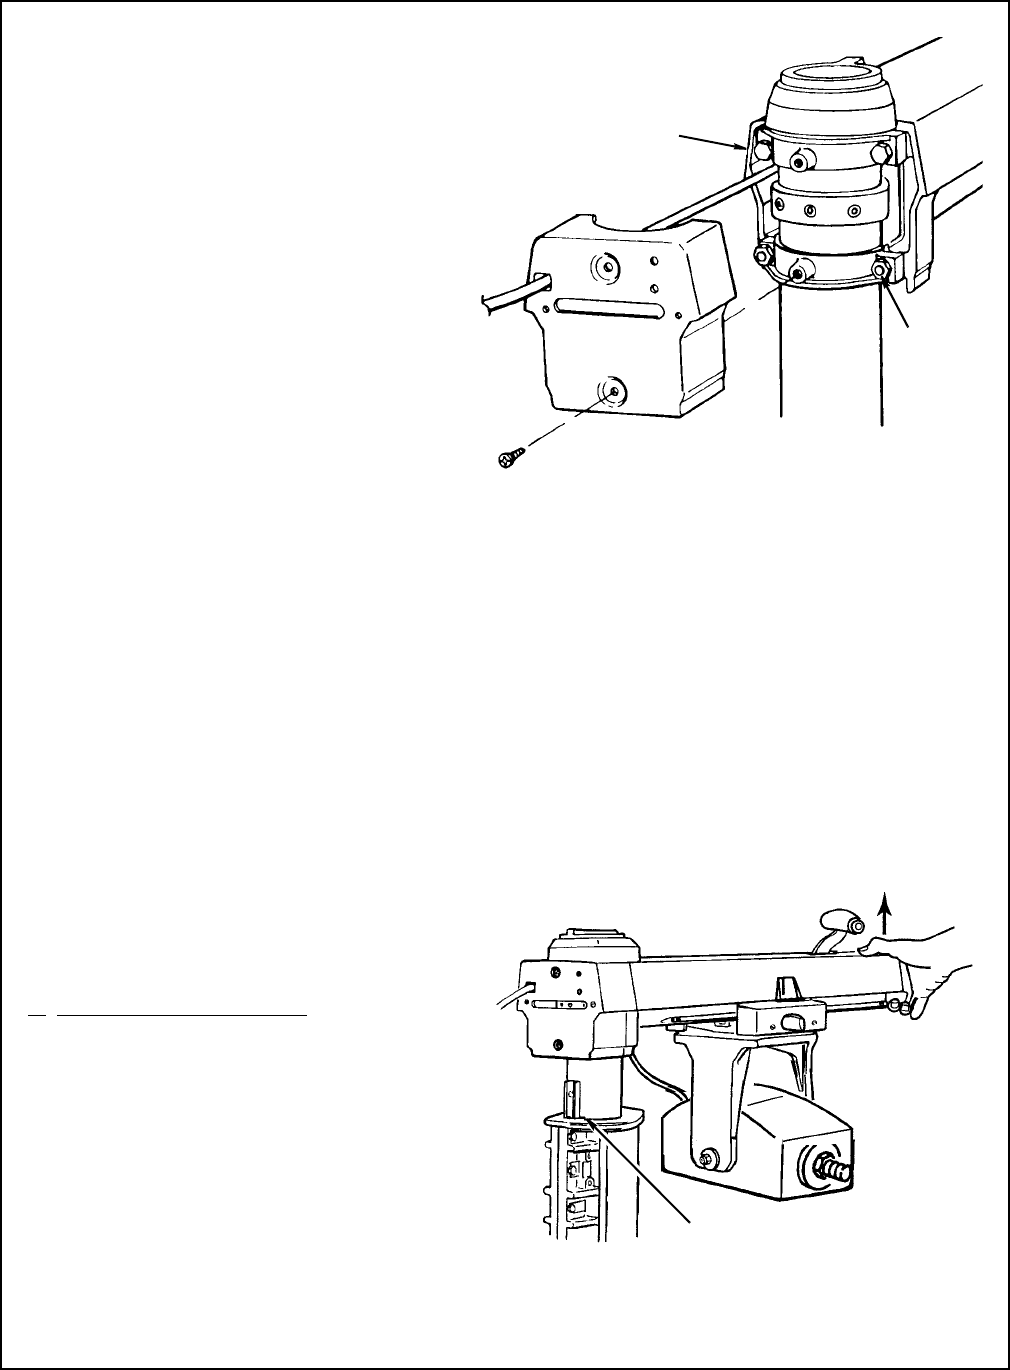
If you can move the end of the radial arm up
and down when the arm is unlocked, adjust
as directed below:
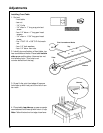
a. Remove two (2) screws from rear cover
plate. Tighten evenly top two 3/8-16 bolts
until the play is removed and the arm will still
move side to side freely. There should be no
vertical or horizontal movement in the arm
when miter/arm lock is locked and unlocked.
b. Bottom two nuts should be snugged
evenly, but not nearly as tight as top two bolts.
c. Re-install Rear Cover Plate.
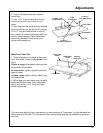
Adjusting Column Tube in Column Support
This adjustment will remove any looseness
between the column tube and column sup-
port while serving two purposes:
• To insure accurate cuts; and
• To allow the column tube to raise and
lower smoothly.
Note:
The following adjustment is
very critical
.
All future alignment procedures rely on this adjustment
being performed correctly. All looseness must be
removed.
This section is set up in two sections:
Alignment checks and adjustments. It is very
important that the column tube and the
inside of the column support are coated with
a film of uncontaminated lubricant.
Alignment Checks
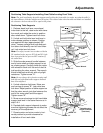
Two checks are required, these are adjusted
at the factory, but may have shifted during
shipment.
1. Index and lock arm at 0° Miter.
2.
Vertical Alignment Check:
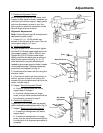
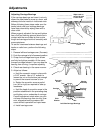
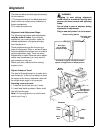
The two piece column support needs to be
compressed by tightening the black and sil-
ver screws to properly control the movement
of the column tube. Precise alignment is
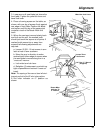
done only by tightening or loosening the sil-
ver 5/16-18 screws in combination with the
brass set screw. Push up slightly on the end
of the arm. Look for a noticeable movement
between the column tube and the column
support.
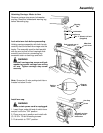
3/8-16 Bolts
3/8-16 Nuts
Upward
Pressure
Look for Movement
Between Column Tube
and Support
Adjustments


