


26
lnstalling Front Table
1. Set out:
- front table
- tee nut
- 1/4" U-clip
- 1/4" diam. x 1" long cup point set
screw
- four 1/4" diam x 1" long pan head
screws
- 1/4" diam. x 1-3/4" long pan head
screw
- five 17/64" I.D. x 5/8" O.D. flat wash-
ers
-four1/4"lockwashers
-four1/4"diam.hexnuts.
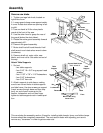
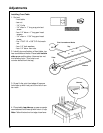
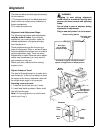
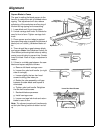
2. Identify top and bottom of front table: top
has counterbored holes. Place table bottom
side up on solid surface. Hammer tee nut
into leveling hole. (This hole is not
counter-bored from the top).
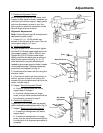
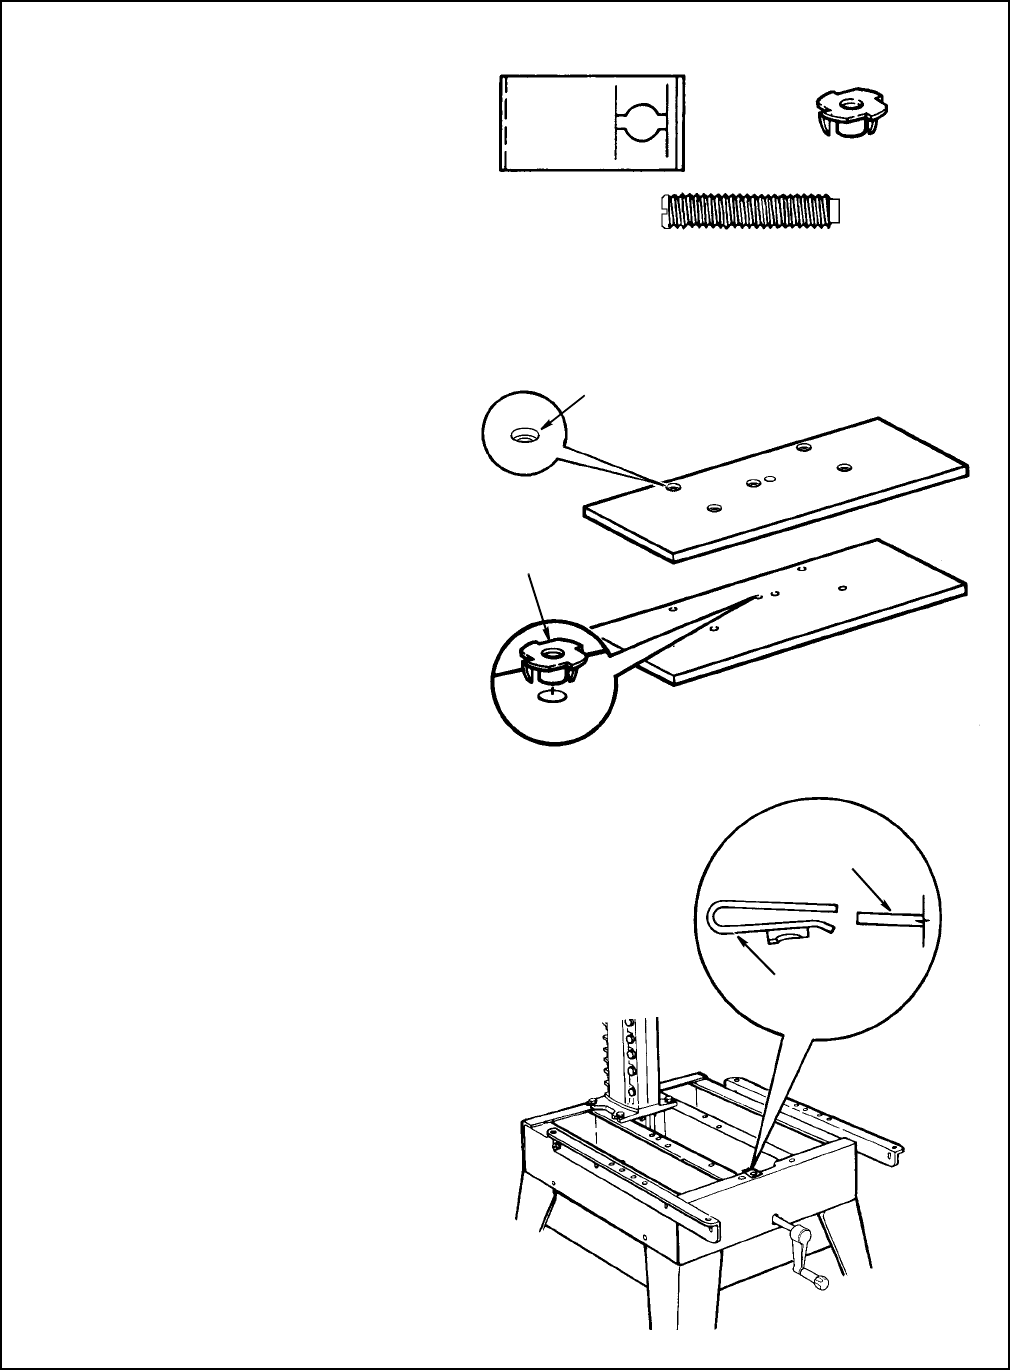
3. Snap U-clip onto front edge of base so
hole lines up with hole just to the left of cen-
ter notch.
4. Place table, top side up, on saw so center
counterbored hole lines up with hole in U-clip.
Note:
Table will extend over front edge of saw frame.
T- Nu t
Bottom
Top
Five Counterbored Holes
U-Clip
Channel
Adjustments